Tuesday, December 30, 2014

Ravel It, Twist It, Ply It--All to Knit It

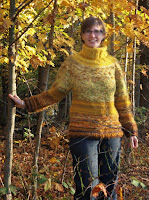
So once there was this sweater that I picked up from Goodwill. It was orange and I liked to wear it. Especially in the fall.

But then I was tired of it, and there was a spot on the cuff I couldn't wash out. And in a fit of decisiveness, I took it downstairs, sat on my couch and ripped the sweater apart. In a very organized way, of course.

I got 230 grams of very lightweight 40% merino/30% viscose/20% angora/10% cashmere. When I entered the yarn in my Ravelry stash, I discovered I had unraveled the same sweater in pink! (You can see a picture in this post.)

I got a hankering to knit socks out of this yarn so I decided to ply it. In order to ply it, I decided to twist it. You twist in one direction and then ply in the other. Then the yarn wants to stay put. You could just ply it and block it, but I didn't want to in this case.

Here is one sleeve twisted on the spindle next to the yarn from the other sleeve:
I had a funny moment getting started. I twisted the yarn the "regular" way (clockwise or Z-twist), letting the spindle spin and spin. Then I stopped to inspect the yarn and it was utterly not twisted--in fact, I thought it was less than before I started. So I examined the wool straight from the sweater a little more closely and realized it already had some twist in it (very unusual for yarn from a commercial sweater), and it was going the other way! So I twisted it in the other direction and things went fine from there. (There's no advantage to one direction or the other; it's just a convention to twist the one way and ply the other.)

Once the yarn was all twisted, I was eager to ply it. Not only was it the final step, it also would go a lot easier and quicker than the first step! But I had to do some other stuff, get ready for a trip, etc., and my spindle sat on my table for a couple days.

But finally I had a few minutes. I put the spindle in my "super fancy" lazy Kate (yup, that's what they're called):
Constrained by the holes in the side of the box, the spindle
can spin freely, making it easy to unwind.
and wound up a cake of yarn:
Once I had a cake of yarn, I put it in my project bag to take on the trip.

I tried out a double strand, triple strand and quadruple strand and decided that the triple strand gave the thickness I wanted. That meant chain plying (aka Navaho plying). It's basically a long crochet chain done with your fingers while you ply.

When my fingers got sore from knitting socks during the drive, I pulled out the ball of yarn and my spindle, and got to plying.
It was easy work as the yarn practically plies itself since it was twisted already.

With just a little more time once I got to my destination, I had the whole ball done.
The yarn has nothing to do with my trip to the Netherlands, but I feel like they will make nice souvenir socks of the trip anyway. I did purchase a sock yarn while there that I optimistically called orange, but it's really yellow. It was the best I could do at the time, but I have admitted to myself that it's not orange.
I am happy with this result and can't wait to cast on a new pair of socks. My first plan was to knit one sock with the plied yarn and the other with the yarn from the other sleeve unplied, just to experiment, but I've since decided to use the plied stuff for the toe, foot and heel of the pair and use the unplied for the leg. The wear parts will be stronger and I won't have to ply everything. We'll see how it goes...

Wednesday, December 24, 2014

Not Quite Christmas Colours

I recently finished the pair of socks I've been working on for Wool-Aid. You know, the grey pair. And I decided No More Grey.

How about some orange and green?
I took the other sleeve from the same grey sweater and attempted to dye it in a self-striping pattern. I split the ball into two halves (by weight) and wrapped each on my niddy noddy, which yields about 2 yard/meter loops. I put half the loop in one dish and the other half in another dish and added the dye:
There are two hanks of yarn, one on top and one below.
Half of each hank is in the orange and half is in the green.
I used five packs of Mango for the orange and four packs of Green Apple for the green.

After not very much time in a 200^ oven, the dye looked exhausted, but the wool wasn't coloured enough.
So I added three packs of Orange to the Mango and four packs of Ice Blue Lemonade to the Green Apple and put it back in the oven.
I let it cool down at least over night and here's how it looked out of the water:
After it was dry, I had this:
Apparently I still didn't use enough dye because there are still areas where the blue/grey is showing:
But I can live with it.

Here it is wound up:
I was trying for an orange with the green and didn't quite get there. It took me a while to come up with a positive word for the colour, and I ended up with "rust".

I made sure to get some socks started before taking a road trip.
This pair of socks will not be grey!

Merry Christmas, all!

Saturday, December 13, 2014

Socktoberfest (or is it Desockember?)

So it's been a long time since Socktoberfest but I honestly have not been hung over for all this time. I swear. (Even though I did have really bad hiccups this afternoon. While shopping. It was embarrassing. Wait...are hiccups a stereotype for when you're drunk or hung over? I have no idea. And are we still using the word "stereotype" or do I have to say "meme" now? It's hard to keep up when I've been doing all this Socktoberfesting...)

The bulk of my sock knitting in October was on a Christmas gift. I wasn't sure if I was going to show them to you all, but I just finished the last fiddly finishing work and I don't want to wait!

Apparently the first picture I took of these socks was when the knitting was completed:
I mentioned that they were a special shade of blue and now you can see why.

I had seen similar socks on Ravelry and decided to make some as a gift this year. When I went looking for specific patterns, the one I ended up liking the best was actually just a chart for the leg design. You were on your own for the rest of the sock. Considering I usually ignore everything but the pattern design in sock patterns, this was perfect for me.

The chart was writen for 80 stitches, however, and I reduced it to 60. Many people reported that 80 was too big and I was making them for a smaller foot. (Although I am really, really nervous right now that they won't fit. Let's hope that's paranoia talking and not experience.)

Although I worked quite steadily on them in October (as far as I remember), they were not done until November 8. Then they sat, waiting for the final touch--the embroidery.
The original pattern called for the letters to be knit in fair-isle style but since I was converting from 80 stitches to 60, I thought it would be easier to do them at the end. My first plan was to duplicate stitch them, centering the letters on the front of the sock, but the thought of duplicate stitching over the black background just made me sad.

So I copied another Raveler and stitched the letters with simple embroidery stitches. It was still a little saddening to try and get the letters even and matched. (Those four "O"s were stitched a number of times each, I can tell ya!) But it's done and I like it.
As long as they fit...
Project Stats
Started
: 13 Sep '14
Finished: 8 Nov '14
Pattern: Tardis Socks by Gina Waters (free)
Materials: Cascade Yarns Heritage Solids & Quatro Colors ($14.75) in a pretty convincing Tardis blue colour of 5603 Marine (.6 skein). I also used bits of black wool and white wool/angora raveled from sweaters.


Since I don't have a lot of progress pictures to show you, I'll give you a little tip instead. I stitched the letters with a double strand of white yarn. Now I used to thread the yarn on the needle, pull the two halves even, and make a knot:
But then you've got a knot at the end and ends to work in. (This is for sewing. For embroidery, I would skip the knot but leave a length of yarn that had to be worked in later.)

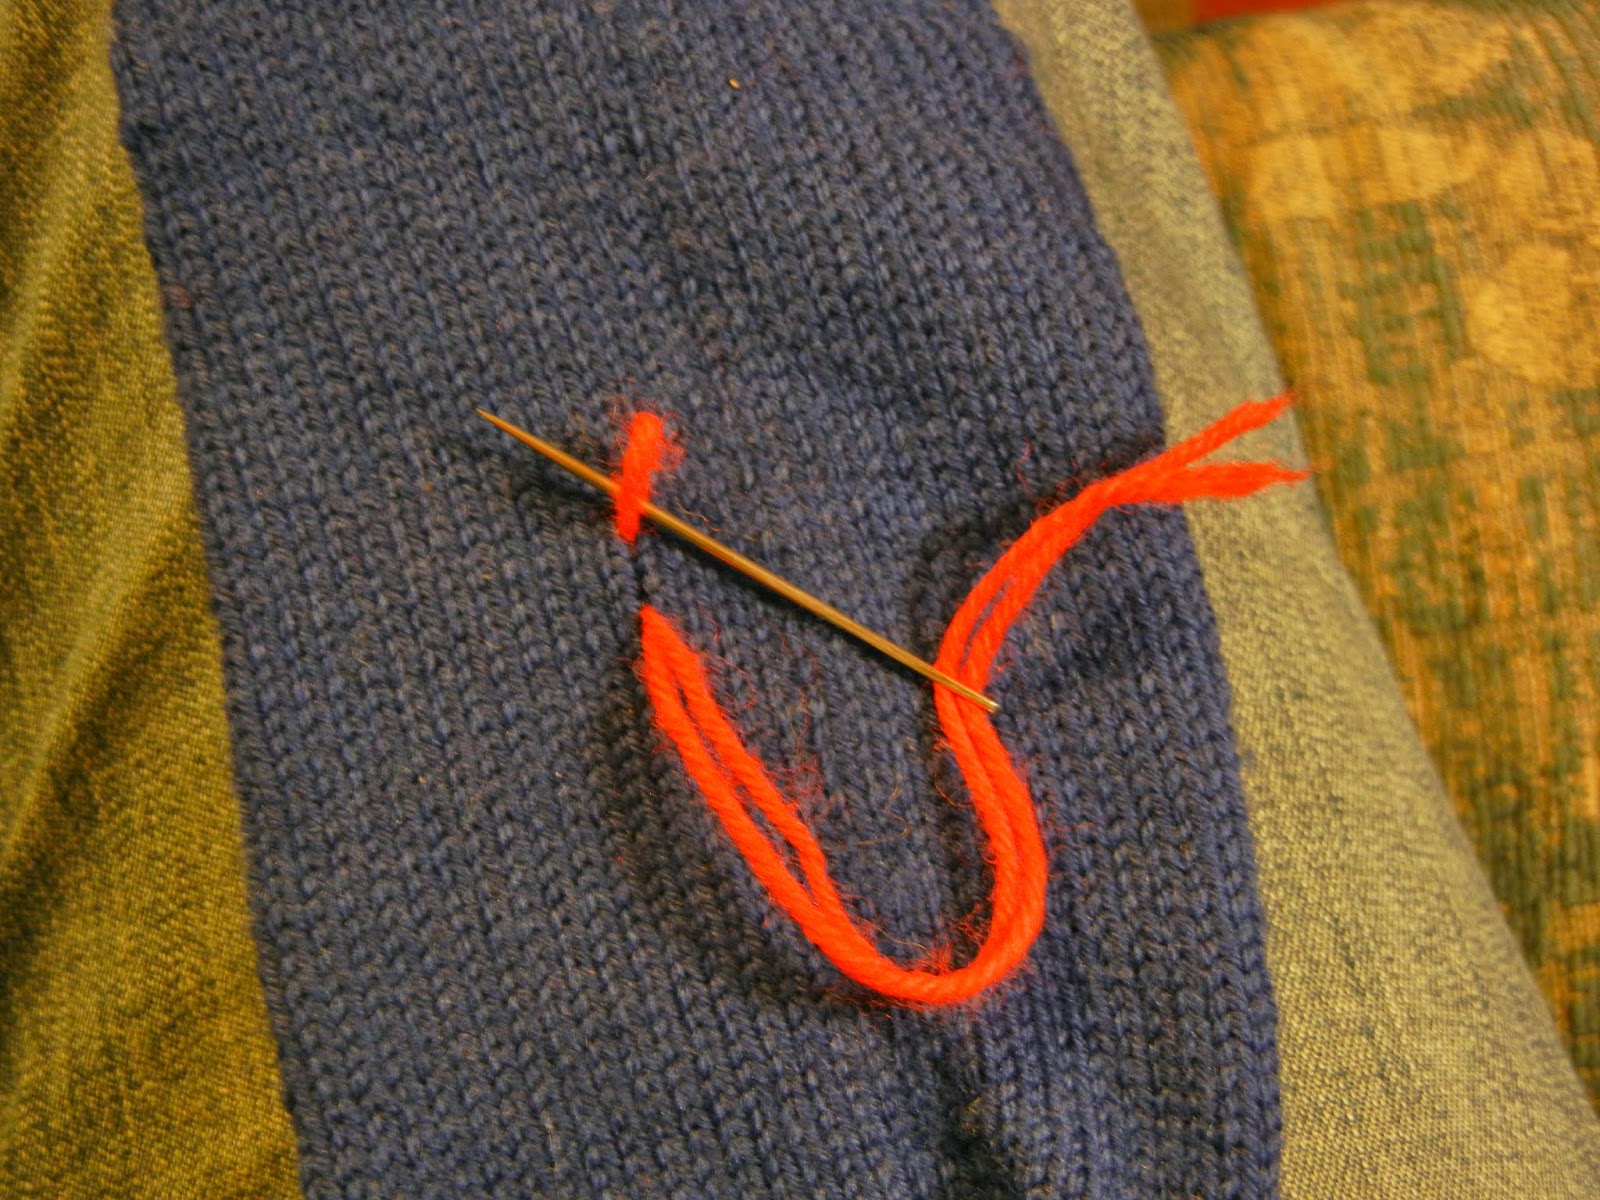
Instead, I now thread both ends of the double strand through the needle like so:
That leaves you with a loop at the other end. When you start stitching, you can put your needle through the loop on the wrong side after the first stitch:
and there will be no knot and no end to work in:
This is still showing the wrong side. Now that the end
is secure, you can continue stitching.
I thought this was genius when I first saw it. Hope you like it too.

May I suggest?

I Say! or at least I did once...