(Extracted from this post.)
What I can give you today is a little tutorial on the blind hem I used. It's very simple, but it can be tricky to get your head around how it works. But it's well worth the "mind bending" even if it's a little painful because the result is so professional and effective.
First, you fold over the hem to the wrong side at the final depth that you want and press:
Then you fold under the raw edge, trying to make the exposed part of the hem even:
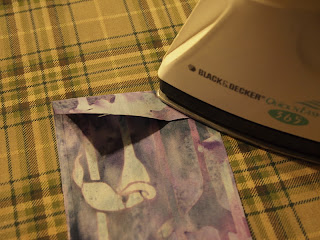
and press it down again: (I love to iron.)
Now you need to do a little flip to get it ready for sewing. It would be hard to describe so I made this short video:
See how simple that is? You don't turn the fabric over (the wrong side still faces you), but just give the hem a little flip, making sure to keep a little bit exposed as shown.
Pin as you go:
Now you'll need to head to the sewing machine. Most machines will have a blind hem option. It's a straight stitch on one side with an occasional zig zag. It looks like this on my machine:
You can see that my machine has the option to do a blind hem to the right or the left. Your machine may only have one option.
You may also have a special foot for your machine, but you don't need to have it. If you do, it will have an uneven bottom--one side will be higher than the other. You put the fabric under the foot so that the ridge of the foot lines up with the fold, as seen here:
As you sew, the seam will be straight along the right side (the upper fold of the hem) and then take an occasional "bite" of the left fold, which is the body of the garment (or tablecloth). You can see in this picture that the machine has just finished taking a bite.
Once it's sewn, you can unfold them hem (and press again). Watching this may help you know what to expect:
Here's the seam as it comes off the machine:
And after unfolding and turning to the right side:
From a little further away, you hardly notice the stitches on the right side.
This is one of the flattest, well hanging hems I know. Try it out!
Progress..............
-
I designed and sewed the 2 side columns for this quilt (that I wanted to
make larger). Here they are ready to sew onto the small top.
Next I hav...
22 hours ago


