I enjoy reading Cynthia's blog,
Quilting is more fun than Housework, and a
recent post mentioned a block drive for
Covered in Love. I went to check it out and discovered Kat at
Kat and Cat Quilts had called for string blocks that she calls Mix Tape,
click here for her tutorial.
For those of you who just asked yourself some version of, "What is a block drive?" This is a call for quilt blocks that will then be assembled into a quilt. Blocks are easier to get done in a short time and easier to mail. Added all together they can make quilts in a quicker time than one quilter making the quilt from beginning to end. (And it's fun to work on projects together.) Usually a block drive will have a theme specified--maybe by colours used, maybe by the design chosen.
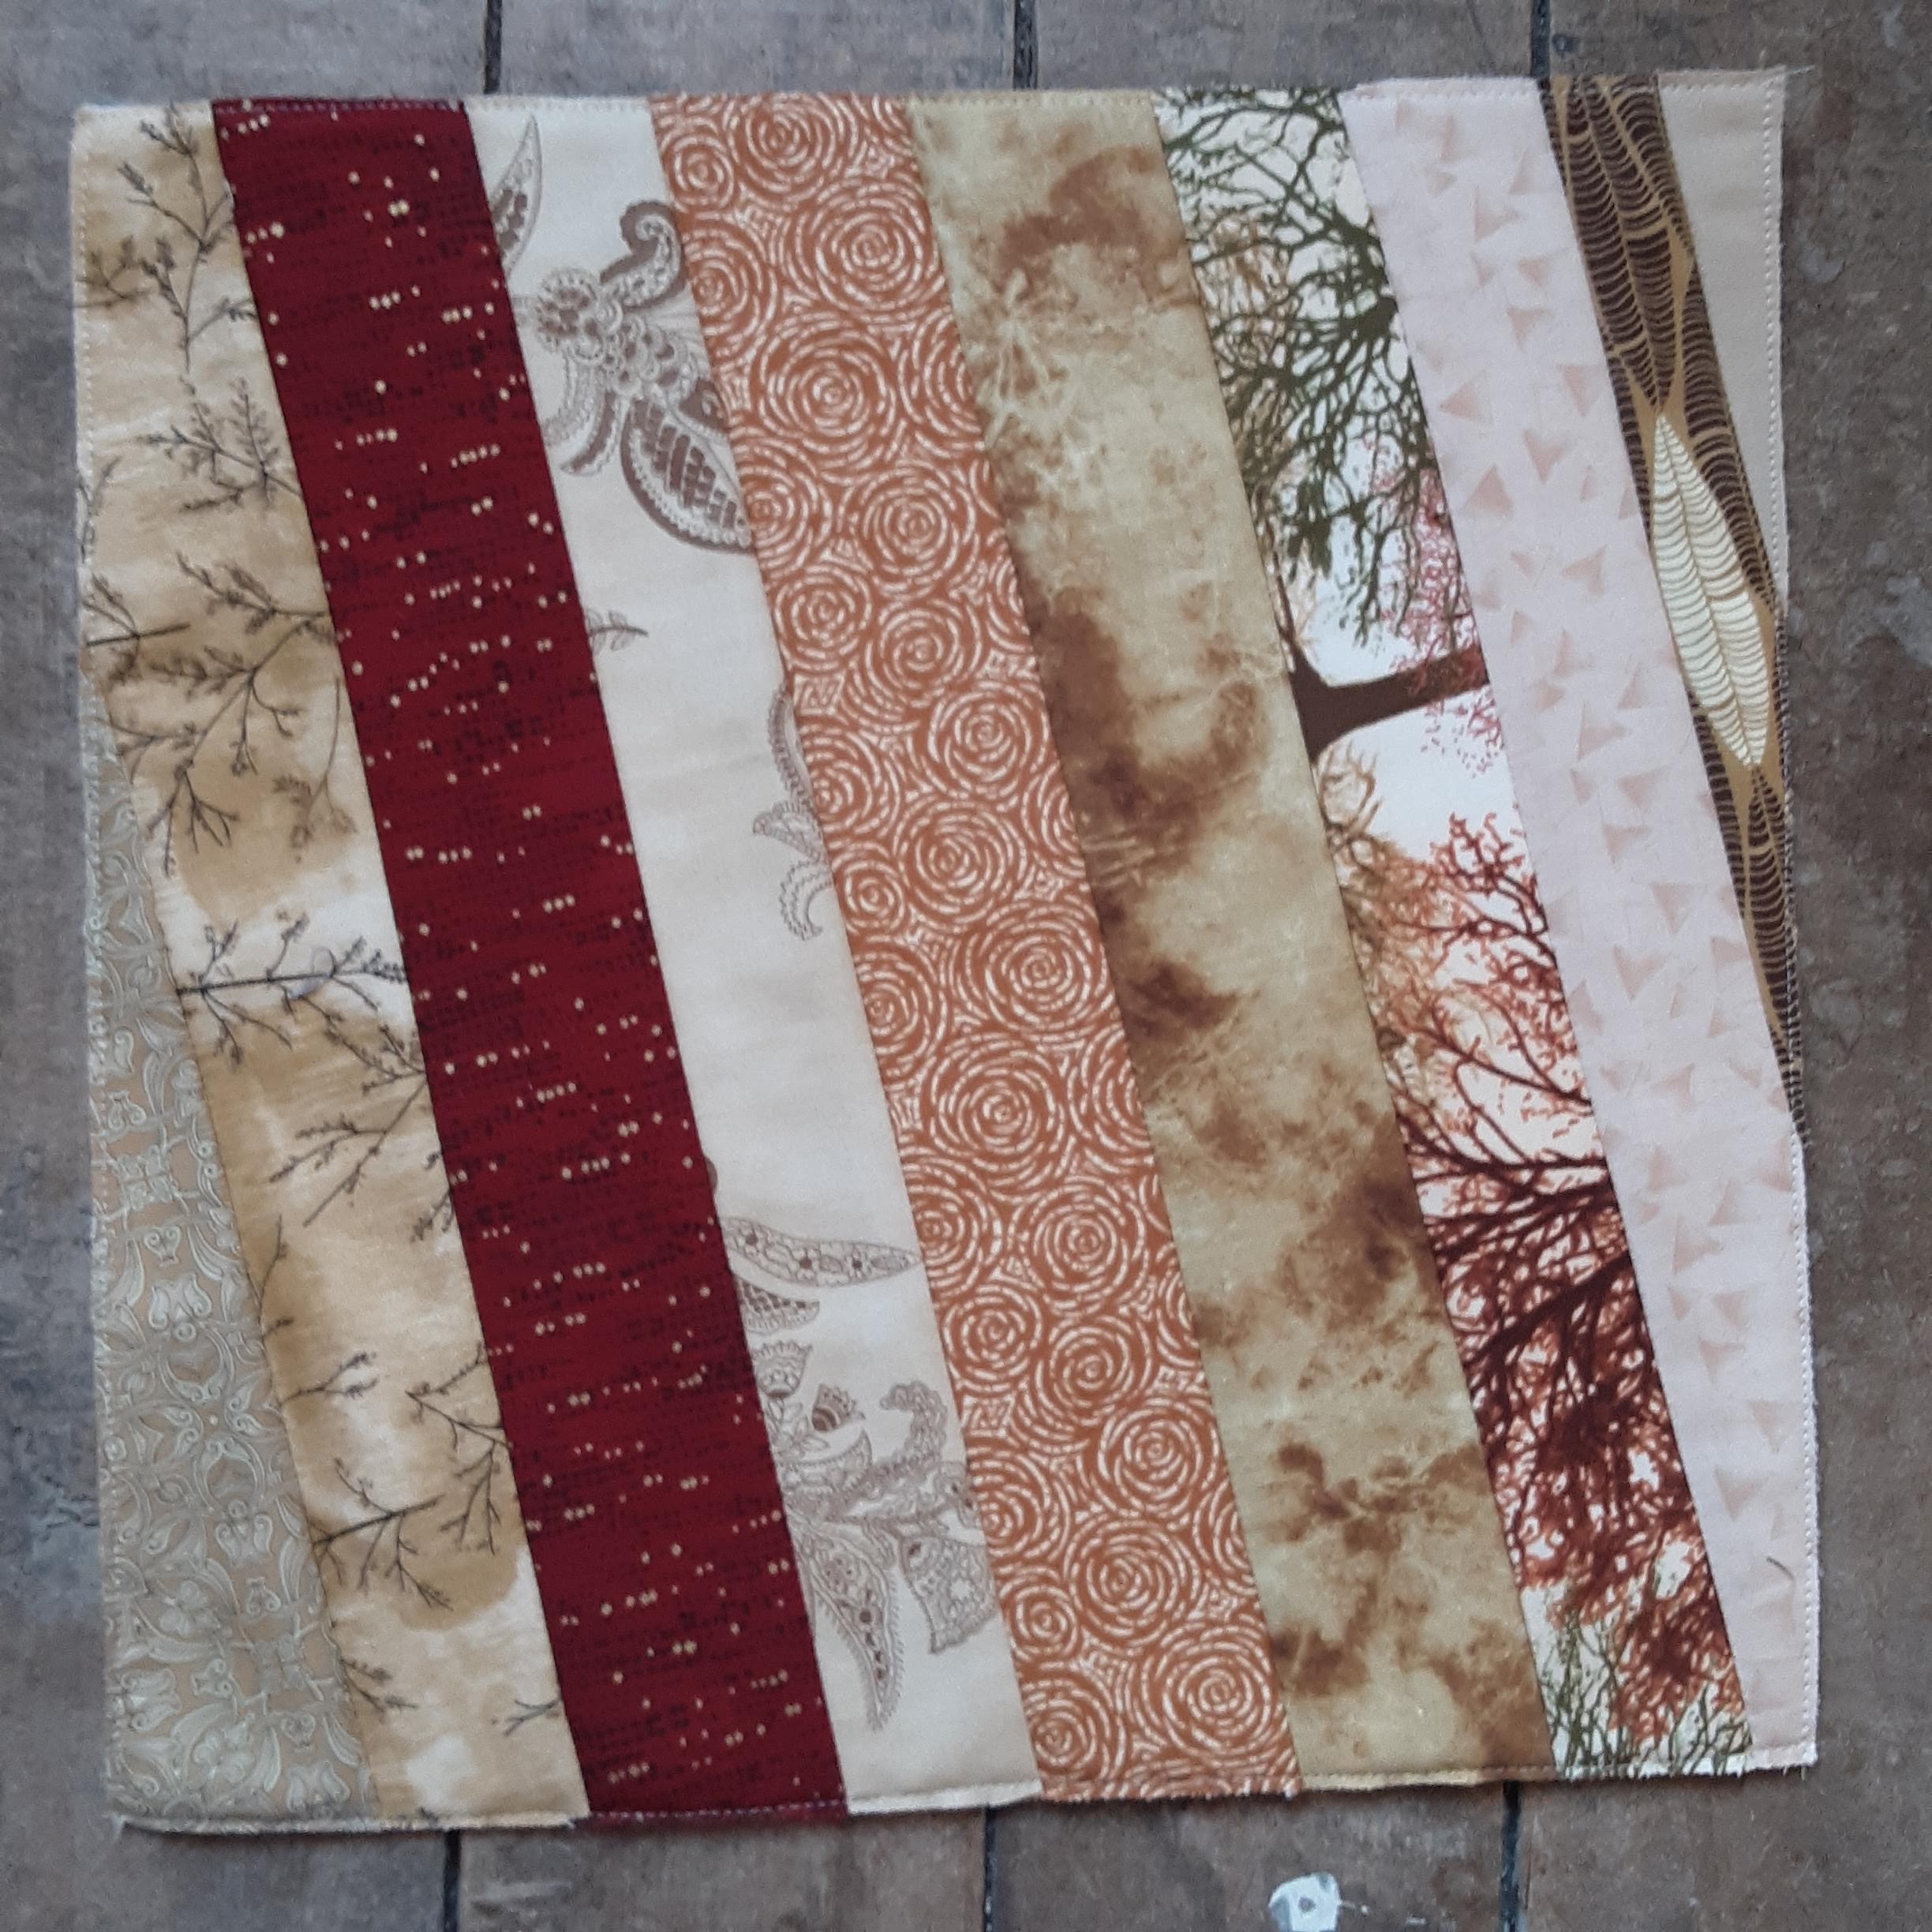
For whatever reason, this block connected with me at just the right moment and I pulled out some scraps to make some. Coincidentally, the same box that held all my scraps already cut into strips also held some scrap batting pieces. These blocks were made directly onto the batting so that was perfect.
It's easy to sew pieces of batting together to make the size you need. I had a long strip (cut from the edge of a quilt) that was about 10 inches wide but I needed a 13.5" square. So I cut 13.5" pieces and then sewed a strip to the one size to make up the difference. Whiz it through the sewing machine on an extra wide zig zag and you're done.
As long as there are no gaps, you don't have to be too worried about it--whatever quilting is going to be added will hold the batting in place.
Friday night I made five blocks and then cleaned up thinking I might be done.
The next morning I wanted to make more, so I did. I made them two at a time so that I could alternate between them for sewing, which is more efficient. What I did not do was start a whole bunch and commit myself to having to finish them!
I cleared out my yellow and orange strips and most of those batting scraps by the time I was done.
I made 11 blocks all together.
I didn't realize at first, but I was joining this drive on the last weekend. (These were the January-February blocks.) I sent an email to the organizer and she got back to me right away letting me know they weren't
due February 28. So I figured whatever I got done on the weekend, I would mail on Monday (March 1) and that would be good.
It makes quite a mess as I'm rifling through the strips looking for ones that are long enough for the next place and that make a balanced-looking block. By the second orange block, I didn't have a wide variety so I wanted to make sure I didn't put the same fabric beside itself.
The examples I saw online seemed to have skinnier strips. Some people save even the thinnest ones. I just worked with ones that I had pre-cut into 1.5", 2", and 2.5" widths, and most of what I had left were the 2.5". It was tempting to think I wasn't doing it "right" but then I remembered that they intend scraps to be used--they must be used to working with whatever they get!
Here's evidence of one of the hazards of working with batting on the back of the block:
Fabric sticks to batting like velcro so anytime I put down the block, I risked fabric sticking to the back and not noticing it. At some point I saw a wide piece of batik fabric was sewn onto the back of this block. I was not about to take out the seam, so I cut the fabric right next to the stitching. If it weren't batik, I could have teased that tiny remnant out of the stitches but batik is too densely woven. It won't do any harm there.
Here is an idea of what a quilt of these blocks might look like:
Kat does a different drive every two months so maybe I'll jump in on a few more this year.
Joining up with
Oh Scrap linky party at Quilting is more fun than Housework.


 Kat does a different drive every two months so maybe I'll jump in on a few more this year.


