Showing posts with label scraps. Show all posts

Sunday, March 7, 2021

Joining Together

I enjoy reading Cynthia's blog, Quilting is more fun than Housework, and a recent post mentioned a block drive for Covered in Love. I went to check it out and discovered Kat at Kat and Cat Quilts had called for string blocks that she calls Mix Tape, click here for her tutorial.
For those of you who just asked yourself some version of, "What is a block drive?" This is a call for quilt blocks that will then be assembled into a quilt. Blocks are easier to get done in a short time and easier to mail. Added all together they can make quilts in a quicker time than one quilter making the quilt from beginning to end. (And it's fun to work on projects together.) Usually a block drive will have a theme specified--maybe by colours used, maybe by the design chosen. 
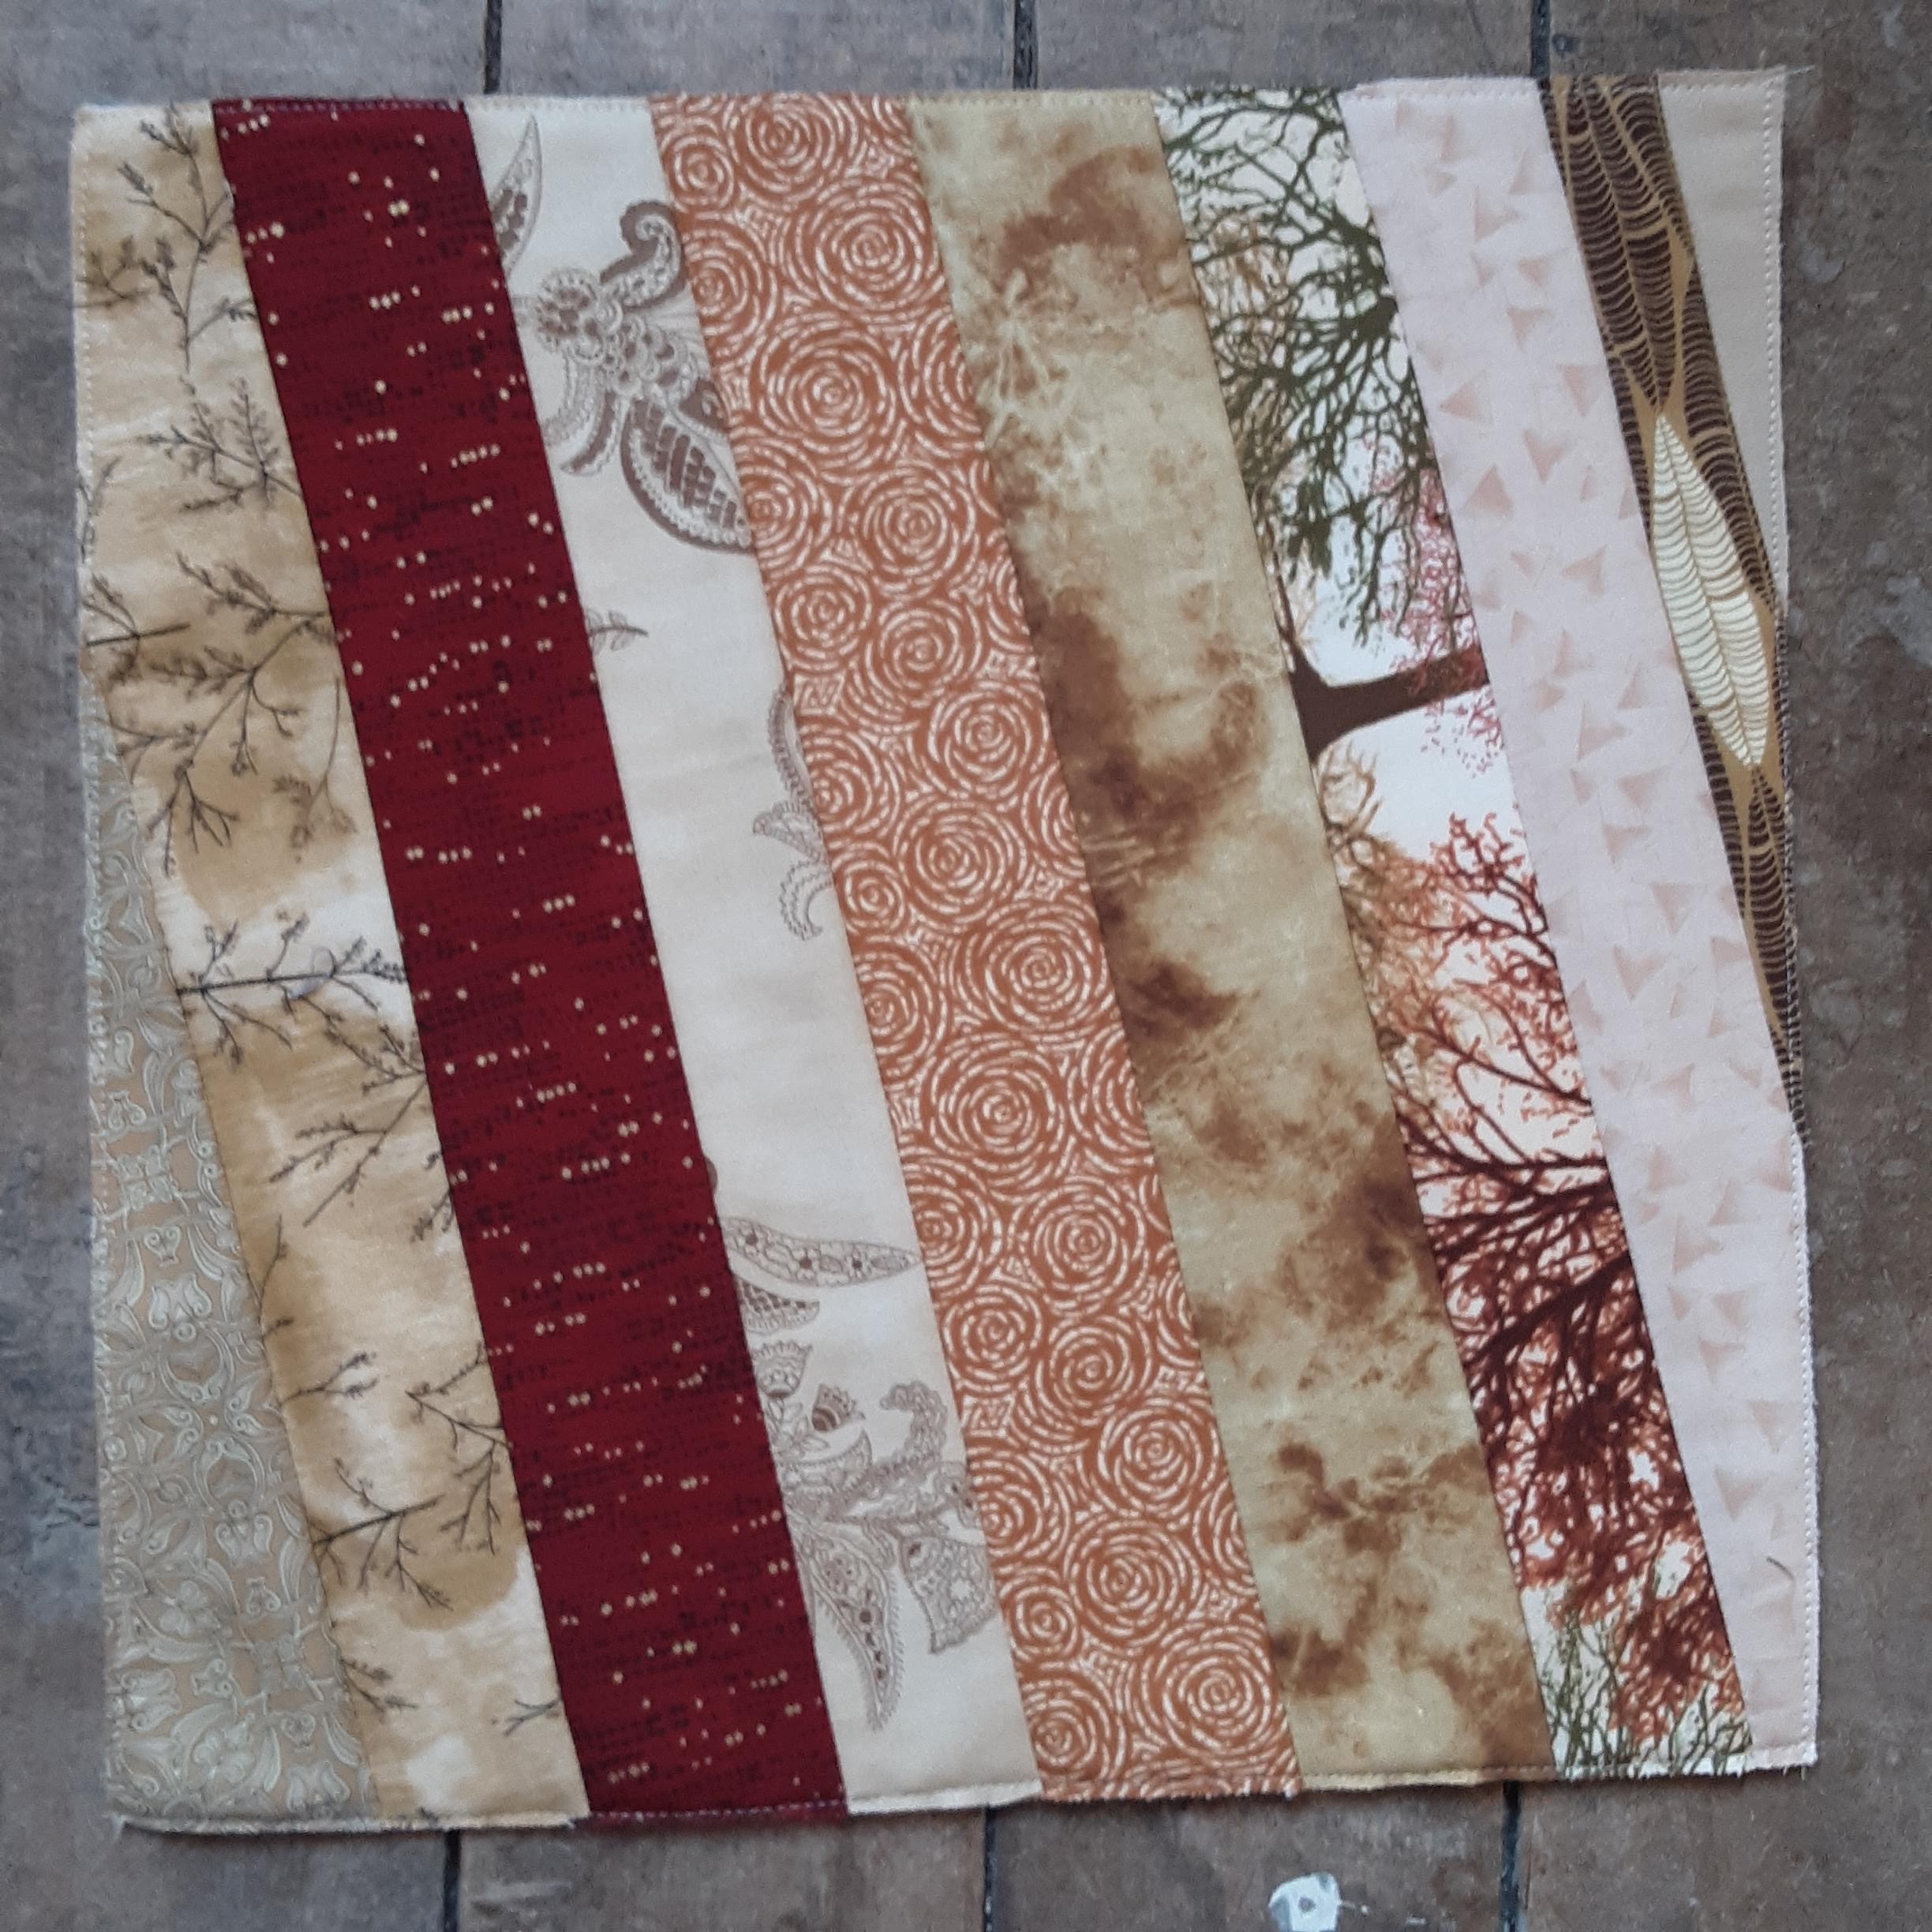
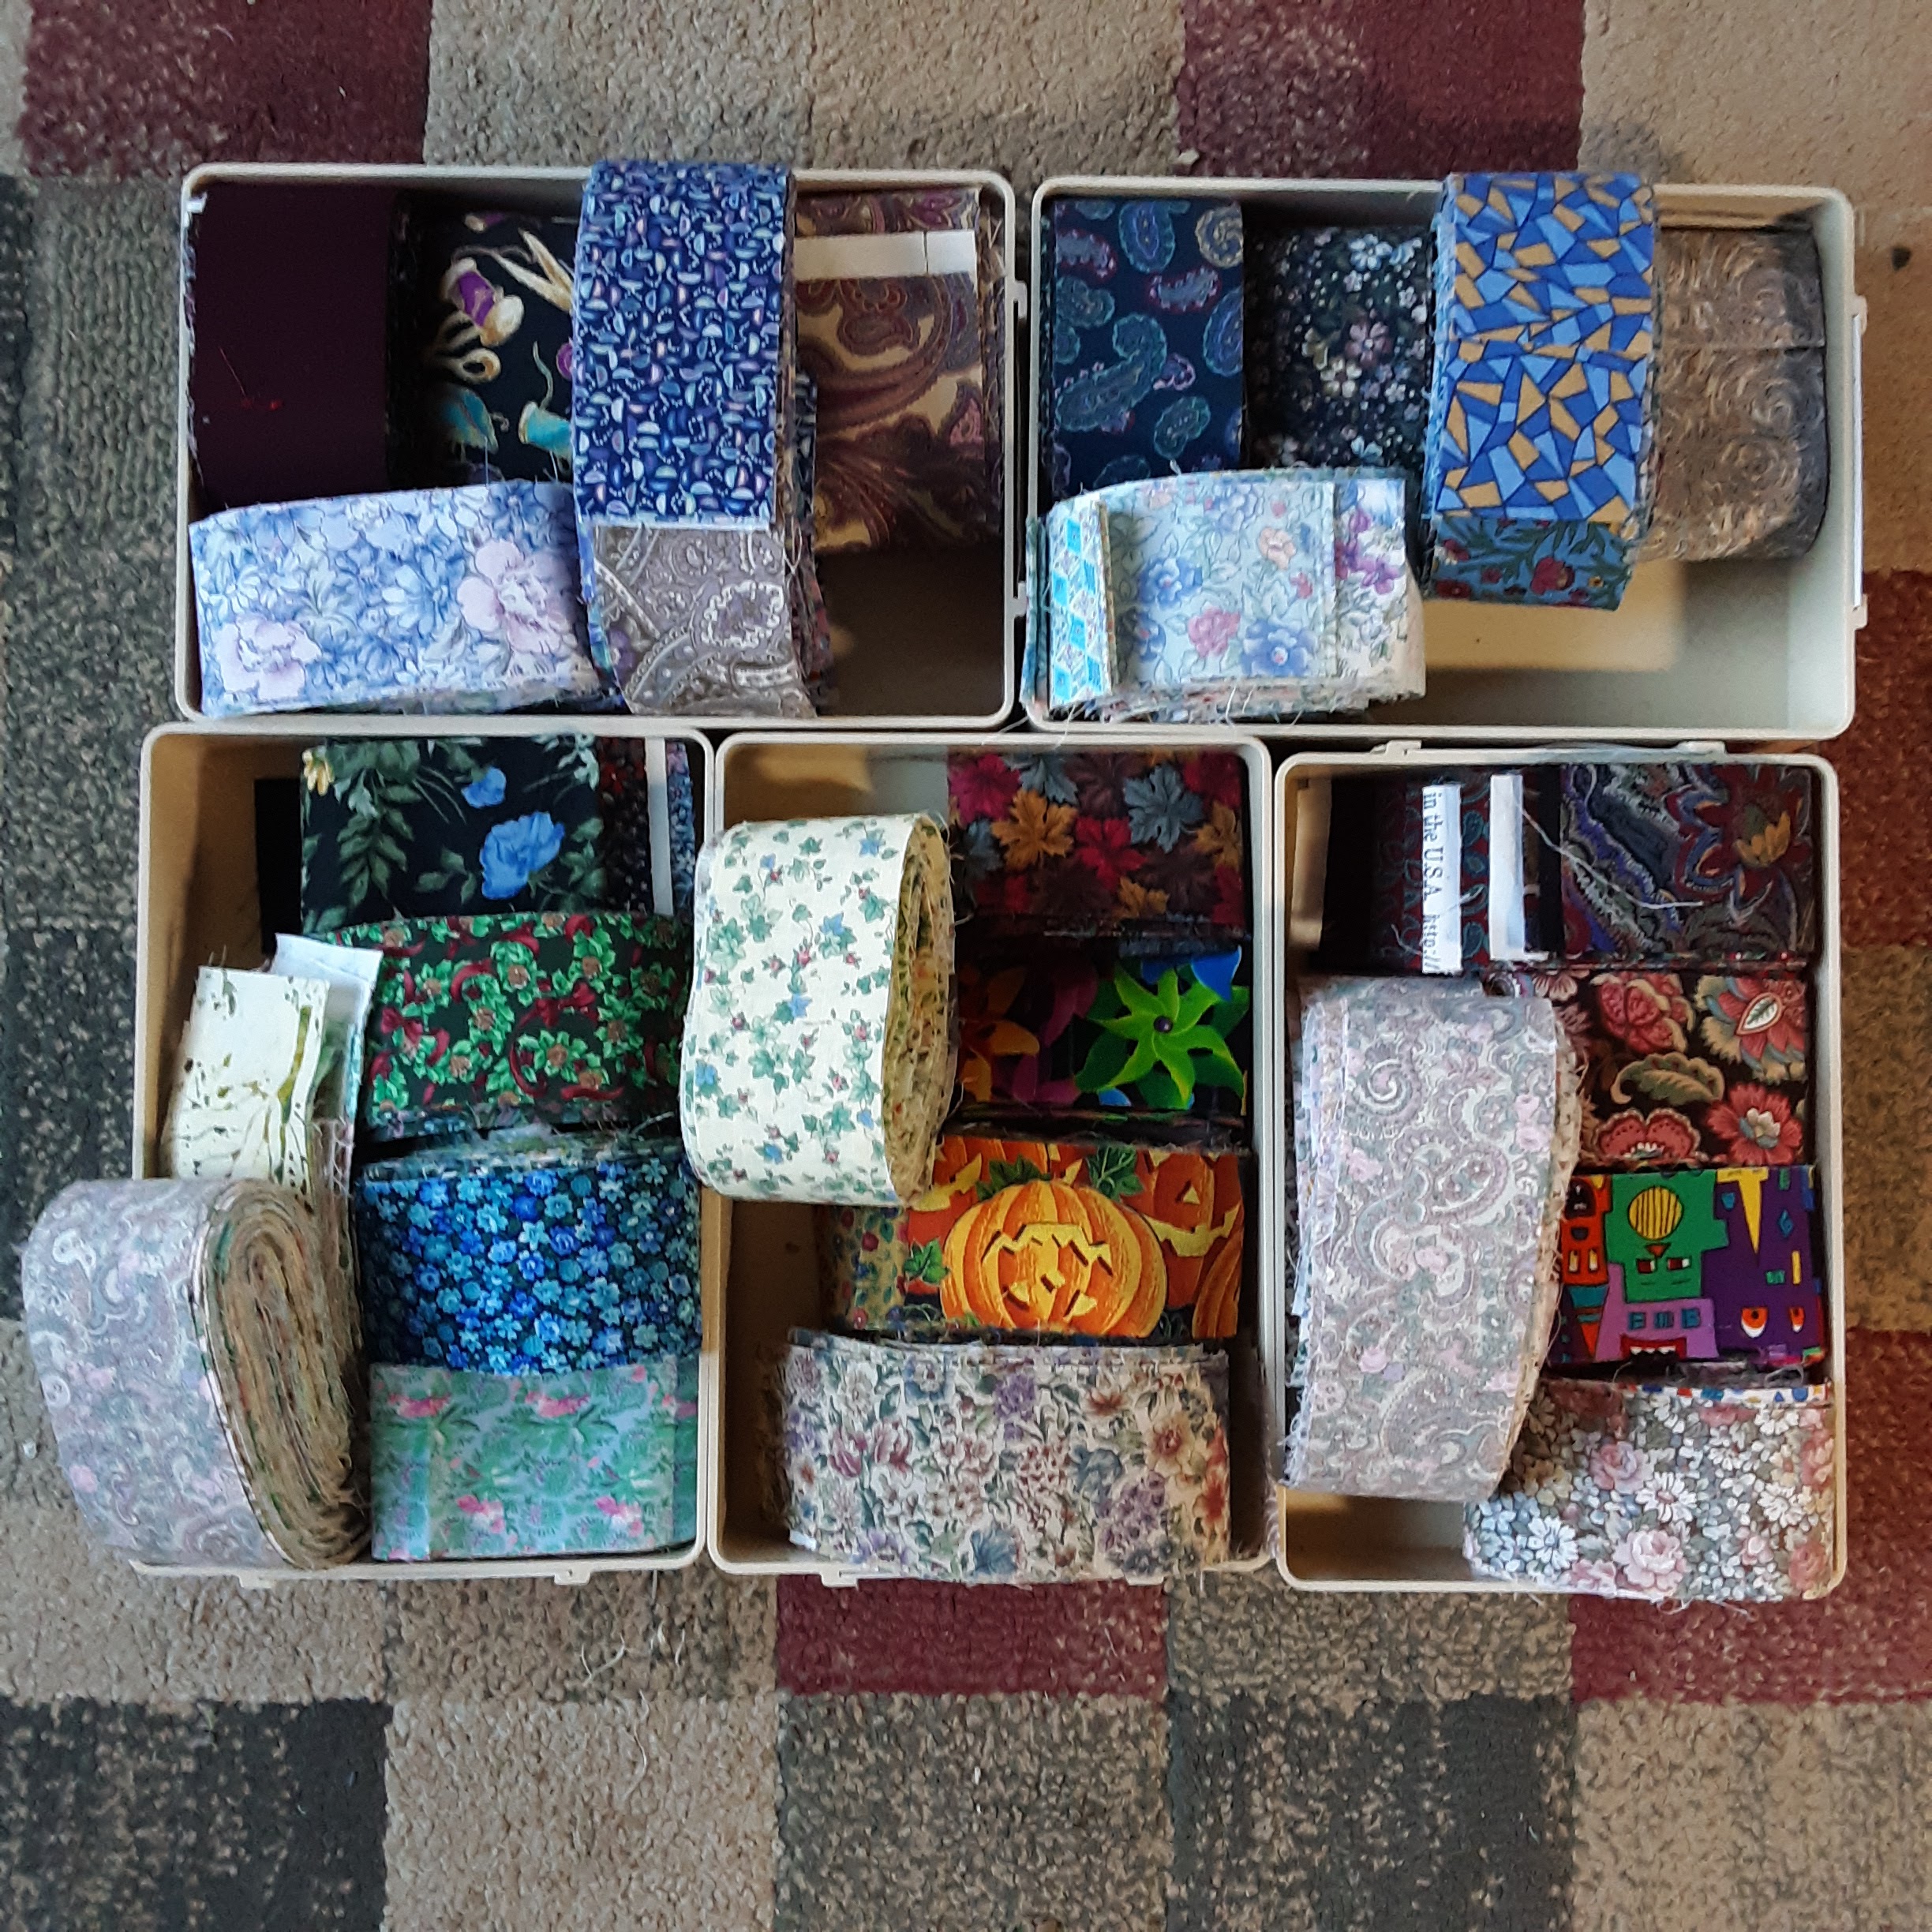
For whatever reason, this block connected with me at just the right moment and I pulled out some scraps to make some. Coincidentally, the same box that held all my scraps already cut into strips also held some scrap batting pieces. These blocks were made directly onto the batting so that was perfect.
It's easy to sew pieces of batting together to make the size you need. I had a long strip (cut from the edge of a quilt) that was about 10 inches wide but I needed a 13.5" square. So I cut 13.5" pieces and then sewed a strip to the one size to make up the difference. Whiz it through the sewing machine on an extra wide zig zag and you're done.
As long as there are no gaps, you don't have to be too worried about it--whatever quilting is going to be added will hold the batting in place.
Friday night I made five blocks and then cleaned up thinking I might be done.
The next morning I wanted to make more, so I did. I made them two at a time so that I could alternate between them for sewing, which is more efficient. What I did not do was start a whole bunch and commit myself to having to finish them!
I cleared out my yellow and orange strips and most of those batting scraps by the time I was done.
I made 11 blocks all together.
I didn't realize at first, but I was joining this drive on the last weekend. (These were the January-February blocks.) I sent an email to the organizer and she got back to me right away letting me know they weren't due February 28. So I figured whatever I got done on the weekend, I would mail on Monday (March 1) and that would be good.
It makes quite a mess as I'm rifling through the strips looking for ones that are long enough for the next place and that make a balanced-looking block. By the second orange block, I didn't have a wide variety so I wanted to make sure I didn't put the same fabric beside itself.
The examples I saw online seemed to have skinnier strips. Some people save even the thinnest ones. I just worked with ones that I had pre-cut into 1.5", 2", and 2.5" widths, and most of what I had left were the 2.5". It was tempting to think I wasn't doing it "right" but then I remembered that they intend scraps to be used--they must be used to working with whatever they get!
Here's evidence of one of the hazards of working with batting on the back of the block:
Fabric sticks to batting like velcro so anytime I put down the block, I risked fabric sticking to the back and not noticing it. At some point I saw a wide piece of batik fabric was sewn onto the back of this block. I was not about to take out the seam, so I cut the fabric right next to the stitching. If it weren't batik, I could have teased that tiny remnant out of the stitches but batik is too densely woven. It won't do any harm there.

Here is an idea of what a quilt of these blocks might look like:
Kat does a different drive every two months so maybe I'll jump in on a few more this year.

Joining up with Oh Scrap linky party at Quilting is more fun than Housework.

Monday, February 22, 2021

Scrappy Trip Around the World Blocks

Remember this project?
This was how many blocks I had done in August.

For the next set, I matched up more strips sets sorted by colour.
My sister had given me this color tool and I finally thought to use the red and green filters to check values so I didn't have to take a hundred pictures and convert them to black and white.
That saved a lot of time!

By the end of December, I had this many blocks:
At this point I was running out of darker fabrics because the blocks use a lot more of it than the lighter fabric. So I thought, maybe I should make some light blocks, like this:
I put it on the wall to see how it would look:
I also wondered about making every other block a light one.
We'll see.

In mid-January, I worked on the heart. I didn't like the dark lines going through the middle.
I made some replacement blocks:
but I still didn't like how it looked. The diagonal lines didn't match up; the red is too thick on those blocks. So I took apart the blocks and reassembled them:
That's better!

I'm not promising this quilt will even have a heart on it, but if it does it will be one I like! ;)

And now the blocks are packed away in a box as I needed to put my Lucy Boston up on the wall. The ideas can marinate while I work on other projects.

Tuesday, September 8, 2020

Plaidish Quilt has been Finished; Now Blogged

If you're keeping track, you'll know I titled my May 22 post "Close to a Finish" and then never mentioned the project again!

Well, I did finished the project soon after, and even took pictures. But then, you know, life.


So without any further delay, here is my finished Plaidish quilt:
Final measurements are 62x79".

The simple quilting follows the piecing and gives a good texture without competing with the design.
It's kind of the obvious choice, but it works.
A couple more shots from when it was hanging:

I've mentioned that the binding was a juvenile novelty print but it was so narrow, you can hardly tell.

I'll repeat myself by saying again how much fun this pattern was. Give it a try! (Details and link below.)
The pattern has stuck in my head and I often think about how to do a one or three colour version. It's fun to see different versions pop up on Instagram. (Check out #plaidishquilt.)

Here's a picture of the quilt on my (queen size) bed:
It generously covers the top, but isn't wide enough to hang over the edge.

Project summary
Started: July 30, 2019
Finished: May 24, 2020
Size: 62"x79"
Almost 100% scraps with a few pieces from fat quarters.
Cotton batting.
Walking foot quilting on my Viking Sapphire.
All blog posts about this quilt: link

Tuesday, August 18, 2020

Scrappy Trip Around the World Begins

Remember the Quilty Adoption Event in April? I wrote about the first item I adopted -- a quilt top that I disassembled and sewed the blocks in a new layout -- and in that post, I mention a second item, but haven't written about it since.

If you follow me on Ingstagram, you will recognize these strips that I adopted:
It was a big box of single 2" strips, loosely sorted from light to dark and a bunch of strip sets already sewn together. There's a project the sewn sets were intended for and I'm still deciding if I will go ahead and make it, or use these strips for something else.

Meanwhile, I took the single strips and sorted them in groups from light to dark.
I then sorted those groupings into five gradations I called light, light2, medium, medium2, and dark because I needed five different groups to make a trip-around-the-world (TATW) block.
I have become enamored with the scrappy TATW blocks popularized by Bonnie Hunter. (Link to her tutorial.) These blocks I'm making have a similar effect but with a little more order to them because of how the lights and darks are placed.

For the first set of blocks (above) I created sets by pulling similar colours from each of the five categories. That was enough to show me that I was going to have to do a little more pre-sorting if the sewing was going to be any fun.

So I took the five gradations, and sorted each one into different colour families.
Some of the strips are in more than one colour group, and sometimes it's a stretch when a fabric is multicoloured but I had to put it somewhere. Above, clockwise from top left, is, purple, blue, red, yellow, and green.

This was the first layout I tried on the design wall, just to have a proof of concept.
The project sat for a while then and while it was sitting, I thought I would try to make strip sets ahead of time so the sewing would be even easier. It was just too hard to see if the fabrics contrasted enough when I grabbed strips while I was sewing.

So, recently, I sat down and pulled out one colour group at a time and made some sets. For the first colour group, I did it just by eye, but then realized I should be putting my camera to use.

In this photo, the strips in colour are a bit of a jumbled mess, but when I convert them to black and white, I think the contrast is just what I need. (In this case, M-M2-D-M2-M, as in medium, medium2, dark, medium2, medium.)
In this next set, I think it looks good in colour, but the black and white shows that the first two fabrics are pretty close in value. (I think I used this set anyway because my choices are limited.) This strip set is L-L2-M-M2-D.
In the next photo, I'm going for another L-L2-M-M2-D, and I think the fourth fabric looks darker than the third in colour. But in black and white, I think they are too similar to use.
The next picture is an example of M2-D-M2-M-L.
In the fourth position, there are actually two fabrics (buttons and a floral). I was trying to see which was better. Even though I think they are the same value, I think I went with the buttons because there was a little better contrast. The floral seemed to mush in with the other florals. And I think it's clear that even though the two reds in the first and third position look different in colour, in black and white, they are the same value.

The fabric strips are all different lengths and it didn't take long to realize that I needed to pay attention to how many inches of each combination I was going to get. For each inch of one strip set, I needed 2 inches of the other two strip sets for each block. I didn't worry about getting it exact but I couldn't be way off either. I sorted a lot of fabric and ended up with sets ready to sew.
Another day I tackled sewing some of the strip sets (below). I had tried to match strips of similar length, and just cut them to match the shortest length for easy sewing.
Once they were sewn I figured out how to iron the seams the right way, and cut each set into 2" pieces.
I stacked up the pieces to make blocks (seen at the top of the picture above), and then sewed those strips together.

And here we have my first set of blocks sewn from this process:
I have since sewn sets from two other colour families, and here they are on the design wall:
I don't know if this will be the final layout, but it's a fun way to put them on the wall for now.

______________________
Linking up with Oh Scrap! hosted at Quilting is more fun than Housework.

Sunday, August 16, 2020

Desk Warming Gift

I finished a little something.

We are in the process of moving our "office" desks from the dining room up to our bedroom, now that the bedroom is largely finished.

Troy recently finished his desk top (which he mounts on a pair of file cabinets). When he first sat down at it, he commented that he is going to need a mug rug to protect the desk surface.

Well, that is something I can take care of making! A few days later, I was in the mood for a small project that I could finish in short order and got to it.

I knew I had some leftover half-square triangles (HSTs) from my Merrily Christmas quilt top:
I had a bag of brown/tan HSTs and a bag with the green and red ones. I found the brown ones first, so those are what I used. And happily, that meant they were much less Christmas themed as well!

I pulled out all the HSTs from the bag and played with them until I had an arrangement I liked. Then sewed it together like a simple 16-patch.
I layered it with a layer of cotton batting on top (to absorb any moisture) and then a layer of wool batting on the bottom (to keep the moisture from soaking through). That's the theory anyway; I'll let you know if it works!

I backed it with some of my never ending supply of black leftovers and quilted it in echoed mitered corners.
My machine wasn't too happy with the thickness (or at least, that's what I assume it was). There were some flubbed stitches that you can see on the back.

I used the edge of the pressure foot to guide the distance between the lines and that happened to also cause the lines to fall along the seam lines. I had considered ahead of time whether to do the calculations to make this happen but decided to leave it to fate. And it worked out that way anyway. I wouldn't be surprised if the makers of pressure feet design them that way. (For example, making the edge of the foot 1/4" from the needle position would mean that it would line up with almost all blocks as they are general sized every 1/2".)

That is as far as I got the first afternoon. The next day I took the time to make binding from a piece of grey fabric I bought for my Lucy Boston project but didn't use. There wasn't enough for a double binding, so I just used a single thickness. It's not like this edge is going to get a lot of wear or have to stand up to much use.
I stitched it to the back so that the part that folded over to the front would be longer. Then when I stitched it by machine on the front, the stitching ran beside, but not over, the binding in the back.
I don't usually enjoy stitching binding by machine and am not usually happy with the result. (Those two things just might be related!) But for this one, I hand basted all the way around the front, right next to the fold. Then I could stitch just inside that stitching and nothing had a chance to shift or move. This isn't practical for a large quilt, but it was worth it to me for this project.

So now Troy has a mug rug for his desk, and since he's getting close to finishing my desktop, I have to start thinking about mine! I think I'll go look for those green and red leftover HSTs, Christmas themed or not...

May I suggest?

I Say! or at least I did once...