Showing posts with label quilting. Show all posts

Saturday, July 17, 2021

Finally Quilting!

There are a lot of things I could update here, but let's take on the biggest project making the most progress: my Nocturne Star quilt:
I started the blocks in May, 2016 and had them finished by July. I assembled them into the star and added the border in November and December. I pieced the backing and basted the quilt in June, 2020.

I couldn't start quilting until I had something that would hold the cones of thread I bought for this quilt. I sent a link to Troy for one as a suggestion for my birthday, and he, like any self-respecting maker would do, decided he could make one far better than what was offered for sale.

By February, his creation was ready to use:

It's very pretty and has a very solid (read: heavy) base.
It's working great.

So I could being to quilt. I started by thinking about the center star. It works better to start quilting in the middle of the quilt and it's also the hardest to do so it's nice to get it done first. The first part of the design I settled on was doing ribbon candy inside a diamond frame down the middle of each arm of the star.
I auditioned designs (and practiced the motion of making them) on a piece of glass and a dry erase marker. Then I tried some options to fill in the outside.
And settled on the wave like lines (upper design in the picture below).
Having that settled, I started stitching. In preparation, I had ordered a new foot for my machine that is designed to ride along the edge of a special ruler. (They're both sized so you can't slip and slam your needle into the ruler. Don't try to use just any ruler you have.)
In some ways, it's a little rough. I'm a beginner and the ruler is shorter than the distance to be travelled, so I have to keep moving it while maintaining the straight line. And the stitching is 1/4" from the edge of the ruler so that takes some learning. In some ways, I found it very straight forward and had no qualms about doing my very first ruler work on this special quilt.
Progress was made.
They say consistency of texture is more important that having perfectly placed and symmetrical lines, and I am choosing to believe them. :)

I am very happy that the center lies perfectly flat:
For breaks from that quilting, I sometimes worked on the light squares.
I added borders 1/4" from the edge and filled in an area with various designs based on circles or half-circles.

In general I would have liked to have kept the density of the quilting mostly the same, but in fact the designs do vary quite a bit.
I tried various ways of marking the gaps, including just relying on the markings on the ruler, water soluble pen, and a hera marker. They've all got their pluses and minuses (and I could use more practice with all of them!)
When I couldn't take doing more of the light squares, I started on the outer dark diamond shapes (the "wheel" in the Carpenter Wheel pattern). I auditioned patterns and practiced them on glass again, and ended up with a feather variation.
Something I thought I would never quilt because I wasn't that crazy about feather quilting, and it is deemed "hard". And to be honest, my earlier efforts where pretty bad! I think "modern" feathers are more forgiving and I've learned to go a lot slower and to look ahead. It's helped.
I recently gave a push and finished all of that quilting.

The center area of the light squares was left to do. I was dithering about what to do there. I wanted simple and something fairly dense to make the gaps between the borders pop. I wanted it consistently dense so nothing pictorial. I had settled on traditional crosshatching when a video about the spiraling square came up on my feed.
I decided that was it. It's back to ruler work after a lot of free-motion quilting but this is a little easier since the ruler can span the length of each line.

I've finished it on four of the twelve small squares. I'm not sure I'm going to do the same thing in the larger squares but I have a little time to think about it.

If by some heroic effort and the miracle of nothing going wrong, I have this done in two weeks, I'll be able to enter it in the county fair. If that doesn't happen, my next deadline is mid-August when I'll be traveling to see family. The quilt is destined for my sister and she has been waiting a long time (like since 2016--she had no idea it would be this long!) and I'd like to finally deliver.

Monday, February 22, 2021

Scrappy Trip Around the World Blocks

Remember this project?
This was how many blocks I had done in August.

For the next set, I matched up more strips sets sorted by colour.
My sister had given me this color tool and I finally thought to use the red and green filters to check values so I didn't have to take a hundred pictures and convert them to black and white.
That saved a lot of time!

By the end of December, I had this many blocks:
At this point I was running out of darker fabrics because the blocks use a lot more of it than the lighter fabric. So I thought, maybe I should make some light blocks, like this:
I put it on the wall to see how it would look:
I also wondered about making every other block a light one.
We'll see.

In mid-January, I worked on the heart. I didn't like the dark lines going through the middle.
I made some replacement blocks:
but I still didn't like how it looked. The diagonal lines didn't match up; the red is too thick on those blocks. So I took apart the blocks and reassembled them:
That's better!

I'm not promising this quilt will even have a heart on it, but if it does it will be one I like! ;)

And now the blocks are packed away in a box as I needed to put my Lucy Boston up on the wall. The ideas can marinate while I work on other projects.

Sunday, February 14, 2021

Maybe I Do Need a Fish Quilt

The Instagram algorithm decided I wanted to see posts in the Shoal Quilt Sew Along (#shoalsewalong from Nicholas Ball @quiltsfromtheatttic) and dang if it wasn't right. I admired some other makers' improv-style fish and it wasn't long before I had to try "just one or two" myself.
I pulled out some scraps and tried it out. I decided grey would be the background. (I was already thinking that if I "happened to" make more, I could delve into the leftover greys I'm going to have from my Lucy Boston quilt.)

Over the next few days, I had fun sitting down for a few minutes and making a couple fish.
The blocks are really rough (in other words, not neat, similarly sized rectangles) but there's no sense in working on that until you decide how they're going to fit together.

I started to play with some more complicated shapes, like curved tails:
Making two or three at a time was an efficient way to chain sew the seams, alternating from one fish to the other.
Here's my school:
I didn't think I needed a fish quilt, but now I think I might; maybe a baby quilt so this doesn't get too big to handle. I'm thinking about arranging them as a circling school of fish even though it'll be more complicated to put together.

But for now my fish are waiting in a box. I had to clean up my maker space and I'm waiting for a design space (wall? floor? bed?) to be open so I can work on sewing them together. That is going to require a lot of back-and-forth between the design space and the sewing area, and I just don't quite have the energy for that right now.

This design is from Nicholas Ball @quiltsfromtheatttic.

Tuesday, September 8, 2020

Plaidish Quilt has been Finished; Now Blogged

If you're keeping track, you'll know I titled my May 22 post "Close to a Finish" and then never mentioned the project again!

Well, I did finished the project soon after, and even took pictures. But then, you know, life.


So without any further delay, here is my finished Plaidish quilt:
Final measurements are 62x79".

The simple quilting follows the piecing and gives a good texture without competing with the design.
It's kind of the obvious choice, but it works.
A couple more shots from when it was hanging:

I've mentioned that the binding was a juvenile novelty print but it was so narrow, you can hardly tell.

I'll repeat myself by saying again how much fun this pattern was. Give it a try! (Details and link below.)
The pattern has stuck in my head and I often think about how to do a one or three colour version. It's fun to see different versions pop up on Instagram. (Check out #plaidishquilt.)

Here's a picture of the quilt on my (queen size) bed:
It generously covers the top, but isn't wide enough to hang over the edge.

Project summary
Started: July 30, 2019
Finished: May 24, 2020
Size: 62"x79"
Almost 100% scraps with a few pieces from fat quarters.
Cotton batting.
Walking foot quilting on my Viking Sapphire.
All blog posts about this quilt: link

Tuesday, August 18, 2020

Scrappy Trip Around the World Begins

Remember the Quilty Adoption Event in April? I wrote about the first item I adopted -- a quilt top that I disassembled and sewed the blocks in a new layout -- and in that post, I mention a second item, but haven't written about it since.

If you follow me on Ingstagram, you will recognize these strips that I adopted:
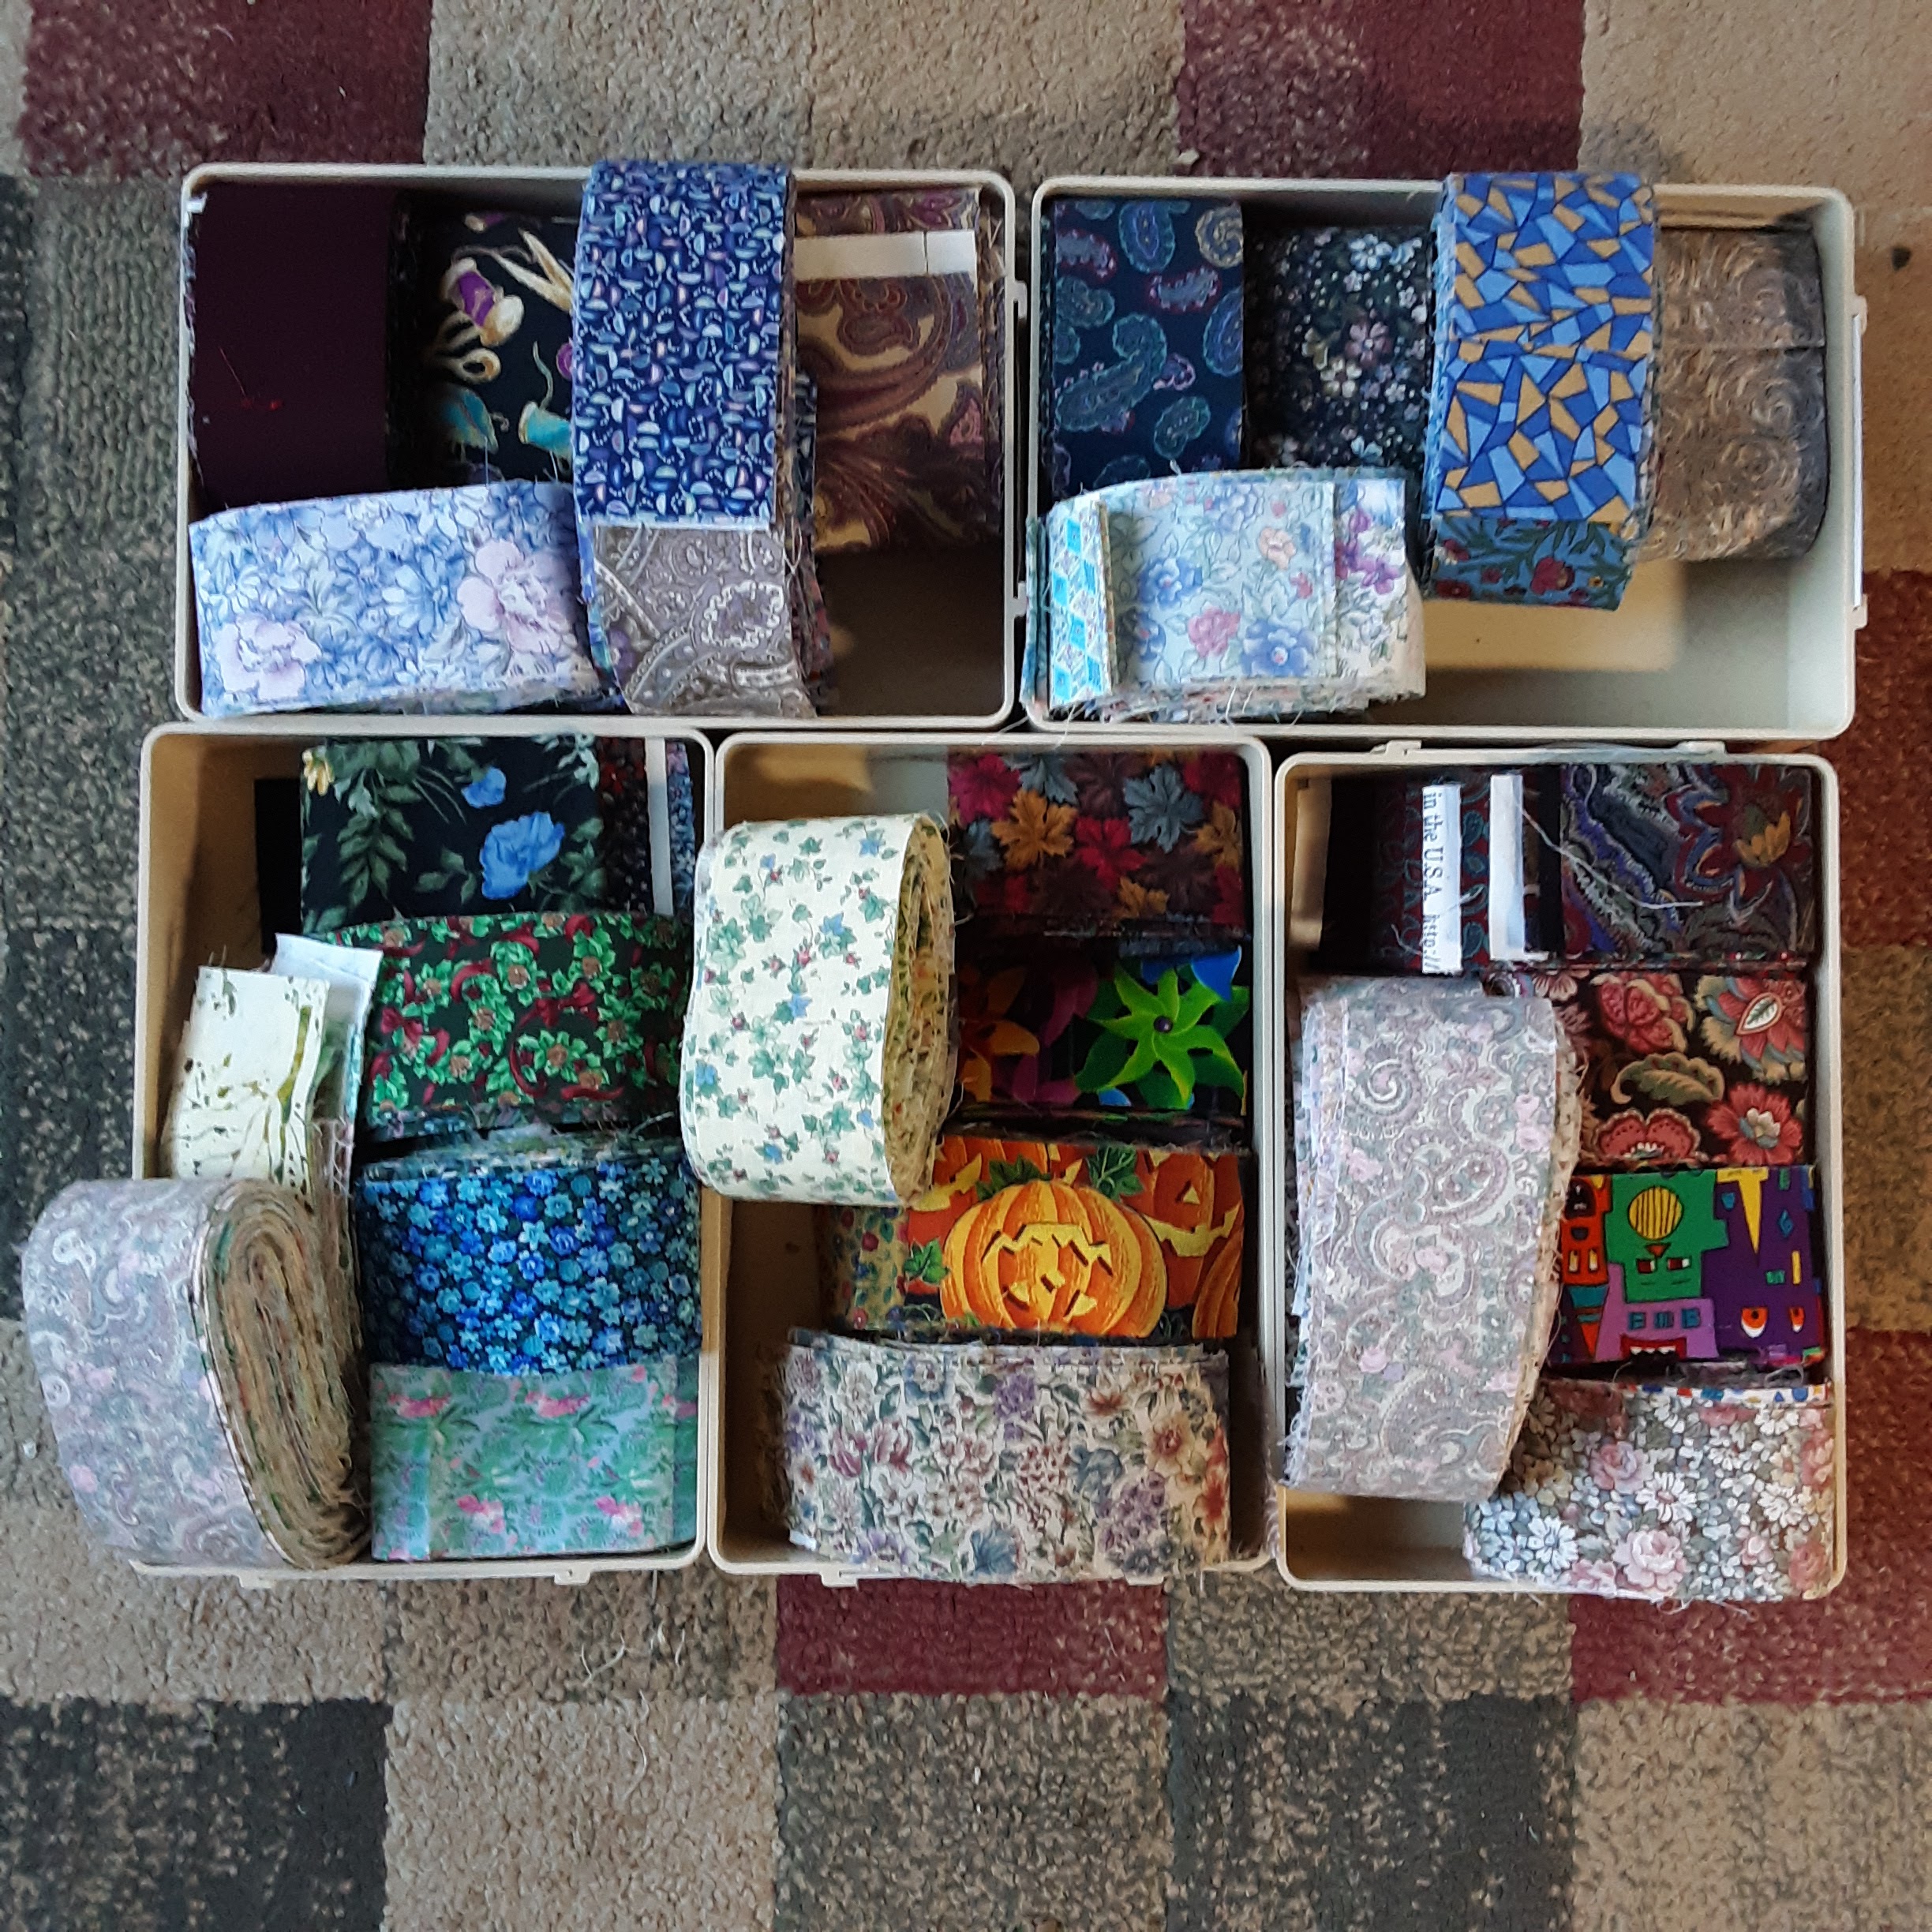
It was a big box of single 2" strips, loosely sorted from light to dark and a bunch of strip sets already sewn together. There's a project the sewn sets were intended for and I'm still deciding if I will go ahead and make it, or use these strips for something else.

Meanwhile, I took the single strips and sorted them in groups from light to dark.
I then sorted those groupings into five gradations I called light, light2, medium, medium2, and dark because I needed five different groups to make a trip-around-the-world (TATW) block.
I have become enamored with the scrappy TATW blocks popularized by Bonnie Hunter. (Link to her tutorial.) These blocks I'm making have a similar effect but with a little more order to them because of how the lights and darks are placed.

For the first set of blocks (above) I created sets by pulling similar colours from each of the five categories. That was enough to show me that I was going to have to do a little more pre-sorting if the sewing was going to be any fun.

So I took the five gradations, and sorted each one into different colour families.
Some of the strips are in more than one colour group, and sometimes it's a stretch when a fabric is multicoloured but I had to put it somewhere. Above, clockwise from top left, is, purple, blue, red, yellow, and green.

This was the first layout I tried on the design wall, just to have a proof of concept.
The project sat for a while then and while it was sitting, I thought I would try to make strip sets ahead of time so the sewing would be even easier. It was just too hard to see if the fabrics contrasted enough when I grabbed strips while I was sewing.

So, recently, I sat down and pulled out one colour group at a time and made some sets. For the first colour group, I did it just by eye, but then realized I should be putting my camera to use.

In this photo, the strips in colour are a bit of a jumbled mess, but when I convert them to black and white, I think the contrast is just what I need. (In this case, M-M2-D-M2-M, as in medium, medium2, dark, medium2, medium.)
In this next set, I think it looks good in colour, but the black and white shows that the first two fabrics are pretty close in value. (I think I used this set anyway because my choices are limited.) This strip set is L-L2-M-M2-D.
In the next photo, I'm going for another L-L2-M-M2-D, and I think the fourth fabric looks darker than the third in colour. But in black and white, I think they are too similar to use.
The next picture is an example of M2-D-M2-M-L.
In the fourth position, there are actually two fabrics (buttons and a floral). I was trying to see which was better. Even though I think they are the same value, I think I went with the buttons because there was a little better contrast. The floral seemed to mush in with the other florals. And I think it's clear that even though the two reds in the first and third position look different in colour, in black and white, they are the same value.

The fabric strips are all different lengths and it didn't take long to realize that I needed to pay attention to how many inches of each combination I was going to get. For each inch of one strip set, I needed 2 inches of the other two strip sets for each block. I didn't worry about getting it exact but I couldn't be way off either. I sorted a lot of fabric and ended up with sets ready to sew.
Another day I tackled sewing some of the strip sets (below). I had tried to match strips of similar length, and just cut them to match the shortest length for easy sewing.
Once they were sewn I figured out how to iron the seams the right way, and cut each set into 2" pieces.
I stacked up the pieces to make blocks (seen at the top of the picture above), and then sewed those strips together.

And here we have my first set of blocks sewn from this process:
I have since sewn sets from two other colour families, and here they are on the design wall:
I don't know if this will be the final layout, but it's a fun way to put them on the wall for now.

______________________
Linking up with Oh Scrap! hosted at Quilting is more fun than Housework.

May I suggest?

I Say! or at least I did once...