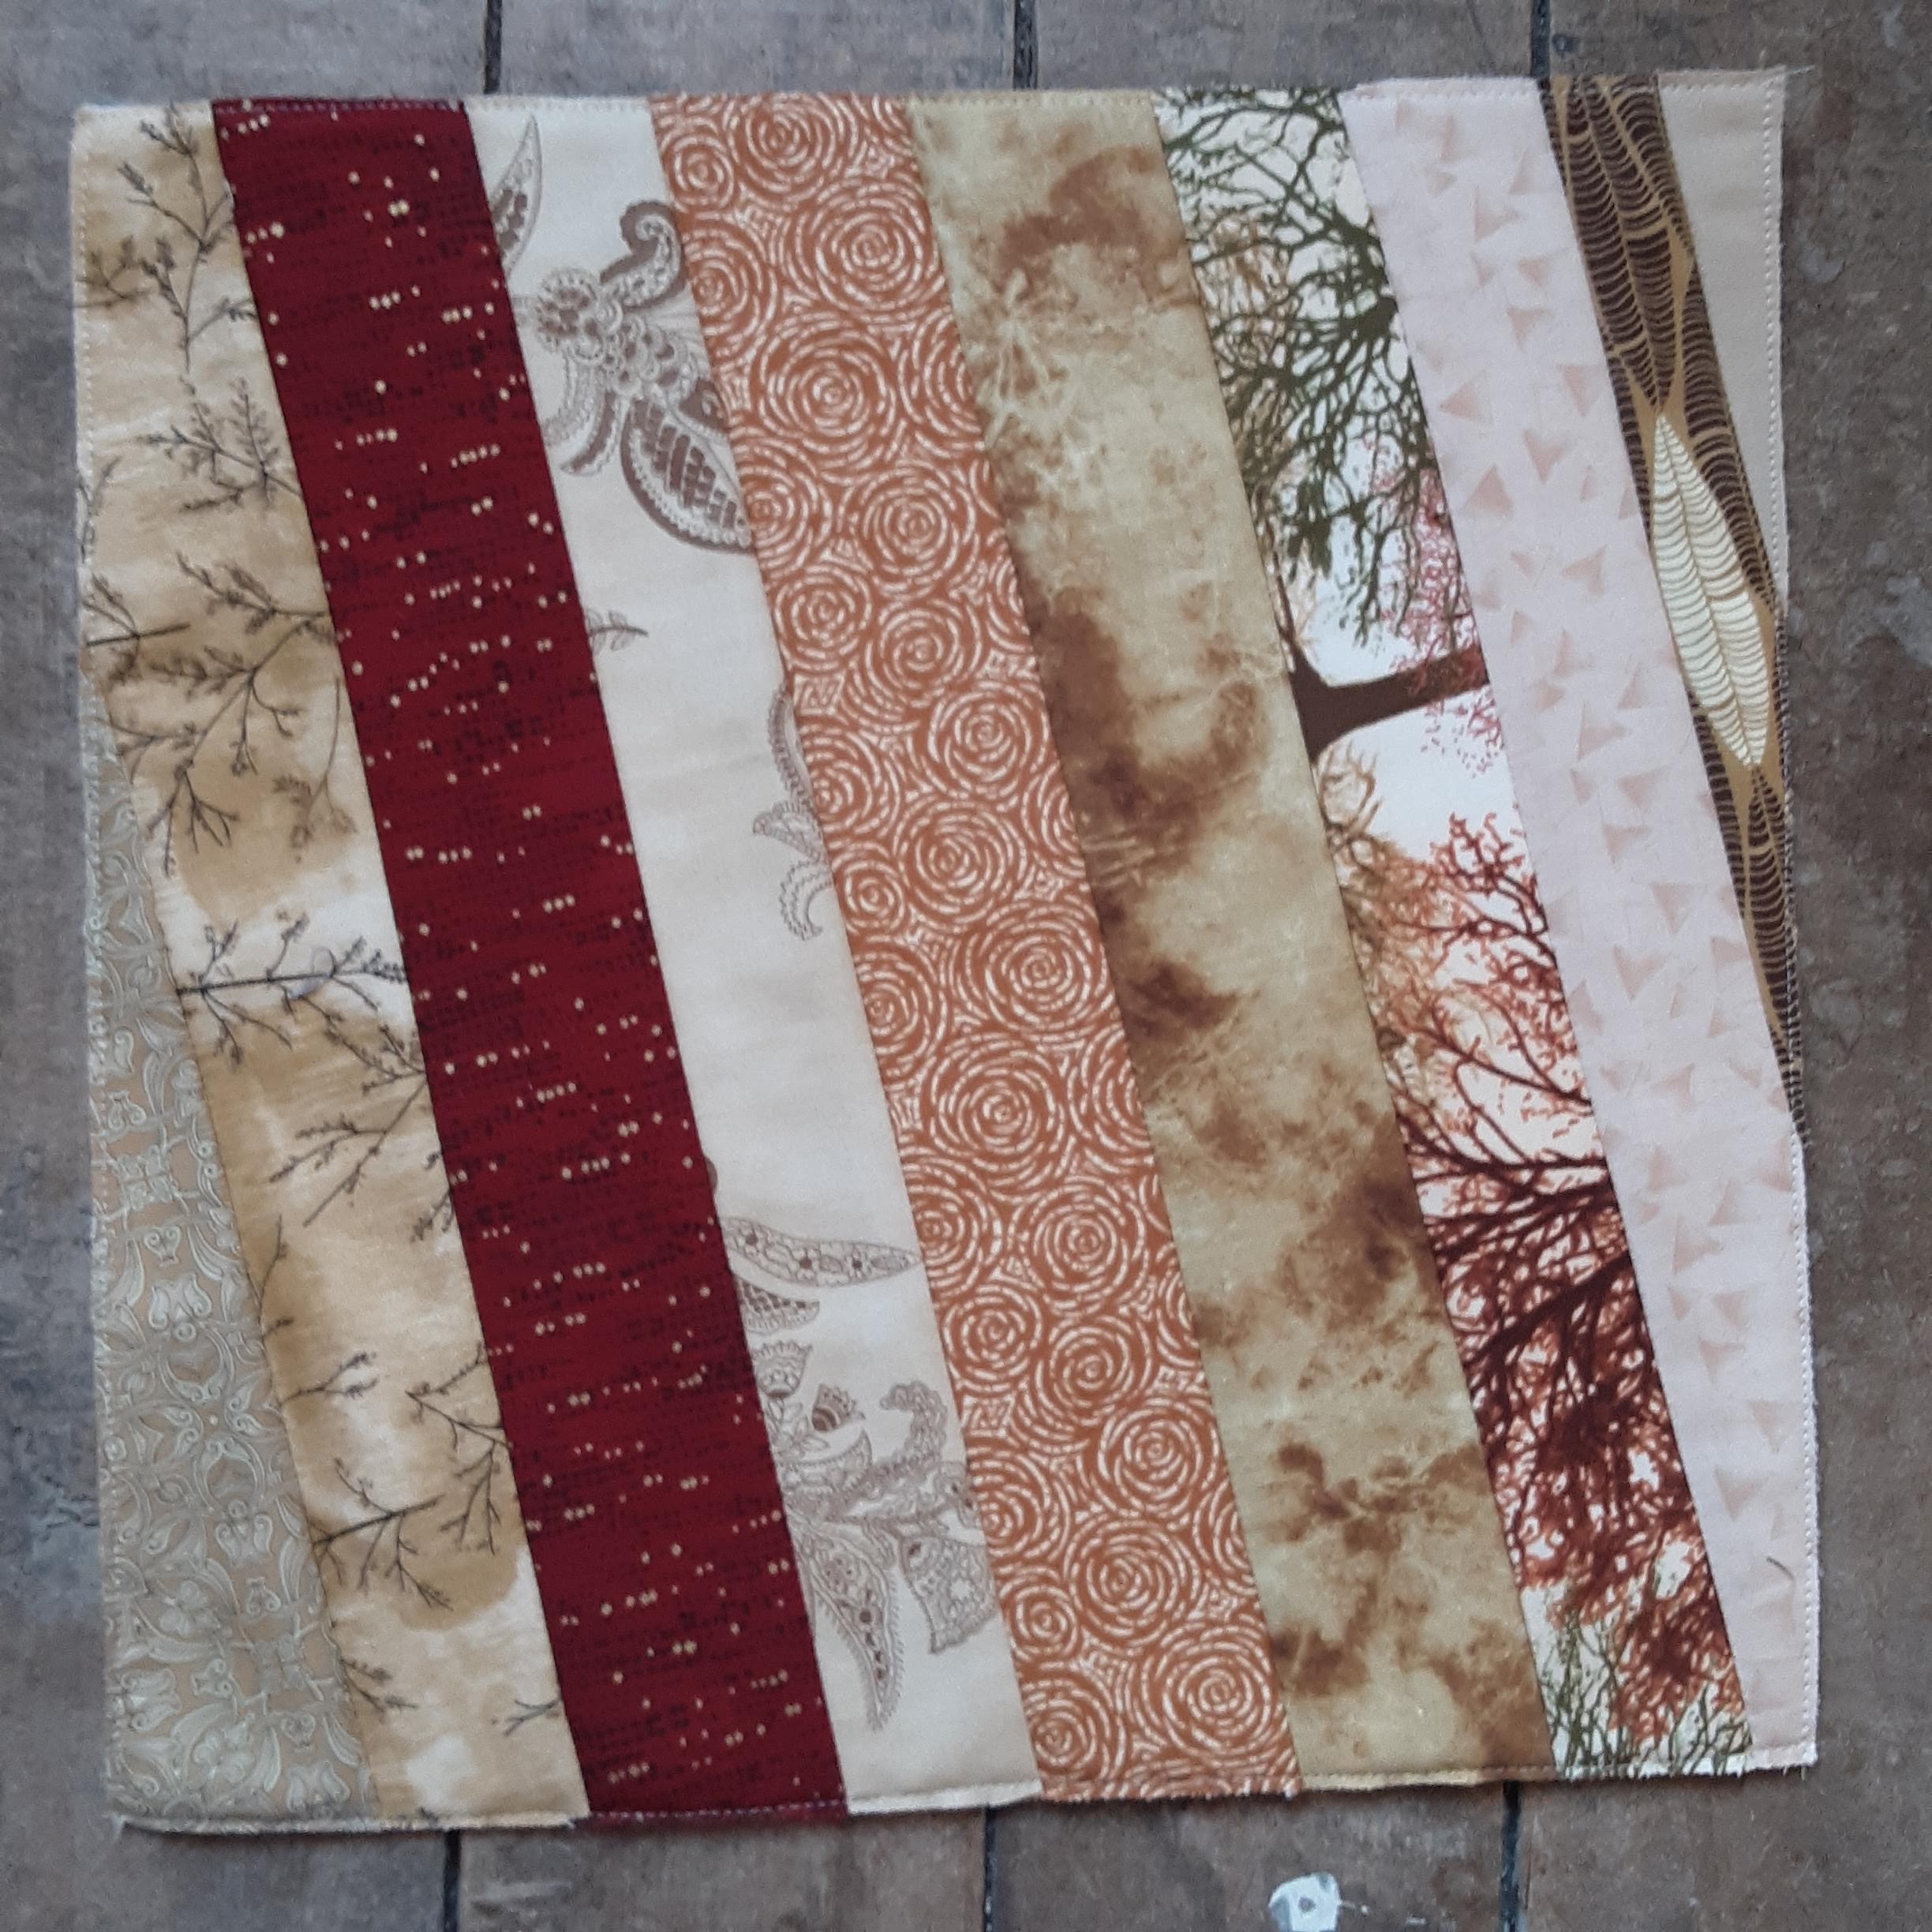
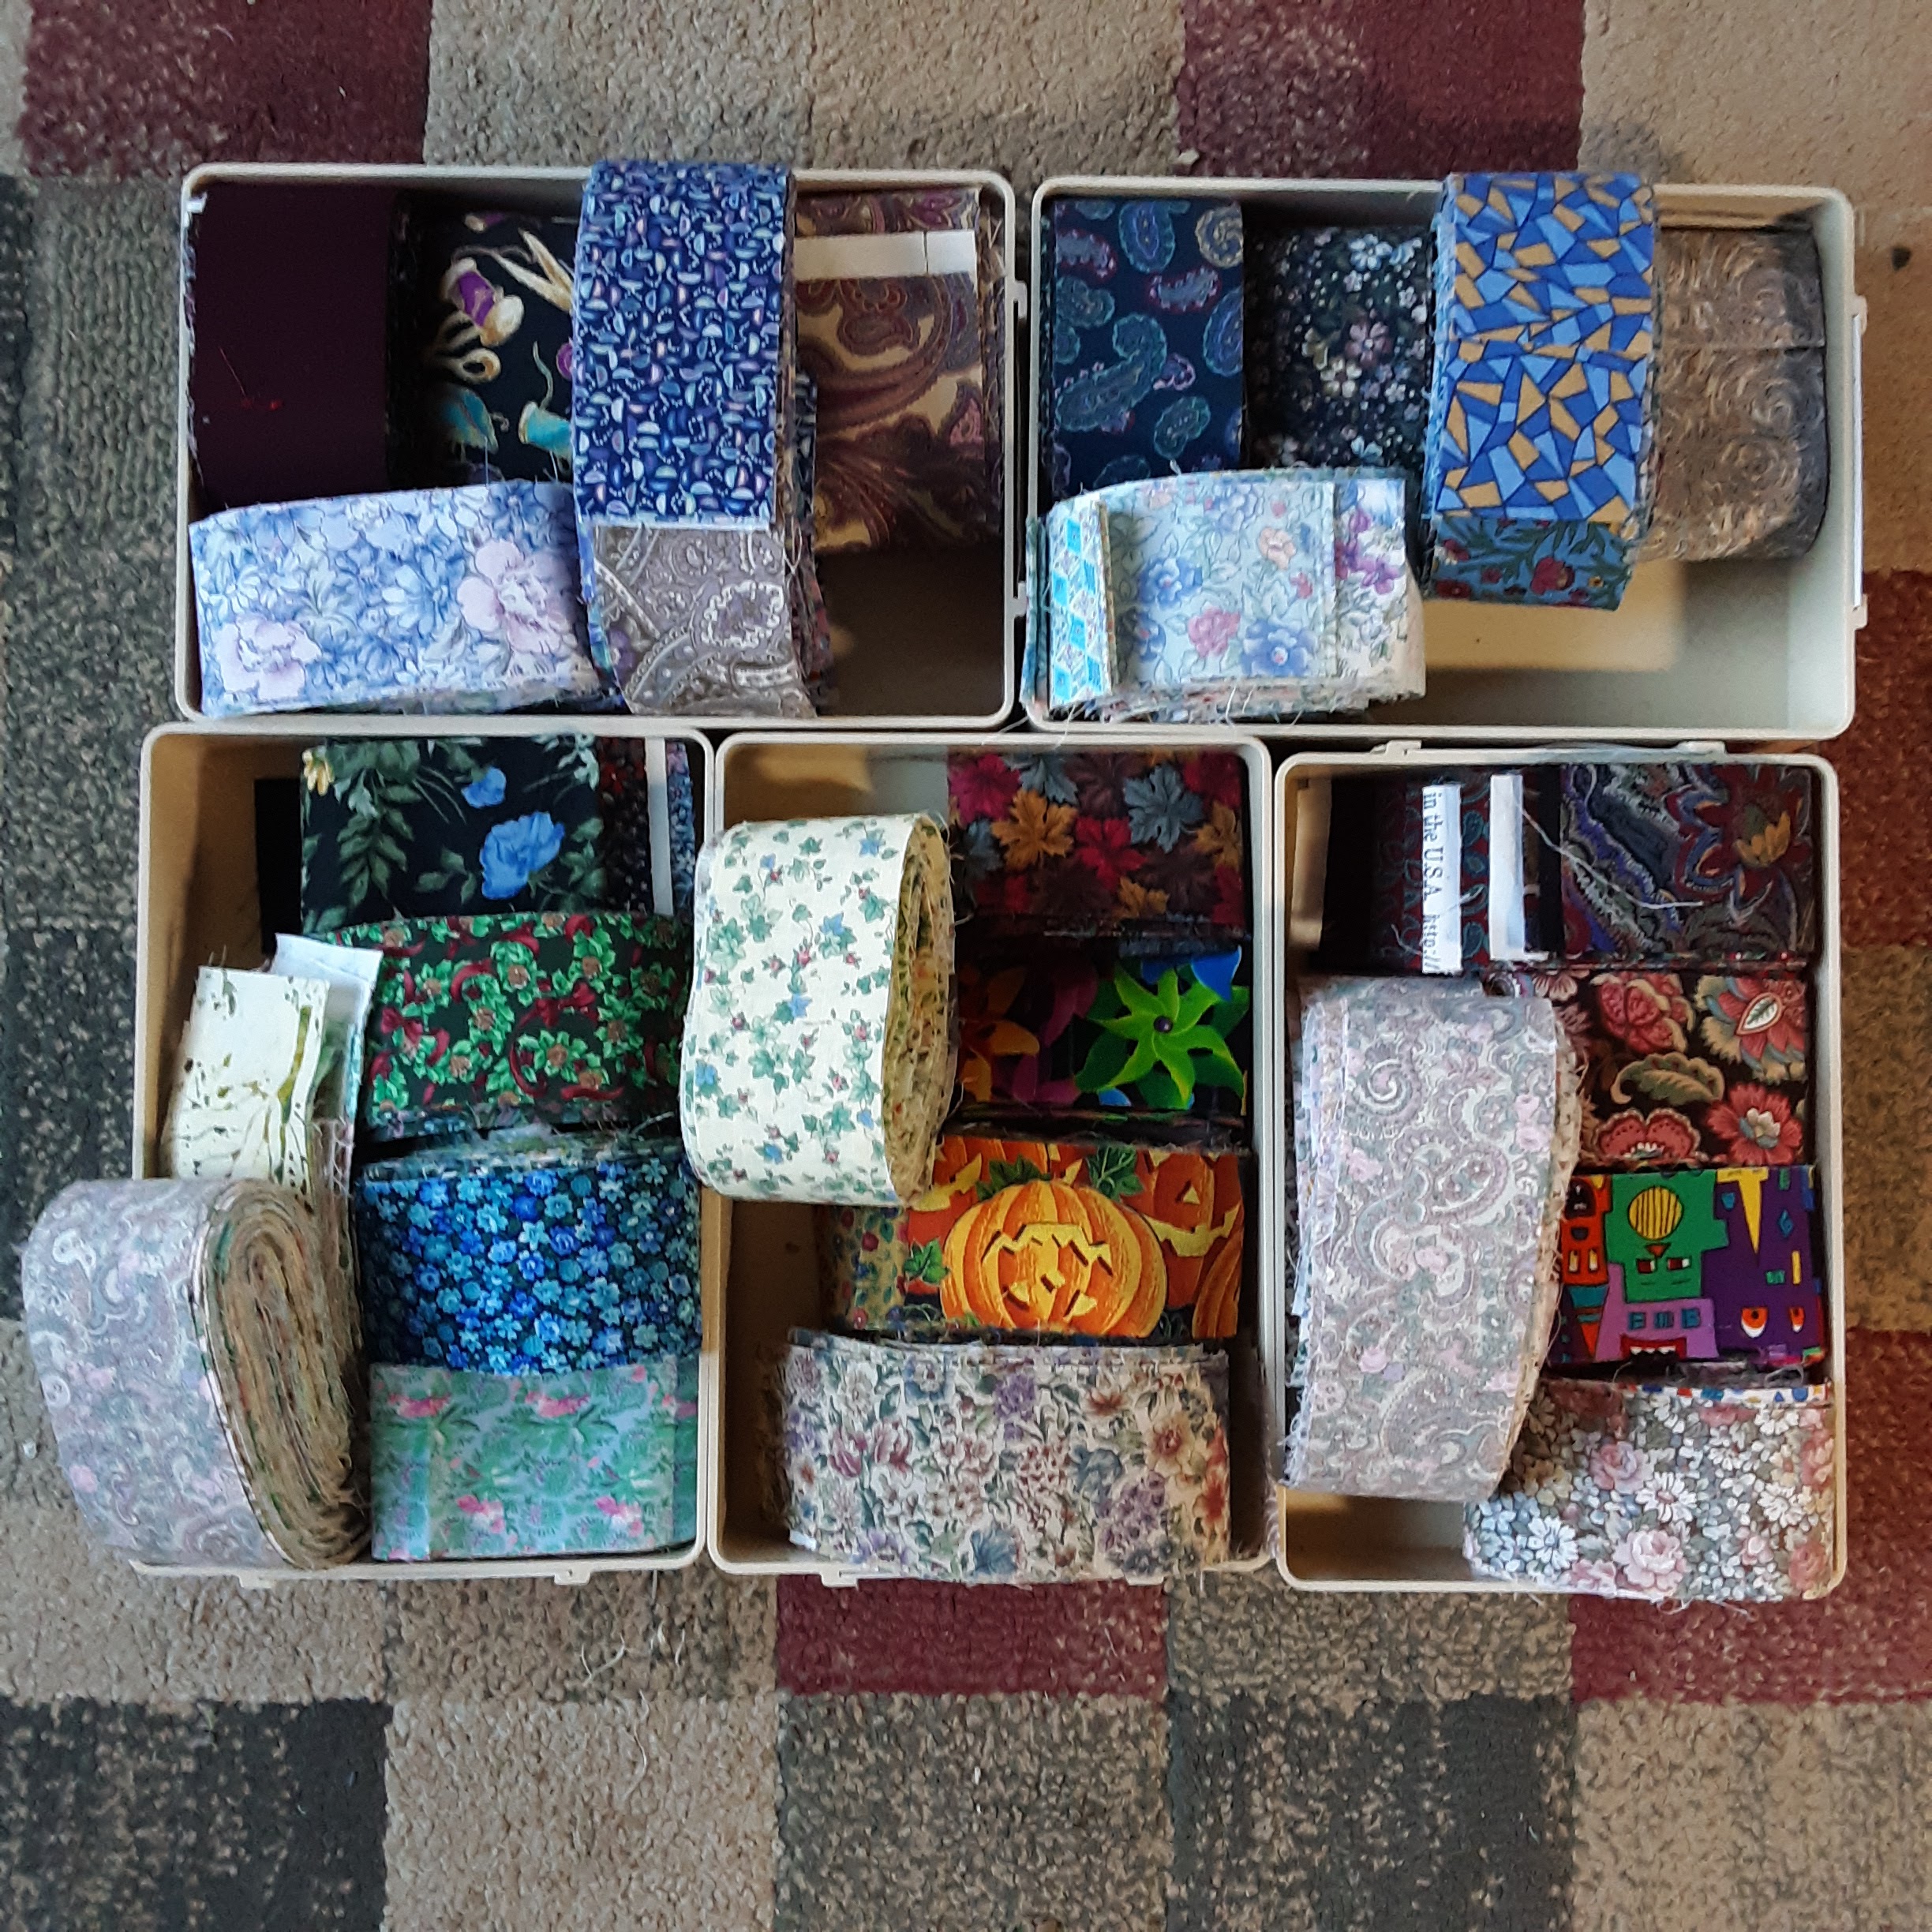
Showing posts with label piecing scraps. Show all posts

Sunday, March 7, 2021

Joining Together

I enjoy reading Cynthia's blog, Quilting is more fun than Housework, and a recent post mentioned a block drive for Covered in Love. I went to check it out and discovered Kat at Kat and Cat Quilts had called for string blocks that she calls Mix Tape, click here for her tutorial.
For those of you who just asked yourself some version of, "What is a block drive?" This is a call for quilt blocks that will then be assembled into a quilt. Blocks are easier to get done in a short time and easier to mail. Added all together they can make quilts in a quicker time than one quilter making the quilt from beginning to end. (And it's fun to work on projects together.) Usually a block drive will have a theme specified--maybe by colours used, maybe by the design chosen. 
For whatever reason, this block connected with me at just the right moment and I pulled out some scraps to make some. Coincidentally, the same box that held all my scraps already cut into strips also held some scrap batting pieces. These blocks were made directly onto the batting so that was perfect.
It's easy to sew pieces of batting together to make the size you need. I had a long strip (cut from the edge of a quilt) that was about 10 inches wide but I needed a 13.5" square. So I cut 13.5" pieces and then sewed a strip to the one size to make up the difference. Whiz it through the sewing machine on an extra wide zig zag and you're done.
As long as there are no gaps, you don't have to be too worried about it--whatever quilting is going to be added will hold the batting in place.
Friday night I made five blocks and then cleaned up thinking I might be done.
The next morning I wanted to make more, so I did. I made them two at a time so that I could alternate between them for sewing, which is more efficient. What I did not do was start a whole bunch and commit myself to having to finish them!
I cleared out my yellow and orange strips and most of those batting scraps by the time I was done.
I made 11 blocks all together.
I didn't realize at first, but I was joining this drive on the last weekend. (These were the January-February blocks.) I sent an email to the organizer and she got back to me right away letting me know they weren't due February 28. So I figured whatever I got done on the weekend, I would mail on Monday (March 1) and that would be good.
It makes quite a mess as I'm rifling through the strips looking for ones that are long enough for the next place and that make a balanced-looking block. By the second orange block, I didn't have a wide variety so I wanted to make sure I didn't put the same fabric beside itself.
The examples I saw online seemed to have skinnier strips. Some people save even the thinnest ones. I just worked with ones that I had pre-cut into 1.5", 2", and 2.5" widths, and most of what I had left were the 2.5". It was tempting to think I wasn't doing it "right" but then I remembered that they intend scraps to be used--they must be used to working with whatever they get!
Here's evidence of one of the hazards of working with batting on the back of the block:
Fabric sticks to batting like velcro so anytime I put down the block, I risked fabric sticking to the back and not noticing it. At some point I saw a wide piece of batik fabric was sewn onto the back of this block. I was not about to take out the seam, so I cut the fabric right next to the stitching. If it weren't batik, I could have teased that tiny remnant out of the stitches but batik is too densely woven. It won't do any harm there.

Here is an idea of what a quilt of these blocks might look like:
Kat does a different drive every two months so maybe I'll jump in on a few more this year.

Joining up with Oh Scrap linky party at Quilting is more fun than Housework.

Monday, February 22, 2021

Scrappy Trip Around the World Blocks

Remember this project?
This was how many blocks I had done in August.

For the next set, I matched up more strips sets sorted by colour.
My sister had given me this color tool and I finally thought to use the red and green filters to check values so I didn't have to take a hundred pictures and convert them to black and white.
That saved a lot of time!

By the end of December, I had this many blocks:
At this point I was running out of darker fabrics because the blocks use a lot more of it than the lighter fabric. So I thought, maybe I should make some light blocks, like this:
I put it on the wall to see how it would look:
I also wondered about making every other block a light one.
We'll see.

In mid-January, I worked on the heart. I didn't like the dark lines going through the middle.
I made some replacement blocks:
but I still didn't like how it looked. The diagonal lines didn't match up; the red is too thick on those blocks. So I took apart the blocks and reassembled them:
That's better!

I'm not promising this quilt will even have a heart on it, but if it does it will be one I like! ;)

And now the blocks are packed away in a box as I needed to put my Lucy Boston up on the wall. The ideas can marinate while I work on other projects.

Tuesday, August 18, 2020

Scrappy Trip Around the World Begins

Remember the Quilty Adoption Event in April? I wrote about the first item I adopted -- a quilt top that I disassembled and sewed the blocks in a new layout -- and in that post, I mention a second item, but haven't written about it since.

If you follow me on Ingstagram, you will recognize these strips that I adopted:
It was a big box of single 2" strips, loosely sorted from light to dark and a bunch of strip sets already sewn together. There's a project the sewn sets were intended for and I'm still deciding if I will go ahead and make it, or use these strips for something else.

Meanwhile, I took the single strips and sorted them in groups from light to dark.
I then sorted those groupings into five gradations I called light, light2, medium, medium2, and dark because I needed five different groups to make a trip-around-the-world (TATW) block.
I have become enamored with the scrappy TATW blocks popularized by Bonnie Hunter. (Link to her tutorial.) These blocks I'm making have a similar effect but with a little more order to them because of how the lights and darks are placed.

For the first set of blocks (above) I created sets by pulling similar colours from each of the five categories. That was enough to show me that I was going to have to do a little more pre-sorting if the sewing was going to be any fun.

So I took the five gradations, and sorted each one into different colour families.
Some of the strips are in more than one colour group, and sometimes it's a stretch when a fabric is multicoloured but I had to put it somewhere. Above, clockwise from top left, is, purple, blue, red, yellow, and green.

This was the first layout I tried on the design wall, just to have a proof of concept.
The project sat for a while then and while it was sitting, I thought I would try to make strip sets ahead of time so the sewing would be even easier. It was just too hard to see if the fabrics contrasted enough when I grabbed strips while I was sewing.

So, recently, I sat down and pulled out one colour group at a time and made some sets. For the first colour group, I did it just by eye, but then realized I should be putting my camera to use.

In this photo, the strips in colour are a bit of a jumbled mess, but when I convert them to black and white, I think the contrast is just what I need. (In this case, M-M2-D-M2-M, as in medium, medium2, dark, medium2, medium.)
In this next set, I think it looks good in colour, but the black and white shows that the first two fabrics are pretty close in value. (I think I used this set anyway because my choices are limited.) This strip set is L-L2-M-M2-D.
In the next photo, I'm going for another L-L2-M-M2-D, and I think the fourth fabric looks darker than the third in colour. But in black and white, I think they are too similar to use.
The next picture is an example of M2-D-M2-M-L.
In the fourth position, there are actually two fabrics (buttons and a floral). I was trying to see which was better. Even though I think they are the same value, I think I went with the buttons because there was a little better contrast. The floral seemed to mush in with the other florals. And I think it's clear that even though the two reds in the first and third position look different in colour, in black and white, they are the same value.

The fabric strips are all different lengths and it didn't take long to realize that I needed to pay attention to how many inches of each combination I was going to get. For each inch of one strip set, I needed 2 inches of the other two strip sets for each block. I didn't worry about getting it exact but I couldn't be way off either. I sorted a lot of fabric and ended up with sets ready to sew.
Another day I tackled sewing some of the strip sets (below). I had tried to match strips of similar length, and just cut them to match the shortest length for easy sewing.
Once they were sewn I figured out how to iron the seams the right way, and cut each set into 2" pieces.
I stacked up the pieces to make blocks (seen at the top of the picture above), and then sewed those strips together.

And here we have my first set of blocks sewn from this process:
I have since sewn sets from two other colour families, and here they are on the design wall:
I don't know if this will be the final layout, but it's a fun way to put them on the wall for now.

______________________
Linking up with Oh Scrap! hosted at Quilting is more fun than Housework.

Monday, April 29, 2019

Christmas in April

...or at least Christmas prep. I woke up with snow on the ground yesterday (seriously--on April 28) so why not work on a Christmas quilt? A couple Christmases ago, I was at my mother-in-law's looking through all her quilt magazines (as you do) and fell in love with these animals designed by Gingiber. I ended up ordering a set of cards with these animals and bought the fabric panel. (I never track things down that I see in magazines so I was seriously smitten.)


I also liked the designs and soft colours of the coordinating fabric line. By the time I discovered it, the fabric was getting old so it wasn't stocked in many places. (The danger of looking through older magazines.) But I did manage to find two layer cakes (a set of 42 10" squares). The layer cakes include of all of the fabric from the line.

I figured two layer cakes would be enough to make a quilt if I added a contrasting background fabric (like white).

And what pattern did I want to do with this fabric? Well, during the same magazine perusing I found a pattern in a different magazine where one of the "alternate" colour schemes was in this fabric. I liked the pattern and decided that was it.

Then once I was home, I couldn't find it again. This past Christmas I was looking through magazines again at my mother-in-law's and found it! I asked if I could borrow it and she gave it to me. Yeah!

This past Saturday I was signed up for a book class (a button accordion book - what?) but it was cancelled because there weren't enough sign ups. I decided I was going to claim all of that time (plus the 1.5 hours of driving it would have been) for quilting time. But then instead of waiting until Saturday, I started on Friday.
I had organized the fabric before - enough to be pretty sure I wasn't going to have quite enough. But I decided to proceed anyway and see how far I could get. After cutting most of the print fabrics for the blocks, I thought I should try a block or two to make sure everything was going to work out. I sewed the two grey blocks first:
(They overlap a little - they are the same.)
Everything seemed to be just fine!

I cut the rest of the fabric, including the white on Saturday. I had to get creative by the end. I was feeling some embarrassment that I was going to have to sew smaller pieces together to get the right size. Like it was shameful that there were going to be a couple extra seams in the quilt. (Ones that you will be hard pressed to see, I might add.)
But I did a quick turnaround on that feeling. Piecing bits together is resourceful and creative and that's how I'm going to see it. A bit of a tangent, but this reminded me of some embroidered blocks I picked up recently. In one of them, the background square was sewn from two pieces. My first thought was not "Shame on you"; it was more "Way to solve a problem; good for you."

For the last red block, I had to get very "creative" let's say. I'm supposed to have two squares of the same size that I can sew together (red and white). Well, in some cases I had red pieces the right size, but white squares a bit too small. But they weren't two small for a different method of making the same piece.

So here you see a red triangle (itself pieced together) being sewn to a smaller white square, and two smaller white squares sewn to a proper size red square.
After I cut them to shape and trimmed them, they all looked the same as the ones done "properly".

In another case, I didn't have a big enough piece for the center square. You're supposed to have a 6.5" square. But if you look at the blocks above, you can see that the center square actually has all four of its corners chopped off to turn it into a diamond.

So instead of doing the math to figure out the size of the finished square and sewing fiddly triangles on, I cut a piece of paper to 6.5". I folded it twice for reference points, and then cut a piece of grey fabric,
You can see I had pieced the grey fabric together and was
planning to cut the 6.5" square from it. But I decided to
do this foundation paper method instead to
save one extra seam (and use less fabric).
big enough to cover the center in the diamond shape.
Now when I put the square on the corner to make the triangle, I can line it up with the edges of the paper, sew on the marked diagonal line, and everything will be easy peasy and good as new. (I'll sew through the paper and remove it later.)
(I haven't sewn this block yet so I can't show you the final result.)

By Saturday night, I had a red block too.
And after today, I have six blocks done - all the red and grey ones. That means I'm half way there!
The blocks are 18" finished and seem huge to me. I got tired of overlapping them on my poster board so I taped them on the wall. They take up a lot of surface area!

Things are going pretty fast; it may not be too long before I have a quilt top!

May I suggest?

I Say! or at least I did once...