Remember the Quilty Adoption Event in April? I wrote about the first item I adopted -- a
quilt top that I disassembled and sewed the blocks in a new layout -- and in that post, I mention a second item, but haven't written about it since.
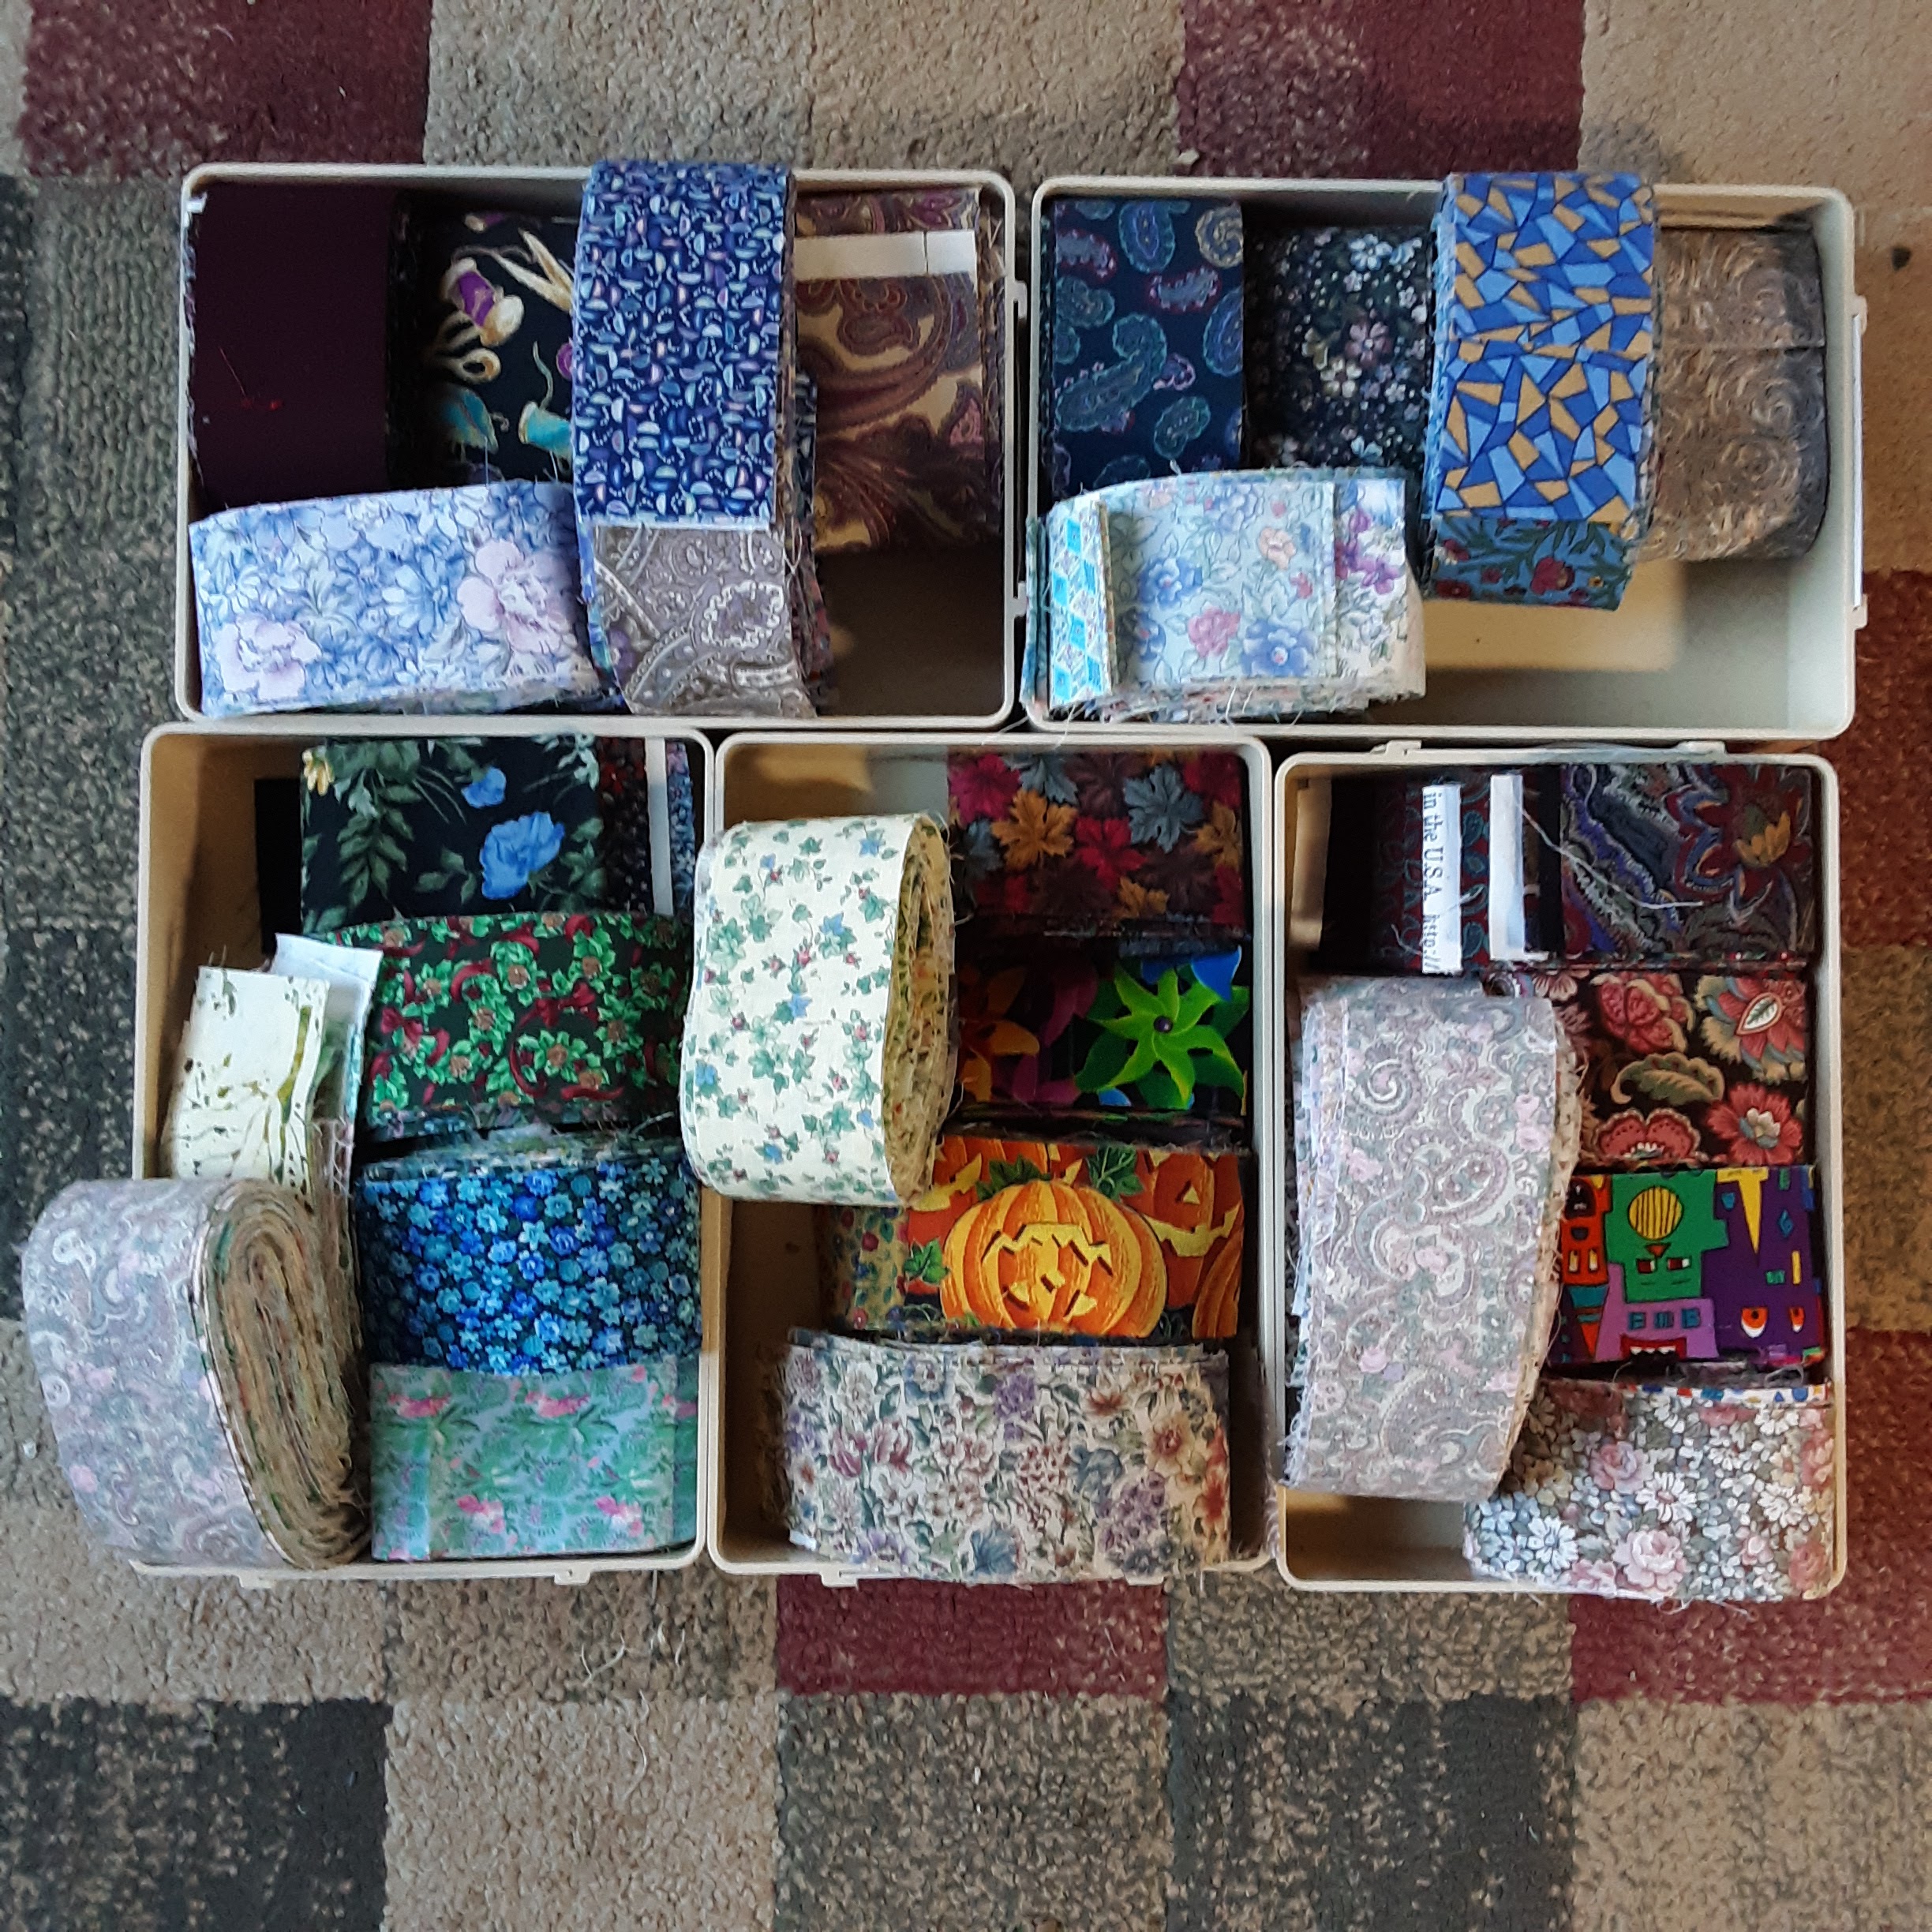
If you follow me on Ingstagram, you will recognize these strips that I adopted:
It was a big box of single 2" strips, loosely sorted from light to dark and a bunch of strip sets already sewn together. There's a project the sewn sets were intended for and I'm still deciding if I will go ahead and make it, or use these strips for something else.
Meanwhile, I took the single strips and sorted them in groups from light to dark.
I then sorted those groupings into five gradations I called light, light2, medium, medium2, and dark because I needed five different groups to make a trip-around-the-world (TATW) block.
I have become enamored with the scrappy TATW blocks popularized by Bonnie Hunter. (
Link to her tutorial.) These blocks I'm making have a similar effect but with a little more order to them because of how the lights and darks are placed.
For the first set of blocks (above) I created sets by pulling similar colours from each of the five categories. That was enough to show me that I was going to have to do a little more pre-sorting if the sewing was going to be any fun.
So I took the five gradations, and sorted each one into different colour families.
Some of the strips are in more than one colour group, and sometimes it's a stretch when a fabric is multicoloured but I had to put it somewhere. Above, clockwise from top left, is, purple, blue, red, yellow, and green.
This was the first layout I tried on the design wall, just to have a proof of concept.
The project sat for a while then and while it was sitting, I thought I would try to make strip sets ahead of time so the sewing would be even easier. It was just too hard to see if the fabrics contrasted enough when I grabbed strips while I was sewing.
So, recently, I sat down and pulled out one colour group at a time and made some sets. For the first colour group, I did it just by eye, but then realized I should be putting my camera to use.
In this photo, the strips in colour are a bit of a jumbled mess, but when I convert them to black and white, I think the contrast is just what I need. (In this case, M-M2-D-M2-M, as in medium, medium2, dark, medium2, medium.)
In this next set, I think it looks good in colour, but the black and white shows that the first two fabrics are pretty close in value. (I think I used this set anyway because my choices are limited.) This strip set is L-L2-M-M2-D.
In the next photo, I'm going for another L-L2-M-M2-D, and I think the fourth fabric looks darker than the third in colour. But in black and white, I think they are too similar to use.
The next picture is an example of M2-D-M2-M-L.
In the fourth position, there are actually two fabrics (buttons and a floral). I was trying to see which was better. Even though I think they are the same value, I think I went with the buttons because there was a little better contrast. The floral seemed to mush in with the other florals. And I think it's clear that even though the two reds in the first and third position look different in colour, in black and white, they are the same value.
The fabric strips are all different lengths and it didn't take long to realize that I needed to pay attention to how many inches of each combination I was going to get. For each inch of one strip set, I needed 2 inches of the other two strip sets for each block. I didn't worry about getting it exact but I couldn't be way off either. I sorted a lot of fabric and ended up with sets ready to sew.
Another day I tackled sewing some of the strip sets (below). I had tried to match strips of similar length, and just cut them to match the shortest length for easy sewing.
Once they were sewn I figured out how to iron the seams the right way, and cut each set into 2" pieces.
I stacked up the pieces to make blocks (seen at the top of the picture above), and then sewed those strips together.
And here we have my first set of blocks sewn from this process:
I have since sewn sets from two other colour families, and here they are on the design wall:
I don't know if this will be the final layout, but it's a fun way to put them on the wall for now.
______________________
Linking up with
Oh Scrap! hosted at Quilting is more fun than Housework.