Showing posts with label 2020 completed projects. Show all posts

Thursday, December 31, 2020

Projects Completed in 2020

In order of completion. Click text for related blog posts.

Old Kentucky Quilt remake

Plaidish Quilt


Mug Rug


Sock Dash socks

Summer Dreams top

Circular Knitting Needle case

Wednesday, September 23, 2020

Fall Footwear

It may be "sweater weather" (it is!!), but fall also means it's time to pull out those warm knitted socks. Especially those I haven't had a chance to wear yet!!


My sock production has dropped a lot for a lot of reasons, and I have been plugging along on these socks since last November. But here is proof that if you keep plugging, eventually you get done:
These socks were made from a ball of Cherry Tree Hill Yarn Supersock DK
I got at a resale back in 2015 for $10. At the time, that was about half of what a new ball of sock yarn would cost. It was later identified as the colorway African Grey. (Thank you, Ravelry! Knowing the color name doesn't at all change the yarn or how much I like it, but I still love to know!)

You can see it sat in my stash for a while and I think I picked it up because I needed something to take on the go and this ball was easy and available.

It's a weird combinations of colours and I was hoping the colour runs were a little longer, but no matter. I used a slip stitch pattern to break up the variegation, but it turns out the colour runs were so short that they wouldn't have pooled like most variegated yarns do.
On the right is the bottom of the sock where I didn't do the pattern and you can see the stripes. On the left is the slip stitch pattern (every fourth row: K2, bring yarn to the front, slip 2, move yarn back; repeat). Turns out I actually like the stripes better! But again, no matter.

I knit them toe up making up the pattern on the fly. I made a gusset of increases every other row for a total of 24 stitches.
I did a short-row heel turn and heel flap in stocking stitch. Continued the slip stitch pattern all around the leg, and finished with a 2x2 rib with Jeny's Surprisingly Stretchy Bind Off.
I finished the knitting in June. I blocked them sometime in August. And now I got to the pictures in September. Once again, plugging along gets it done...at some point.

I've been looking at these socks hanging on the blockers for the last month or more wondering if I really need another pair of socks. But when the first chilly day came along last week, I slipped them on with pleasure! :)

Project Stats
Started: 3 Nov '19
Finished: 16 Jun '20
Pattern: of my own making: slip stitch pattern, toe up, short row toe, gusset, heel flap, 2x2 rib
Materials: Cherry Tree Hill Yarn Supersock DK (African Grey), 78 g ($10)
Ravelry project page: link

Saturday, September 12, 2020

Summer Dreams Top: Some Crochet Fun

I've been following more crochet accounts on Instagram and when I saw the Summer Dreams Tops come up on the designer designsbykey's feed, I loved it right away!

I pulled out some raveled yarn that I had and started swatching. The first swatch on the left below was with a 2-ply raw silk. I got gauge but I didn't like the feel of the fabric. Working with two strands that weren't spun together made it difficult too.

So I added a wool/angora blend and worked with both yarns at once. That swatch is on the right.
It also got gauge but the fabric was a lot better in the hand. And I thought the pattern would show up better with a denser fabric. And, believe it or not, adding two loose strands of wool/angora made it easier to work with. I guess the wool helps to keep all the strands together.

This is really the only in-progress photo I have:
It was taken the day after I started the project. The project was a good combination of mindless and interesting, not over too fast but not taking too long.

After the main body was knit, I blocked it before seaming.
Blocking first makes it easier to seam. Since I don't do a lot of crochet, I figured I should make it as easy as I could on myself!

Once seamed, you add a few rows of single crochet for the waistband:
And some more single crochet around the neck to support the edges of the wide opening:
The sleeves didn't need any extra trimming as they ended with two rows of half-double crochet.
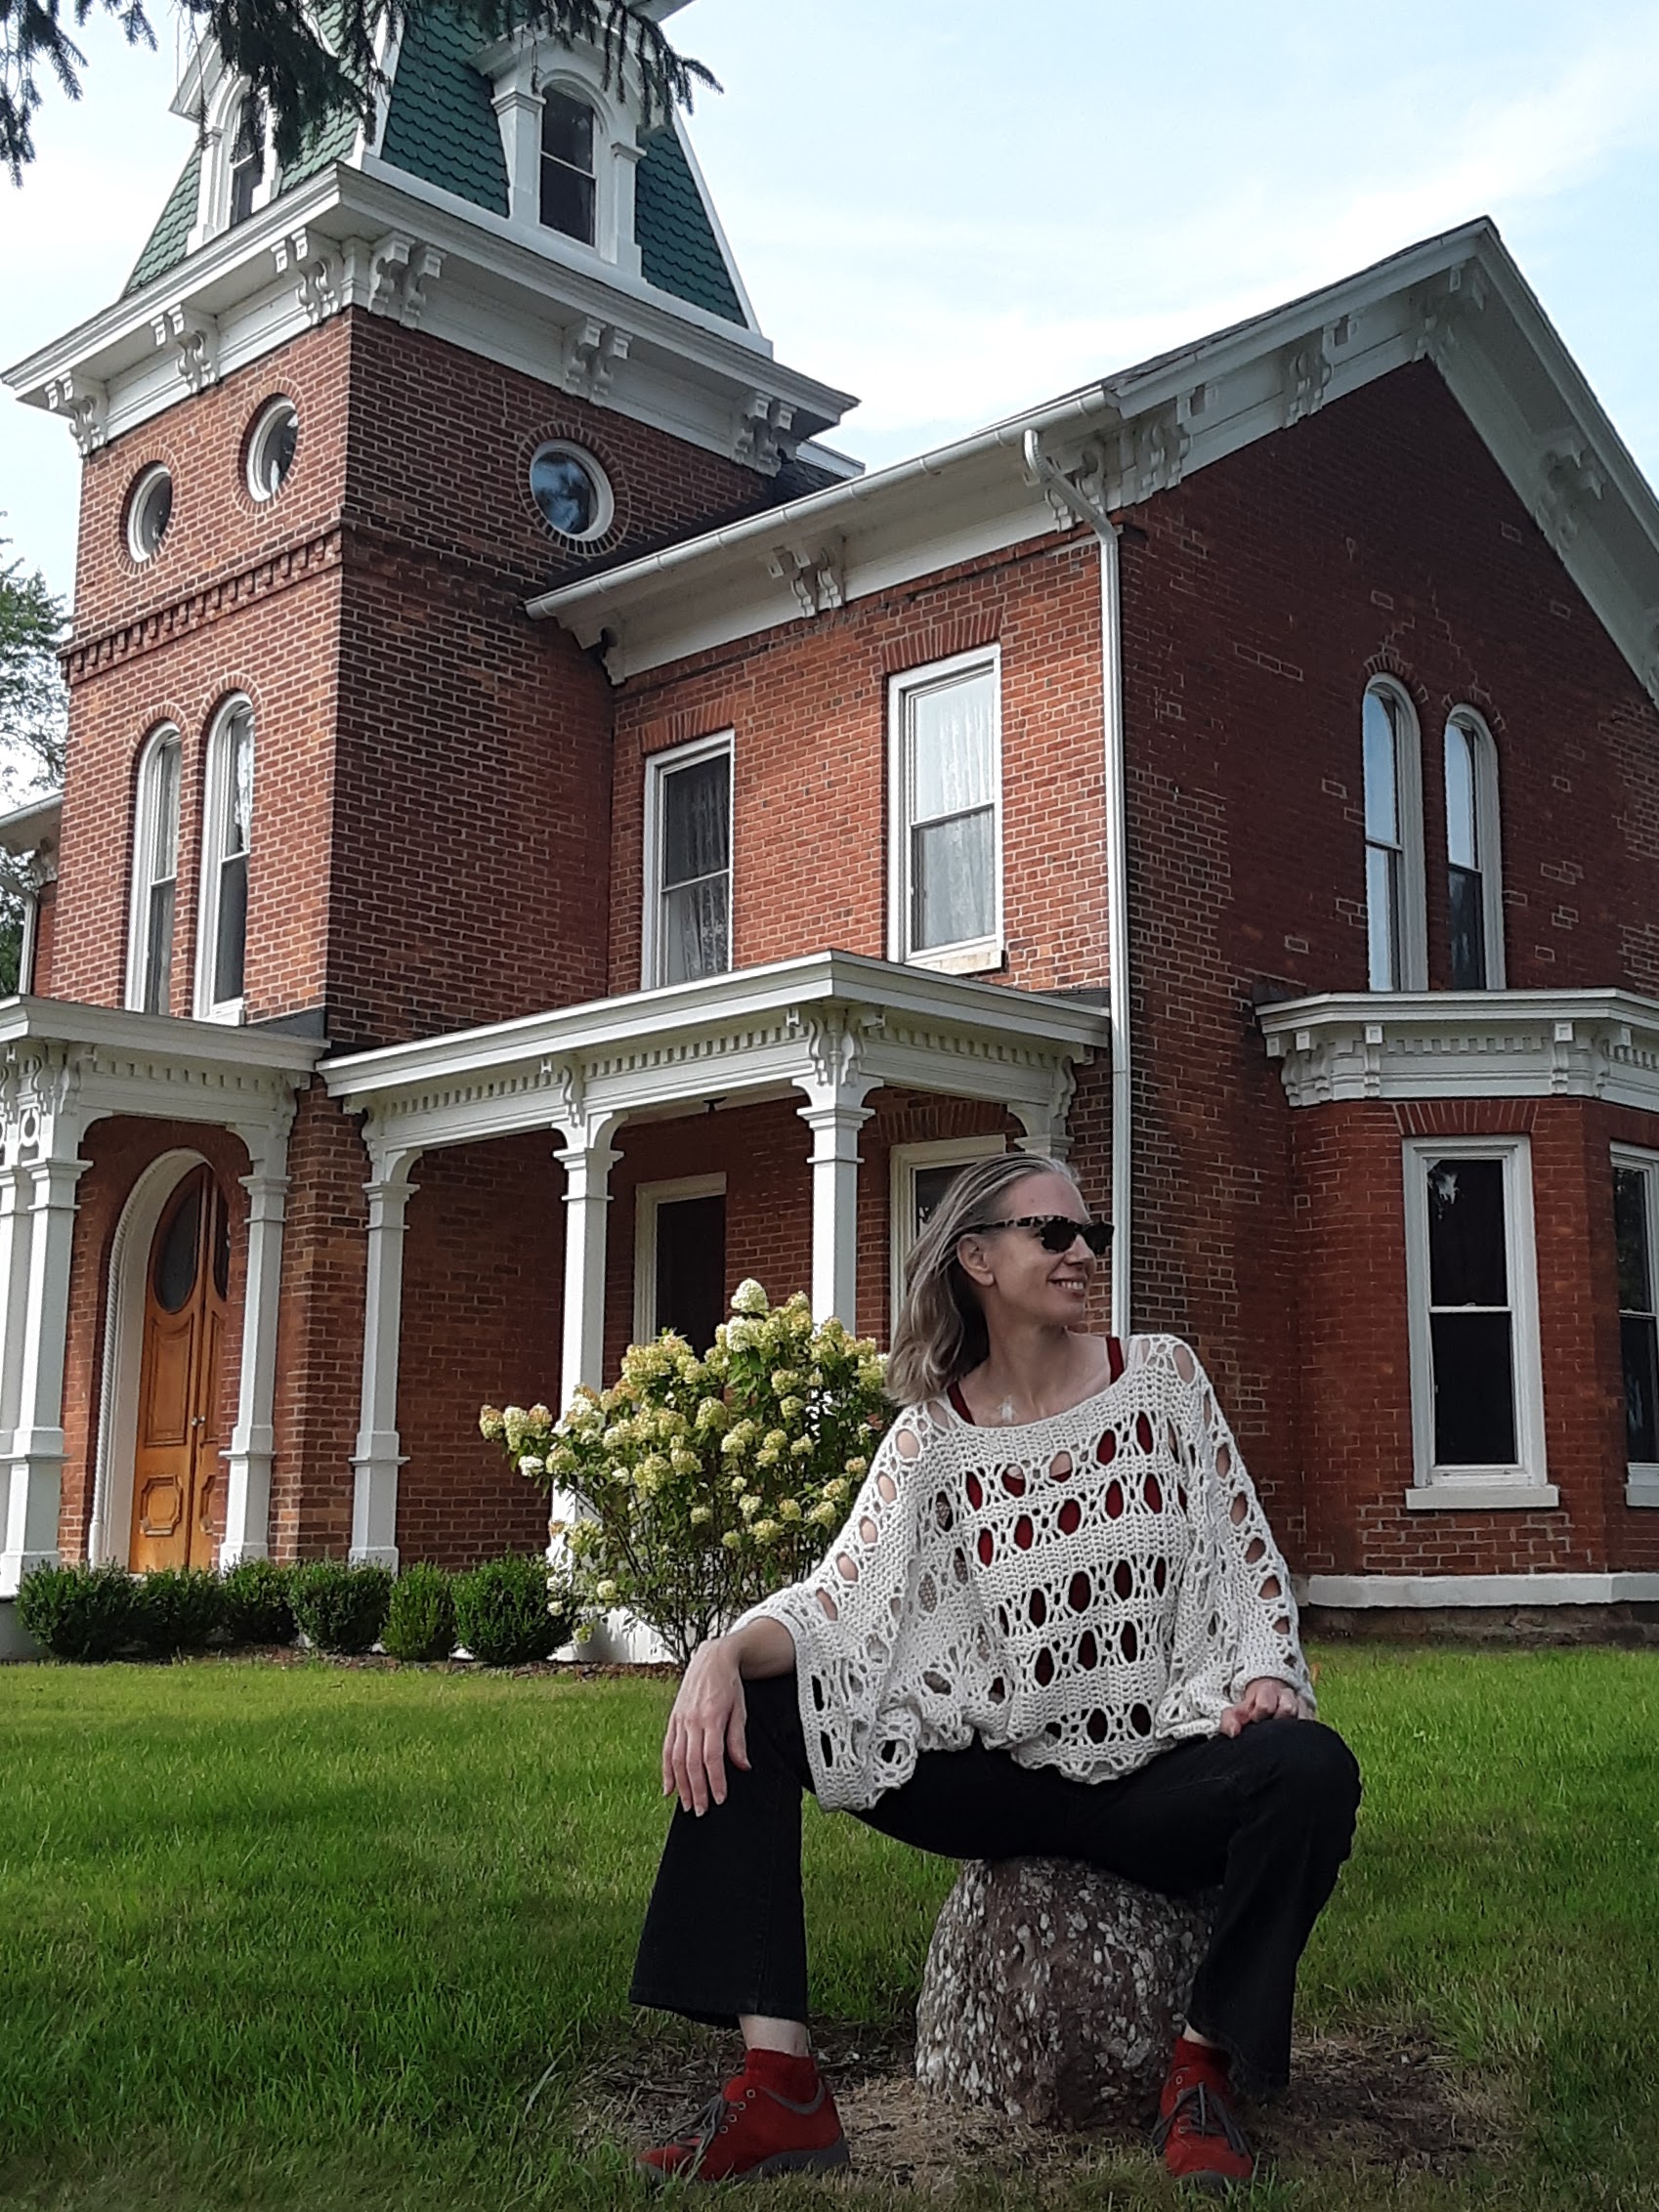
And here's an overall view:
It has huge wide sleeves and I love them.
The combination of wool blend with a holey fabric is good for warm weather. (Maybe not hot weather!)
It's a simple shape that makes a fantastic garment.
This piece is made with "regular" crochet stitches that even a beginner crocheter should know. I did learn a new trick with the cast on--the Foundation Half Double Crochet. You form the stitches as you go instead of making a billion chain stitches and trying to stitch into them for the first row.
The pattern should come with a warning though: door knobs, drawer pulls, and handles are hazardous to your health, liable to catch in a hole and stop you short!!
The structure of the garment isn't really obvious during normal postures; it just looks like a loose flowy garment. I do like how it hugs at the waist. I feel like it gives the garment structure and keeps it from wearing like a big cape.

Project Stats
Started
: 3 Aug '20
Finished: 12 Aug '20
Pattern: Summer Dreams Top by Designs by Key [These two are Rav links.]
Materials: Silk raveled from a VJ Petites sweater, 253g/968y, and wool/angora blend from a MC Carroll sweater, 195g/956y, held together throughout.
Ravelry project page: link


Tuesday, September 8, 2020

Plaidish Quilt has been Finished; Now Blogged

If you're keeping track, you'll know I titled my May 22 post "Close to a Finish" and then never mentioned the project again!

Well, I did finished the project soon after, and even took pictures. But then, you know, life.


So without any further delay, here is my finished Plaidish quilt:
Final measurements are 62x79".

The simple quilting follows the piecing and gives a good texture without competing with the design.
It's kind of the obvious choice, but it works.
A couple more shots from when it was hanging:

I've mentioned that the binding was a juvenile novelty print but it was so narrow, you can hardly tell.

I'll repeat myself by saying again how much fun this pattern was. Give it a try! (Details and link below.)
The pattern has stuck in my head and I often think about how to do a one or three colour version. It's fun to see different versions pop up on Instagram. (Check out #plaidishquilt.)

Here's a picture of the quilt on my (queen size) bed:
It generously covers the top, but isn't wide enough to hang over the edge.

Project summary
Started: July 30, 2019
Finished: May 24, 2020
Size: 62"x79"
Almost 100% scraps with a few pieces from fat quarters.
Cotton batting.
Walking foot quilting on my Viking Sapphire.
All blog posts about this quilt: link

Sunday, August 16, 2020

Desk Warming Gift

I finished a little something.

We are in the process of moving our "office" desks from the dining room up to our bedroom, now that the bedroom is largely finished.

Troy recently finished his desk top (which he mounts on a pair of file cabinets). When he first sat down at it, he commented that he is going to need a mug rug to protect the desk surface.

Well, that is something I can take care of making! A few days later, I was in the mood for a small project that I could finish in short order and got to it.

I knew I had some leftover half-square triangles (HSTs) from my Merrily Christmas quilt top:
I had a bag of brown/tan HSTs and a bag with the green and red ones. I found the brown ones first, so those are what I used. And happily, that meant they were much less Christmas themed as well!

I pulled out all the HSTs from the bag and played with them until I had an arrangement I liked. Then sewed it together like a simple 16-patch.
I layered it with a layer of cotton batting on top (to absorb any moisture) and then a layer of wool batting on the bottom (to keep the moisture from soaking through). That's the theory anyway; I'll let you know if it works!

I backed it with some of my never ending supply of black leftovers and quilted it in echoed mitered corners.
My machine wasn't too happy with the thickness (or at least, that's what I assume it was). There were some flubbed stitches that you can see on the back.

I used the edge of the pressure foot to guide the distance between the lines and that happened to also cause the lines to fall along the seam lines. I had considered ahead of time whether to do the calculations to make this happen but decided to leave it to fate. And it worked out that way anyway. I wouldn't be surprised if the makers of pressure feet design them that way. (For example, making the edge of the foot 1/4" from the needle position would mean that it would line up with almost all blocks as they are general sized every 1/2".)

That is as far as I got the first afternoon. The next day I took the time to make binding from a piece of grey fabric I bought for my Lucy Boston project but didn't use. There wasn't enough for a double binding, so I just used a single thickness. It's not like this edge is going to get a lot of wear or have to stand up to much use.
I stitched it to the back so that the part that folded over to the front would be longer. Then when I stitched it by machine on the front, the stitching ran beside, but not over, the binding in the back.
I don't usually enjoy stitching binding by machine and am not usually happy with the result. (Those two things just might be related!) But for this one, I hand basted all the way around the front, right next to the fold. Then I could stitch just inside that stitching and nothing had a chance to shift or move. This isn't practical for a large quilt, but it was worth it to me for this project.

So now Troy has a mug rug for his desk, and since he's getting close to finishing my desktop, I have to start thinking about mine! I think I'll go look for those green and red leftover HSTs, Christmas themed or not...

May I suggest?

I Say! or at least I did once...