Showing posts with label finished projects. Show all posts

Saturday, February 27, 2021

"Yellow Star on Blue" Wall Hanging

Last time I talked about this project was April when I completed the top and basted the layers together. Then I left it hanging on the display board.

I really can't remember over what time period I worked on the quilting, but by January 7 of this year, I had the center portion quilted:
.
I marked all of the lines with disappearing ink and free motion quilted it.

I repeated the back and forth lines on the outside of the star in the center as well, except I made the lines wavy to match what was going on with the fabrics. (This piecing was an improv technique learned at the class where I originally made the center star.)
I can't say I think it looks great. Now I know.

In the yellow part, I did curves from point to point that are similar to what was done in the yellow areas of the wall hanging I have been trying to match.
The only thing left to quilt was the outside border, which would be done in a "square in a square" pattern. I thought if I put the binding on first, I could make sure the points lined up exactly on the edge. But I didn't want to tackle the binding because it included piping and that was just a step to far at that point. So it was left hanging again.

Two things pushed me to pick it back up:

1. It was listed on my UFO (UnFinished Object) list in the Ravelry quilting group. I hadn't participated in the UFO Club in the summer and fall, but signed up again in January for the winter quarter, and even signed up for the "send" group. That means, if I finish a project, people would send me a FQ!! (FQ=fat quarter, a quarter yard of fabric. Well, never mind, it's fabric!) One member went so far as to tell me she had one that she had been saving for me--she knows I like elephants so I have reason to believe I'm going to like that one! ;)

2. Joy at the Joyful Quilter issued a "Table Scraps Challenge", with extra kudos for including the Rainbow Scrap Challenge colour of the month. Although I was making this project as a wall hanging, it could easily double as a table topper. And the colour for February was yellow!

Last week, I pulled this star off of the board and took a look at what it needed. Fortunately I had cut all the remaining pieces because without them, I would not have remembered my plan at all. I chose to use blue piping instead of yellow, in part because I just didn't have any more of the bright glaring yellow that I had used on the other one.
I pulled out my Piping Hot Binding book and tool and applied four strips of piping around the edge in pretty short order.

Then I realized the difficulty with quilting the outside border. The piping is designed to lift up--it's only sewn on one side. So do I line the points up with what was visible? Do I line them up with the actual seam (which was under the piping)? Further complicating it was that if I pulled the piping far enough back to not cover any of the points, the edge of the quilt wasn't going to be caught up in the binding seam. /big sigh

I just did the best I could, balancing the need to capture the raw edge and not covering up too much of the little squares.

After that was done, I trimmed the quilt and applied the first two sides of the binding. Then, thankfully, I tried to fold the binding over the edge to see how it would look...it was too small! It also happened that the binding lined up so that a seam would land exactly at a corner--not good! Obviously, I was going to have to remove it and try again.
On another day, I gave my seam ripper a workout and removed the binding. I trimmed the quilt with the smaller setting on the tool and started again, making sure to shift where I placed the binding! No seams landed at the corners and all was good.
I gave myself one more problem before I finished...when I cut the binding to attach the end to the beginning, I measured perfectly and then cut the angle the wrong way. So instead of the two edges aligning,
they made a big empty triangle. 
Did I throw up my hands and walk away? No, I did not. I sewed in a short piece of binding to fill in the gap, thus giving myself more opportunities to practice the skill.
Then it was done. Oh wait. No. I had to sew the binding to the back, which I did by hand. That was done during daylight hours considering it was dark blue thread on busy fabric.

As with the first wall hanging, I sewed two triangles on the top corners for hanging:
You slide the ends of a dowel under the triangles and it holds the quilt up. On smaller pieces, it's a nice way to avoid having to do a hanging sleeve along the entire top edge.

And here are the two pieces together:
I have to admit I didn't really like how the blue and yellow in the outside border lined up on the two of them. (I have no memory if that was a conscious choice or if that's just the way it turned out.)

But when I displayed them side by side, I liked it a lot more:
There were several design things that went wrong on this latest piece. Some I corrected and some I left. Now that's it's finished, I think it would have been a stronger piece and a better match to the first if the light blue area around the star was filled in with dark blue squares instead. But when I made the original block,
I didn't know this was what I was going to be doing with it! :)

It was an interesting challenge to try and make a match to the first piece a few years later. I still had some of the same fabrics, but had to find substitutes for others. Some things I had to piece together to have enough (like the backing) and other things were solved by a combination--did you notice the narrow yellow border is different on the second one? I had to find a second fabric to have enough to go all the way around. I ended up piecing the fabrics together so that the original is in the  middle of each side and the new fabric is in the corners. (You can see it in the detail pictures of the piping above.)

Linking up with the Joyful Quilter February Table Scraps Runner/Topper Challenge, and
Quilting is more fun than Housework Oh Scrap!

Project summary
Started: Center block made June 21, 2018; wall hanging started February 23, 2020
Finished: February 19, 2021
Size: 18"x18"
Pattern: my own
Material: 100% scraps, almost all cotton quilting fabrics
Cotton batting.
Walking foot and free motion quilting on my Viking Sapphire.
All blog posts about this wall hanging: link

Sunday, January 10, 2021

A Christmas Gift

I made exactly one Christmas gift this year. I was spending Christmas day with one of my sisters and she had told me about looking for a case for her circular needles. So the week before Christmas, I looked for a pattern and found one that looked like it would work. (This one from BumpyCrafts on Etsy.)


I went through my fabrics and pulled out some fat quarters I thought my sister would like and would go together.
They might not meet everyone's definition of "go together" but I liked the common oranges, purples and greens.

Following the pattern, I made several "pages" with pockets for the needles.
I spent a lot of effort to make sure the orange circles lined up across the pages, only to realize later that the large pocket on top makes it considerably less important.

I deliberately rounded the corners of the pages as well. You can never get a truly crisp square corner, so I traced the curve of a spool I had beside the machine to make the curves consistent.
The needles simply slide into the pockets.
I thought about making a place where she could write the needle size on the pocket but didn't do the work to make that happen. As an alternative, she can slide a card with the information into the pocket if she wants.
The pattern has instructions for a snap closure, but I used a button and elastic. (Something I had on hand.)
I stacked two buttons on top of each other. The smaller one underneath makes room for the elastic to nest comfortably under the big button.
Using a button with a shank would have worked too but I didn't have one I liked for this project.

As I sewed on the buttons, I went through a smaller button on the back to keep the stitches from ripping through the fabric and because I thought it was a neater finish than the thread by itself.
Here's a top view where you can see the different pages:
The pattern called for a flannel lining to give more structure, but I used cotton batting scraps that I had on hand.

A finishing detail I added was some quilting on the cover before I assembled the pages.
Just a few highlights around the flower petals.

It was a fun project to make in a day or two. I hope it functions well.


Wednesday, September 23, 2020

Fall Footwear

It may be "sweater weather" (it is!!), but fall also means it's time to pull out those warm knitted socks. Especially those I haven't had a chance to wear yet!!


My sock production has dropped a lot for a lot of reasons, and I have been plugging along on these socks since last November. But here is proof that if you keep plugging, eventually you get done:
These socks were made from a ball of Cherry Tree Hill Yarn Supersock DK
I got at a resale back in 2015 for $10. At the time, that was about half of what a new ball of sock yarn would cost. It was later identified as the colorway African Grey. (Thank you, Ravelry! Knowing the color name doesn't at all change the yarn or how much I like it, but I still love to know!)

You can see it sat in my stash for a while and I think I picked it up because I needed something to take on the go and this ball was easy and available.

It's a weird combinations of colours and I was hoping the colour runs were a little longer, but no matter. I used a slip stitch pattern to break up the variegation, but it turns out the colour runs were so short that they wouldn't have pooled like most variegated yarns do.
On the right is the bottom of the sock where I didn't do the pattern and you can see the stripes. On the left is the slip stitch pattern (every fourth row: K2, bring yarn to the front, slip 2, move yarn back; repeat). Turns out I actually like the stripes better! But again, no matter.

I knit them toe up making up the pattern on the fly. I made a gusset of increases every other row for a total of 24 stitches.
I did a short-row heel turn and heel flap in stocking stitch. Continued the slip stitch pattern all around the leg, and finished with a 2x2 rib with Jeny's Surprisingly Stretchy Bind Off.
I finished the knitting in June. I blocked them sometime in August. And now I got to the pictures in September. Once again, plugging along gets it done...at some point.

I've been looking at these socks hanging on the blockers for the last month or more wondering if I really need another pair of socks. But when the first chilly day came along last week, I slipped them on with pleasure! :)

Project Stats
Started: 3 Nov '19
Finished: 16 Jun '20
Pattern: of my own making: slip stitch pattern, toe up, short row toe, gusset, heel flap, 2x2 rib
Materials: Cherry Tree Hill Yarn Supersock DK (African Grey), 78 g ($10)
Ravelry project page: link

Saturday, September 12, 2020

Summer Dreams Top: Some Crochet Fun

I've been following more crochet accounts on Instagram and when I saw the Summer Dreams Tops come up on the designer designsbykey's feed, I loved it right away!

I pulled out some raveled yarn that I had and started swatching. The first swatch on the left below was with a 2-ply raw silk. I got gauge but I didn't like the feel of the fabric. Working with two strands that weren't spun together made it difficult too.

So I added a wool/angora blend and worked with both yarns at once. That swatch is on the right.
It also got gauge but the fabric was a lot better in the hand. And I thought the pattern would show up better with a denser fabric. And, believe it or not, adding two loose strands of wool/angora made it easier to work with. I guess the wool helps to keep all the strands together.

This is really the only in-progress photo I have:
It was taken the day after I started the project. The project was a good combination of mindless and interesting, not over too fast but not taking too long.

After the main body was knit, I blocked it before seaming.
Blocking first makes it easier to seam. Since I don't do a lot of crochet, I figured I should make it as easy as I could on myself!

Once seamed, you add a few rows of single crochet for the waistband:
And some more single crochet around the neck to support the edges of the wide opening:
The sleeves didn't need any extra trimming as they ended with two rows of half-double crochet.
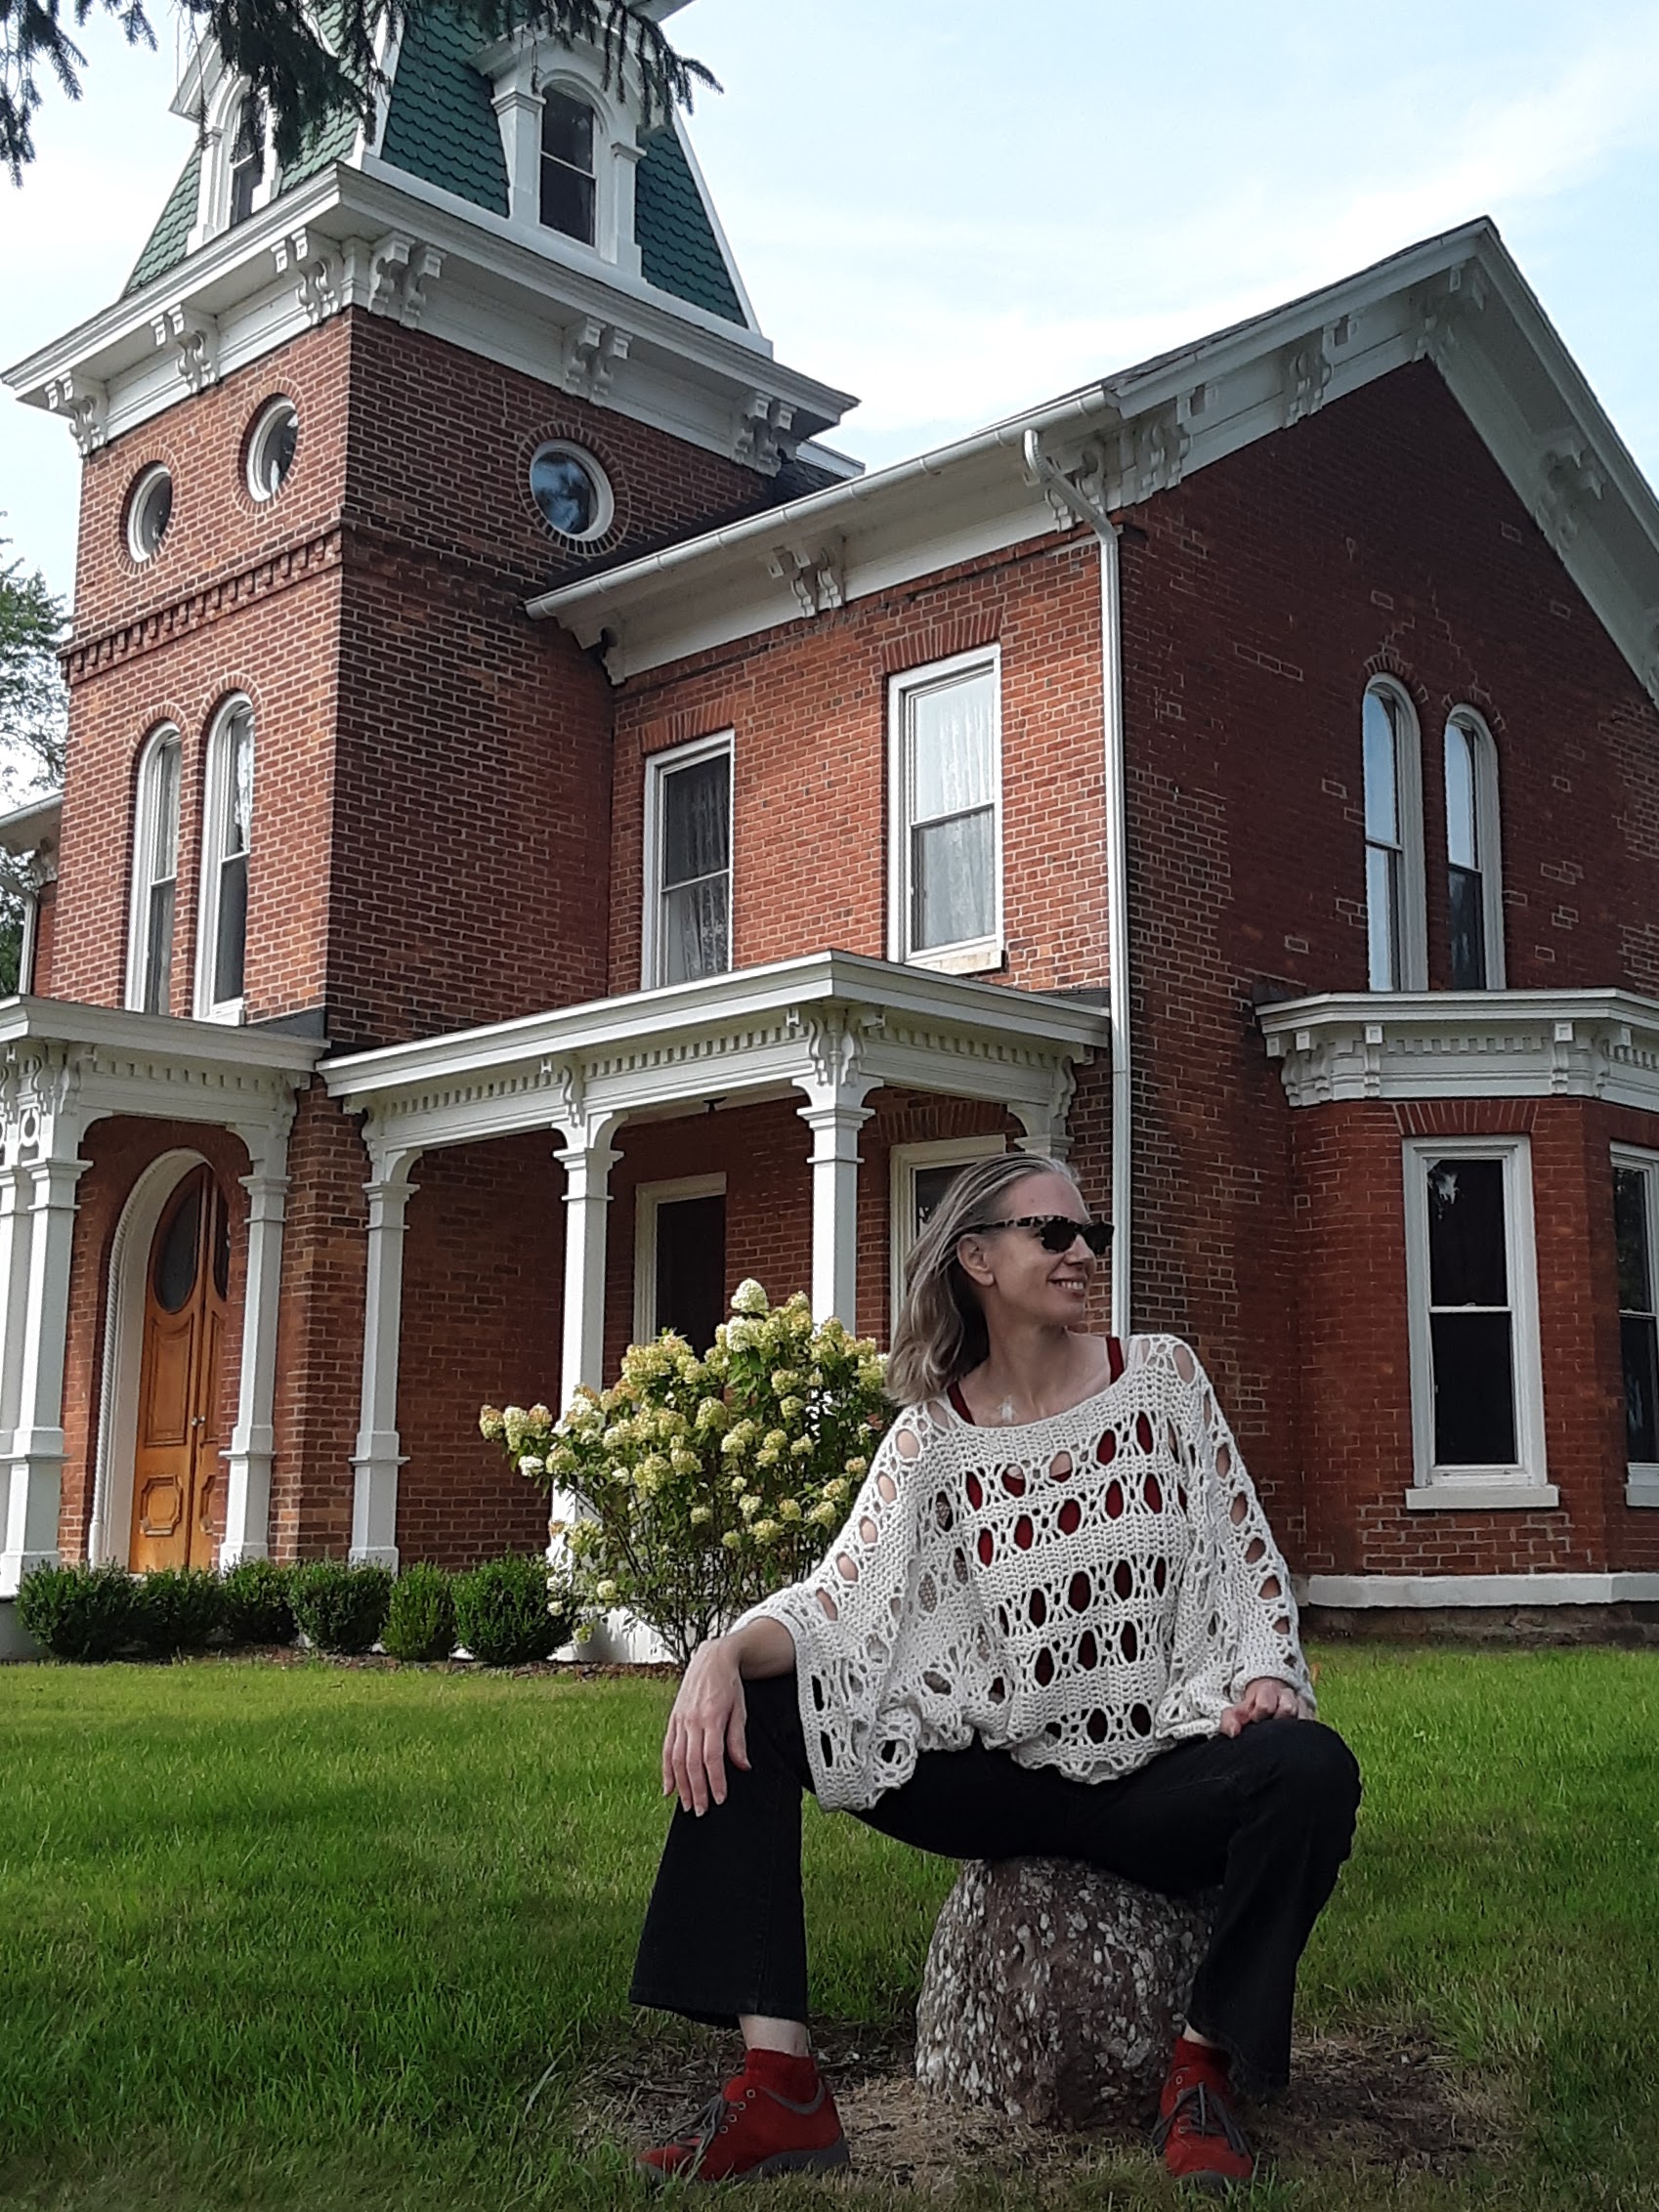
And here's an overall view:
It has huge wide sleeves and I love them.
The combination of wool blend with a holey fabric is good for warm weather. (Maybe not hot weather!)
It's a simple shape that makes a fantastic garment.
This piece is made with "regular" crochet stitches that even a beginner crocheter should know. I did learn a new trick with the cast on--the Foundation Half Double Crochet. You form the stitches as you go instead of making a billion chain stitches and trying to stitch into them for the first row.
The pattern should come with a warning though: door knobs, drawer pulls, and handles are hazardous to your health, liable to catch in a hole and stop you short!!
The structure of the garment isn't really obvious during normal postures; it just looks like a loose flowy garment. I do like how it hugs at the waist. I feel like it gives the garment structure and keeps it from wearing like a big cape.

Project Stats
Started
: 3 Aug '20
Finished: 12 Aug '20
Pattern: Summer Dreams Top by Designs by Key [These two are Rav links.]
Materials: Silk raveled from a VJ Petites sweater, 253g/968y, and wool/angora blend from a MC Carroll sweater, 195g/956y, held together throughout.
Ravelry project page: link


May I suggest?

I Say! or at least I did once...