I went looking for some information about my blue and white elephant quilt on this blog, and you know what I found? No final post! Well, I can tell you it is finished. You probably knew that.
But just to wrap things up, let me give you the whirlwind tour.
The quilt started as these chicken scratches.
Scratch that. The quilt started as a shower curtain! A gift from my sister--a nice fabric shower curtain with four bold rows of plodding elephants and mandala-type designs.
As soon as I saw it, I knew I would make a quilt from it one day! :) When I saw a call for blue and white quilts for an exhibition by Quilts, Inc, I thought I'd give it a try.
I drafted a 100% scale drawing of the center, interpreting elements from the mandala designs.
I used it to make paper parts for all of the rings. The center was pieced with English paper piecing and then I used reverse applique to apply the outer white ring.
I made the next ring with foundation paper piecing
and again used reverse applique to attach it to the center.
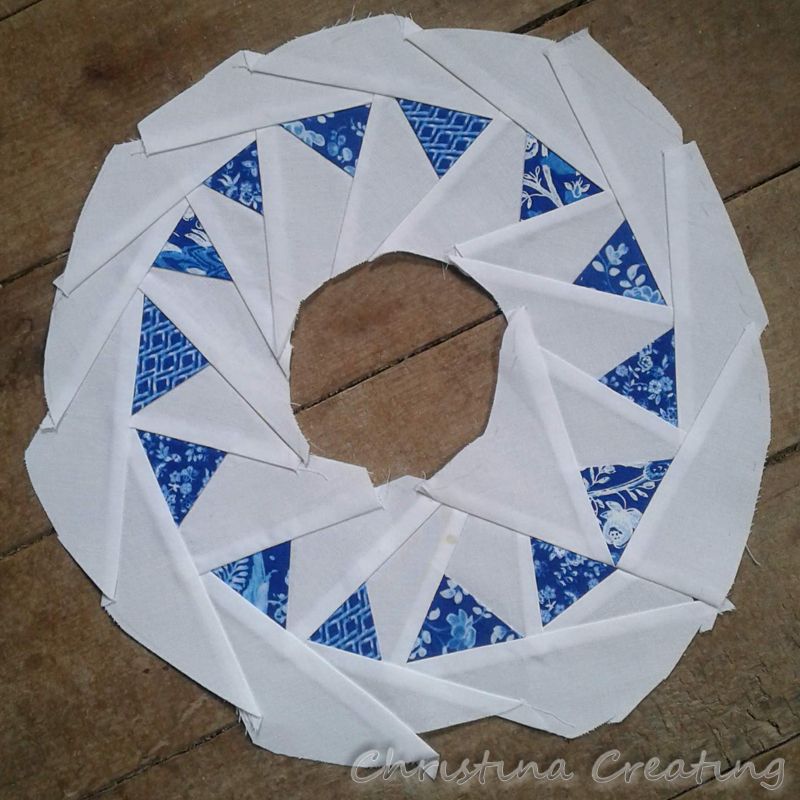
Next was some more foundation paper piecing to make a ring of triangles.
I wanted interlocking triangles with some pointing in and some pointing out. I couldn't do it with only foundation paper piecing, so once this step was done, I appliqued the remaining triangles on top.
Then, you guessed it, used reverse applique to apply this ring to the center.
Next up, a ring of hourglass shapes. I made this ring with English paper piecing because the curves were easier to handle that way.
Since all the edges were set up for hand piecing already, that is how I attached it to the center.
Next was a lot of foundation paper piecing to make a ring of even narrower strips.
This is where I discovered that my printer did not default to 100% scale when copying. My ring ended up too large, but I was able to use what I had by removing a small section. More hand stitching to attach it to the center.
Then I reverse appliqued the center circle to a square of dark blue and bordered that with a narrow white strip.
So that was the center 20"x20" (or so) section of the quilt done!
The next round was more foundation paper piecing. First I did it wrong:
Then I fixed it:
After I added that to the center square I adding some white triangles to all four sides so that it was now "on point" and finally was able to add the rows of elephants that started it all!
It hung like that in my bedroom for a long time while I decided what to do with the corners. I drew several full-size designs--colored them even--to audition and finally settled on this:
I was hoping it would look like layered squares behind the center, but I'm not sure that came through.
You may have noticed the corners weren't big enough...you are right. They needed a border sewn to the outside:
with white cornerstones. One of the mandalas from the shower curtain was reverse appliqued in the middle. You can see how the center design was taken from this.
Sew the corners onto the center, and I was getting really close to a quilt top!
But one more border was called for. I cut and pieced lots and lots of blue and white rectangles. Then I organized them from lightest to darkest.
(I really can't help myself! But seriously, you can see that the rows of elephants are not the same: there are four different shades of the blue. So I made the outer border reflect the transition from light to dark.)
I bordered the strips with white on each side and sewed them on.
The corners were curved and I sewed the striped part with foundation paper piecing.
So a quilt top done.
Then the quilting. The entire quilt was done with free motion quilting on my domestic machine.
From the center:
I outlined the center cross and circle, the wedges, and the triangles and filled in open areas with free-form circles.
I outlined the curved wedges and the narrow strips and filled in the blue corners with an echoed teardrop shape.
I filled in between the larger triangles with more circles.
And I drew a detailed rising sun design in the blank white areas. Here's a closer view:
Again, I took elements from the center--like triangles and wedges--for the quilting design. A few areas are very dense, but in general I kept the quilting pretty loose so that the quilt would not become stiff.
I was really unsure how to quilt around the elephants and ended up outlining the elephants and doing an echoing squiggle around them. I outlined a little of the shape inside the elephant like the ears, eye, and shape of the back leg.
I did another rising sun in the center part of the triangle area. I does not show up well against the different fabric colours.
The center section was done in a double wishbone and I put dot-to-dot quilting in the outside row.
I decided to go with quilted stripes in the blue border, with circles that echo the circle in the cornerstones.
The first time I did the cornerstones, I repeated a three-petal shape also featured in the center of the rising suns.
But I didn't like it. So I took it out, and did it again,
making it continuous with what was going on in the blue border:
I put the binding on next before I quilted the last border. This made it much easier to quilt right up to the binding, or at least not go under the binding area. I outlined the blue shapes and filled the white with more circles.
Instead of sewing full circles (which forces you to sew half of each circle twice to move to the next circle), I sewed one pass with a scallop pointing up, and then a second pass of scallops pointing down. When the "points" of the scallops meet, you get a circle! (You could also do two sine waves, one starting with an up curve and the other with a down curve, but I was worried I would flatten the curve too much.)
Once that was done, I could sew the binding down on the back.
And here it is!
The deadline for the exhibition really forced the completion of this one. I did get the application submitted on time, but the quilt was not accepted.
Last week I saw that the Holland Tulip Festival quilt show had open applications that were due that week. I quick got an application together and mailed it--the only way you could submit--only to find out that the festival is cancelled. (Naturally; but remember last week it wasn't so obvious as it is this week.) You may recall that I did enter it in the county fair last year and it won "People's Choice"! :)
Of course, it doesn't really matter because I really love this quilt. Even if it is on the spare bed because I am scared to use it in case I spoil all that pristine white!!
What an adventure that was. A lot of creative energy expended on figuring out what I wanted and then figuring out how to get it. And then figuring out quilting designs and figuring out how to do that too! My free-motion quilting is not great, but I am happy to have achieved this. If only I remembered
while I was sewing that slowing down is going to get a better result every time!
Project Summary
Started: July 22, 2018
Finished: February 2019
Size: 92"x92"
Wool batting.
Free-motion quilted on my domestic machine.
All blog posts about this quilt:
link
May 2020, shared on: