
I've written about doing the calligraphy drills with the Happy Ever Crafter in January. Since then I have continued to follow her and some other lettering accounts and try out some projects of my own.
Here was a card I sent to a friend.

I came across this verse in some reading and it struck me as a good verse to put on a card to hang.
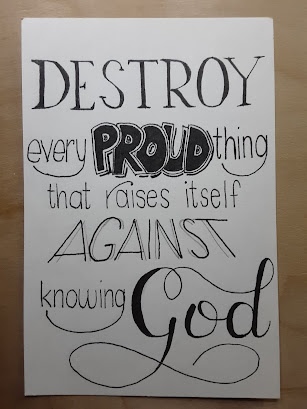 Obviously, I'm still learning, but I did like the was the word "God" came out!

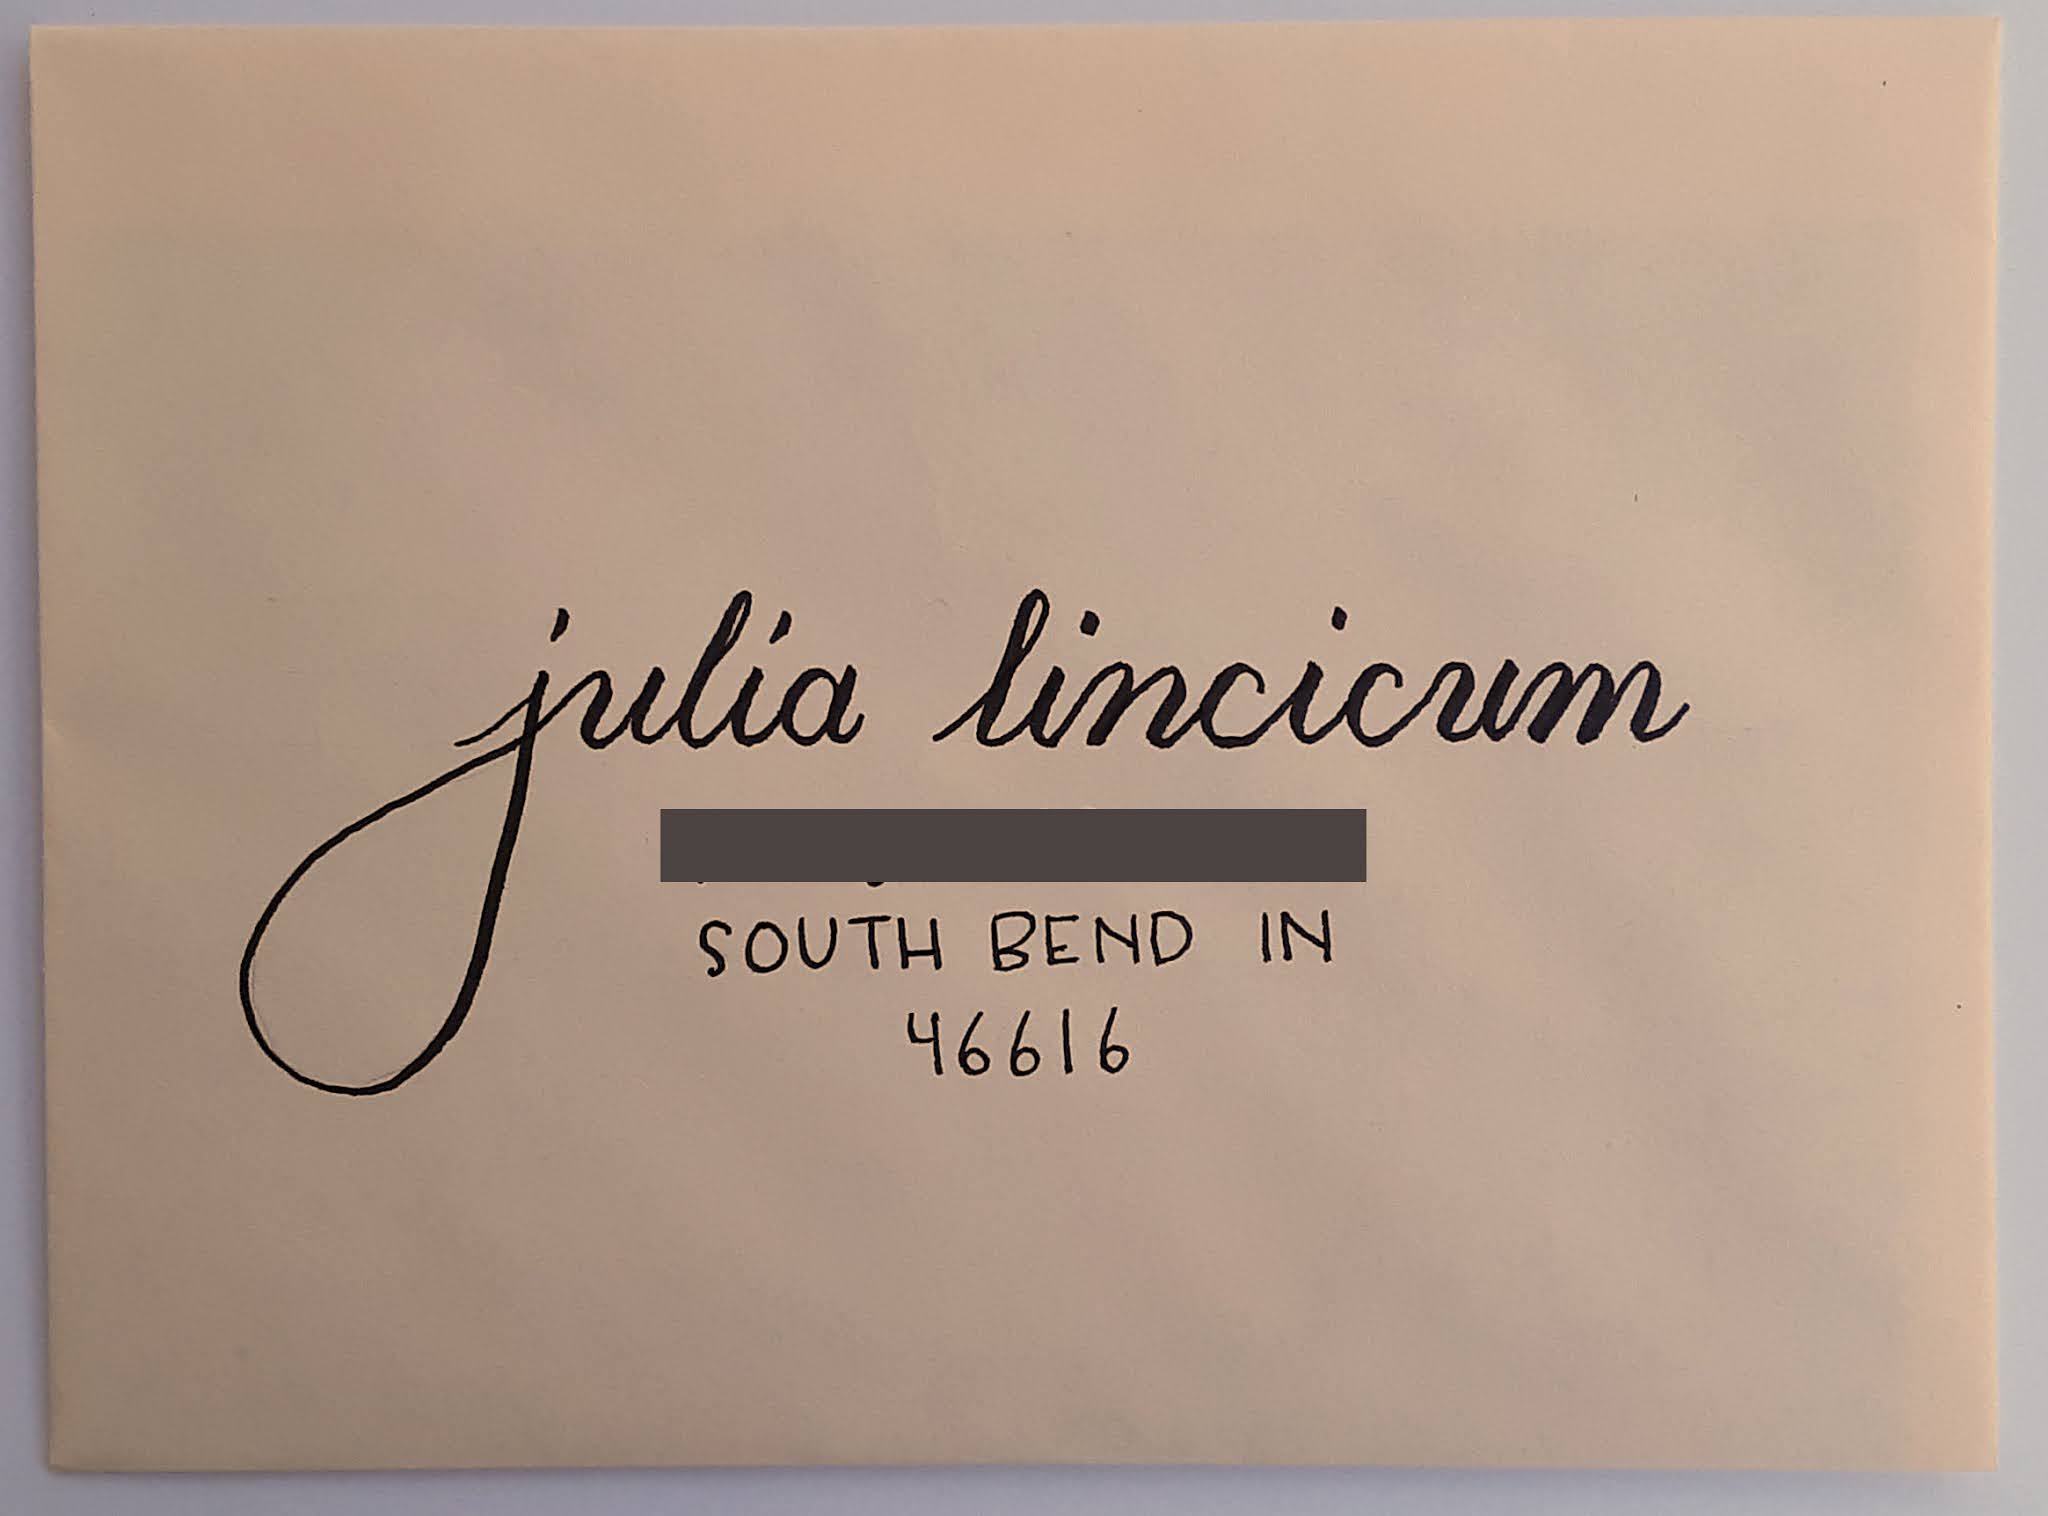
I also have been doing envelopes. I started with simple calligraphy on the name and a fun font for the address. I hadn't learned any capital letters, so the first way I stepped up my game was to fancify the first letters of the names.


Then I started trying to add some flourishes.
 And look! Capital letters!!
 I downloaded the free "majuscule" sample sheet from the Happy Ever Crafter and tried some capital letters following her examples.


Then add some more flourishes:
 A bit much maybe?

I liked the following composition better. I liked how the flourishes joined different letters.
 I mean, the "y" into the "x" into the "t" -- brilliant, right?

I continue to do the banner style. I like this too.
 I started to add a "please deliver to" line for fun.

But then sometimes I ran out of room!
 So I had to put the zipcode on the bottom end.

Following more examples on Instagram, I created this composition:
and then this one:

 to keep me humble!! :)
 |
| This design inspired by the Happy Ever Crafter's holiday wreath examples on her Dec 9, 2019 post. |

I had a lot of fun doing those. I do the whole thing in pencil first so there's no commitment! Then it's just a matter of drawing on the lines.
And sometimes something like this happens:

I also played with some floral letter forms:
 |
| The flower itself was drawn after the example in a tutorial by...you guessed it...the Happy Ever Crafter. |
For the first one, I did it completely in pencil and then traced it. After that I was a braver and did it straight in marker. At first the flowers and the leaves were done with the same size marker, and later I did the flowers in the small marker and the leaves with the extra-small marker. For all of these, I printed the letter on paper, put it under the page I was working on, and then used the shape that showed through to tell me where I could and couldn't draw. This gets pretty zen.
Also, I put my initials on all of them. Can you find them?!
And finally, I recently sent birthday cards to triplets, and of course I couldn't make all their envelopes the same!

Some calligraphy and a larger font for the address:
 I have to say capital "F"s and "T"s have been my nemesis. I have never liked them and certainly never liked how they turned out when I tried them. I studied some of the samples in the free sample book linked above and was able to pull these off. Not bad.

And finally:


I saw another example on Instagram with the address fit into the inside circle of the wreath and had to try it. I was slightly worried that this would come back for extra postage because it needed to be hand cancelled or that it would be delayed, but it went through just fine. Yay, USPS!


No comments:
Post a Comment
Comments are moderated so you will not see yours post right away. Thank you for leaving a comment; I enjoy reading each one!