

There was some drama with the dyed yarn and whether I would have enough. I ended up making the sleeves a little shorter than the pattern called for, but I think they look a little long so I'm glad.
The sweater has been waiting about a week for the buttons. Not my favourite part of the job.
But while I was sewing them on, I thought I'd show you a few tricks I've picked up over the years.
First, I use doubled thread for buttons. That's pretty common. I used to thread the needle over one strand and then knot the two cut ends together.

So a better way is to thread the needle with the two cut ends and leave a loop at the other end.


When you're sewing buttons onto knits, you usually have to watch that you don't sew them down too tightly. There needs to be room behind the button for the fabric around the button hole. Otherwise, the buttons are hard to do up and the button band won't sit properly.
You can convince yourself that you will just make loose stitches, but it's hard to do. Like, it's an absolute delusion to think you can do it. The stitches will have uneven tension and it's almost impossible not to make them tighter and tighter.
So, prop a match stick (or a toothpick) between the button and the fabric after making your first stitch through the button. Continue to sew the button on over the matchstick.

After stitching the button securely, knot it on the backside by taking a stitch and then pulling the needle through the loop before pulling the thread tight (twice). Then remove the matchstick and pull the thread to the front side of the fabric but behind the button. Wrap the thread around the stitches a five or six times (between the button and the fabric) and then knot it again in the same way.

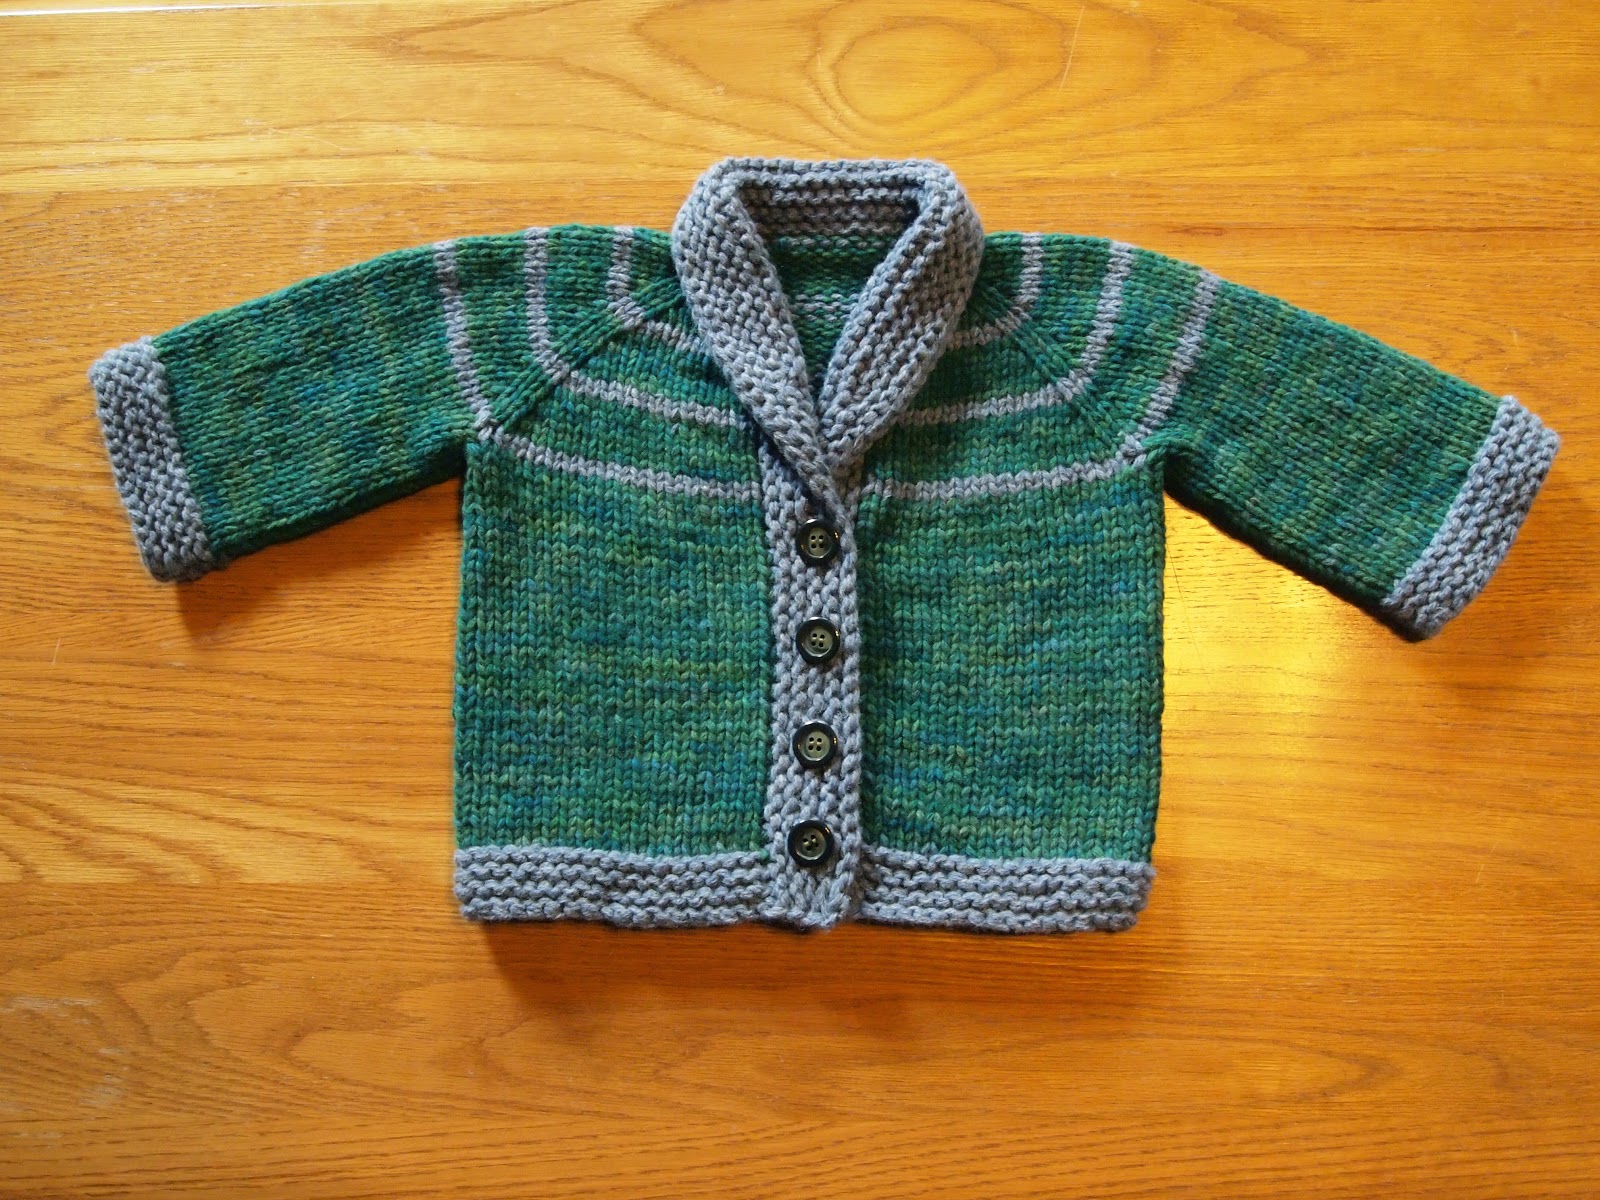
And with four buttons, my little sweater was finished:
Project Stats
Started: 21 Mar '15
Finished: 28 Mar '15
Pattern: Baby Sophisticate by Linden Down (free)
Materials: 120 grams of ravelled wool, used double. The green was dyed with KoolAid.
 |
| It looks rather proud of itself here, doesn't it! |


.jpeg)


No comments:
Post a Comment
Comments are moderated so you will not see yours post right away. Thank you for leaving a comment; I enjoy reading each one!