I've been wanting to touch base here, but I don't feel like I have a lot to report. Such is the bane of working on large projects! (Never mind that I'm keeping one of them secret. And it really is taking a lot of my time.)
I can say that my red triangle stole is going
much better since I ripped it back and refigured it.
Here is the old version of the stole:
You can see how after the initial shape (on the left), the whole things pulls in severely. That was the problem. The new one:
is so much better. But of course, with almost 50 percent more stitches, it is going slower.
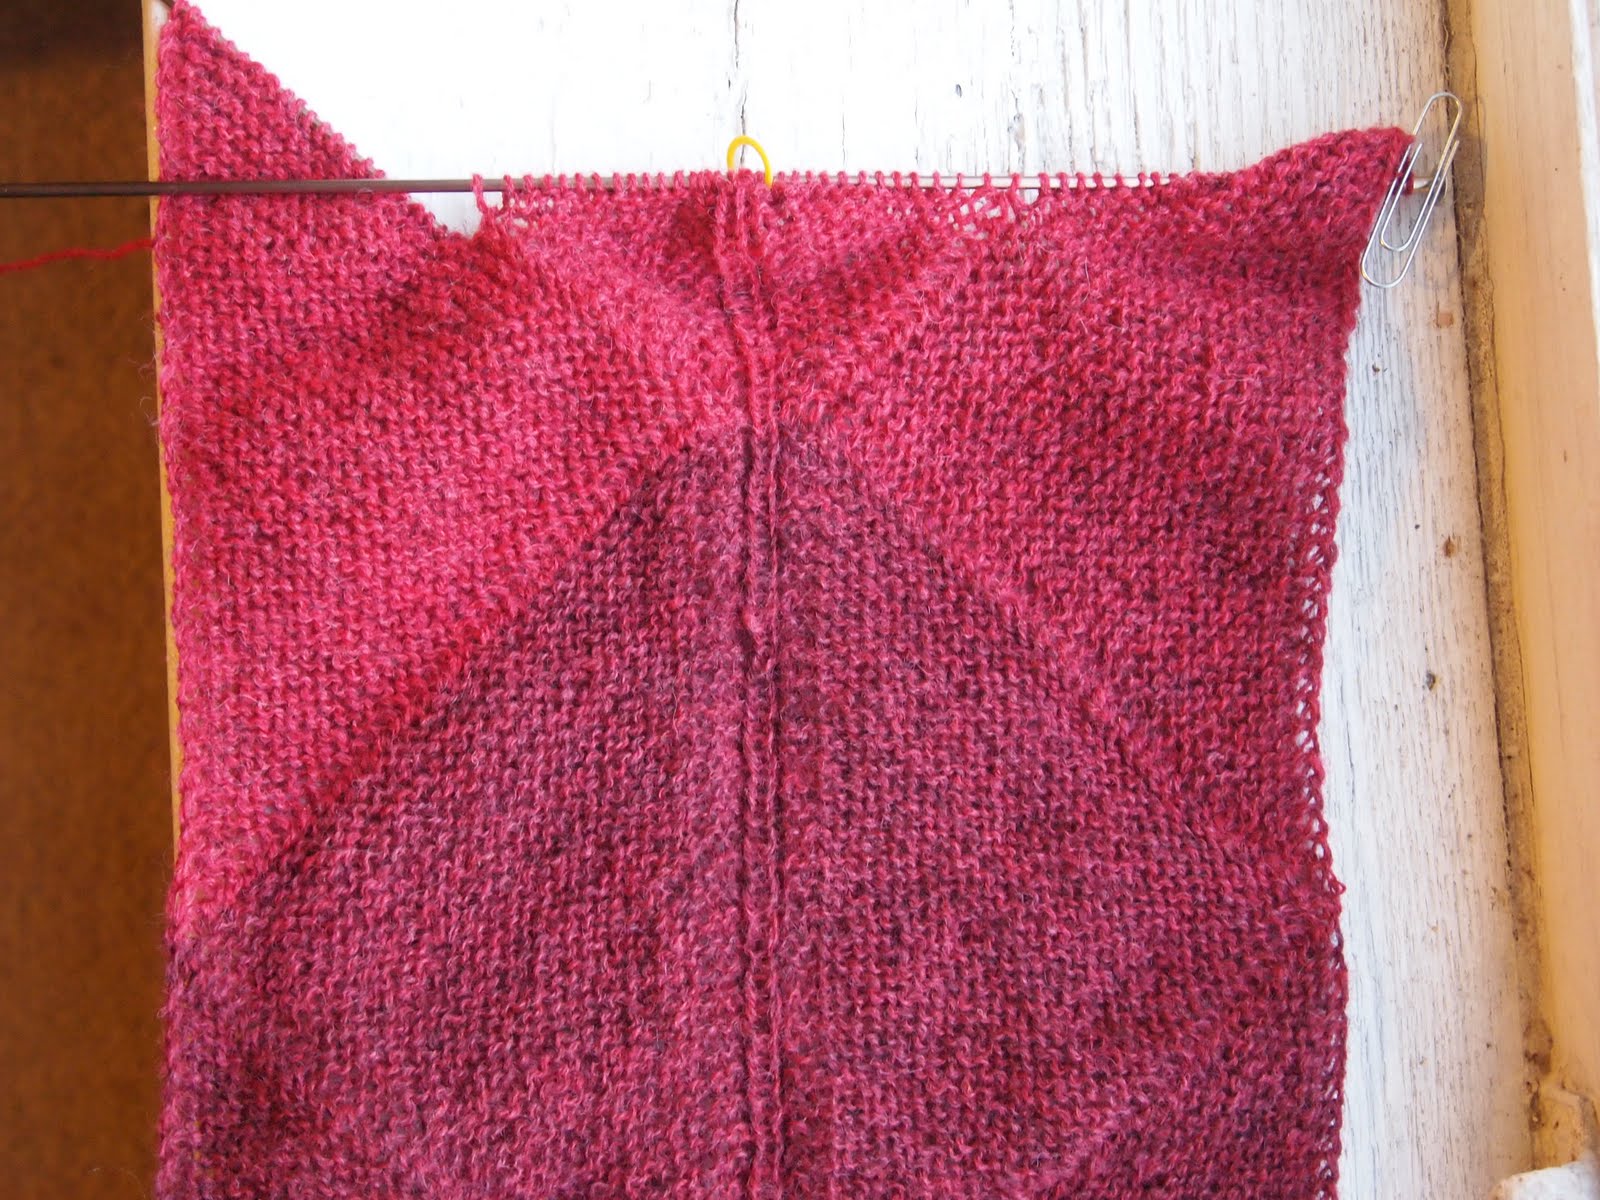
Here is a view of the piece spread out: (just to remind you, I will be cutting it down the middle to form the left and right sides)
You can see the triangle shapes here, I trust, and I captured where the yarn is transitioning from one colour to the next. You can see the right side triangle was done first because the lower part of it still matches the previous triangle pretty closely. After the right one, the left one was knit, and you can see how much more it contrasts with the previous one on that side.
For you knitters out there who are wondering how I adapted this scarf pattern to a two-sides-at-a-time stole, here is an overview:
1. The fabric--essentially two scarves knit side by side at the same time:
2. Here I will outline the triangle shapes so they are very obvious:
3. The yellow lines demonstrate the direction of the knitting on each triangle:
4. After the initial shape is done (a modified bias square that I think I talked about in my
first post), you begin the alternating triangles:
Starting at the bottom of the picture, I am knitting across both centre triangles as demonstrated by the lower yellow lines. There is an increase at each green dot which is what makes the knitting flare out and form the triangle, and the steek stitches are between the increases. When the last row is done (top yellow line), I start one of the side triangles.
Starting at the left lower blue lines, I again increase at the green dots. When that triangle is done, I swoop all the way down, across the steek stitches in the centre and to the beginning of the second (right) side triangle. Again I knit following the lower blue lines (this time on the right), increasing at green dots.
Once that side triangle is done, I am back at the center and can begin again. Easy, peasy, right?
One thing this project has going for it is that it is easy to pick up and put down. I've done quite a few sessions waiting in the drive through line!
I still have not worked through all the yarn that I raveled from the first try, but I'm getting there. Whenever I have to rip something back, I always feel a little unsettled until I've knit up all the raveled yarn again. Usually this makes me work on something long past when I should be doing something else, but in this case it was so much that I had to admit it was
not going to happen in one sitting!


No comments:
Post a Comment
Comments are moderated so you will not see yours post right away. Thank you for leaving a comment; I enjoy reading each one!