Showing posts with label baby. Show all posts

Sunday, January 25, 2015

Go, Lions! Go!

Yes, I realize the Lions are out of the playoffs. But I have this coworker. And he loves the Lions. It's been a trip watching him this season really believe that this could be the year. But it wasn't. But maybe next year will be...

Anyway, this coworker is expecting a baby this spring and I was invited to a shower. I can't make it to the shower but I can certainly send a gift--personalized and hand-made because that's how I roll.

Bibs are pretty much my go-to shower gift. I'm sorry if you didn't register for them; you're going to need them. When I first read the invitation, I thought I had only one week to finish the gift and got kind of uptight about it. But a more careful reading revealed that I had a week to RSVP and more like three weeks to finish. Ohhh, much better. (Sort of.)

So while I was still in panic mode, I found a chart on Ravelry for the Detroit Lions logo. The chart was made for a reverse stocking stitch lion on a stocking stitch background. I thought it would do, but when I found out the pattern was only written out row by row and not charted, I knew I had to make a chart in Excel. Once I had entered all that info, I figured it wasn't much more work to tweak it for my use.

I added the eye and the lines to separate the front legs and the mane details. And I redid most of the tail and the lower feet. You know, just a little tweaking. I didn't go so far as to add the open (roaring) mouth of the real logo. Sometimes close enough is close enough.

Like any bib with two-colour work, I did this with the double-knit technique. Makes it reversible and eliminates and floats. I used blue and cream cottons that I had raveled from sweaters. (The same I used for the elephant bib.) I went down a needle size, however, because I needed more stitches and didn't want it to get too big. I think the result was better than on the larger needles. The blue and white aren't quite the right shades, but I'm not making this to sell in the pro shop.

The border is done in garter stitch with just the blue.
After the lower border, I knit the first row of the pattern holding both colours. On the next row I knit the one colour and purl the other, starting the double knit portion.
It's very clean on the "right" side. (I consider the side with a contrast border to be the "right" side. It's purely subjective and mostly irrelevant since it's really double sided.) On the "wrong" side, you can see a little of the contrast colour:
When I get to the top I just knit the paired stitches together to decrease down to the original number of stitches. The contrast yarn is even less noticeable there.

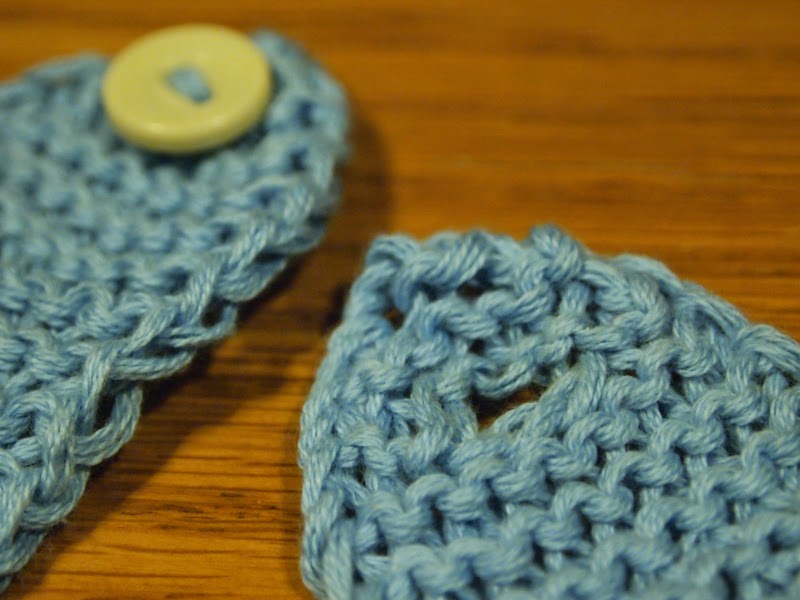
I know many people don't use buttons on baby things, but I dare. I just hate the thought of ties and Velcro. (Both applying it and using it on a baby.) I found one in my button jar that I thought would work. And it fit the button hole I made so that's a bonus.
The buttonhole was an easy affair. I just cast off two stitches in the middle of the row. On the next row I knit into the front and back of the stitch before the hole and after the hole. It came out neater than casting on two stitches.
I hope they like it. If not, well, it will be covered in baby spit soon anyway.

Tuesday, November 11, 2014

Cashmere Cap

Here's a little something I made in the late summer/early fall:
Isn't that a darling cap? I really loved the picture that came with the pattern, which made it look very much like a little flapper hat. Mine doesn't have quite that same vibe, but I still think it's cute.

I mentioned that I plied four strands of some thin cashmere I had raveled from a sweater (here). The yarn worked quite well and was easier to work with than separate strands. But not so much better that I'll be plying everything now.

The cap starts at the top and then increases to the final size.
I start with what is basically a provisional cast on over the yarn tail. Then when the hat is done, I can pull the tail so all the stitches come in tight before I work in the end. If I'm worried about the tail breaking, I may put it through the stitches a second time around before pulling it tight.

I think the eyelets are just sweet enough. Obviously this isn't a "high winter" cap, but being made from cashmere, it will be warmer than it looks.

But the real attraction in the hat is the scalloped edging:
All the scalloped edging I've ever seen is crocheted, but this is knit! It's a bit of a pain to do but I think it has great effect.

I'm worried the hat will be too short for my little niece that I gave it to. On the pattern picture, it comes down to a good length over the baby's ears but I don't think mine is going to, even though I followed the pattern measurements. I just hope it's long enough to stay on.
The hat was a enjoyable quick knit. And I learned something new!

Project Stats
Started
: 22 Aug '14
Finished: 13 Sep '14
Pattern: Little Flapper Hat by Hayley Albertson (free)
Materials: Raveled Cashmere Charter Club sweater, lace weight (or less) spun into a 4-ply (21 g) ($0.40)

Saturday, March 1, 2014

Stripes and Fleurettes

Now that the Ravellenic Games are over, I should catch up with some finished objects.

First up is the little blue cardigan I showed you previously as I was working out the patterned yoke.
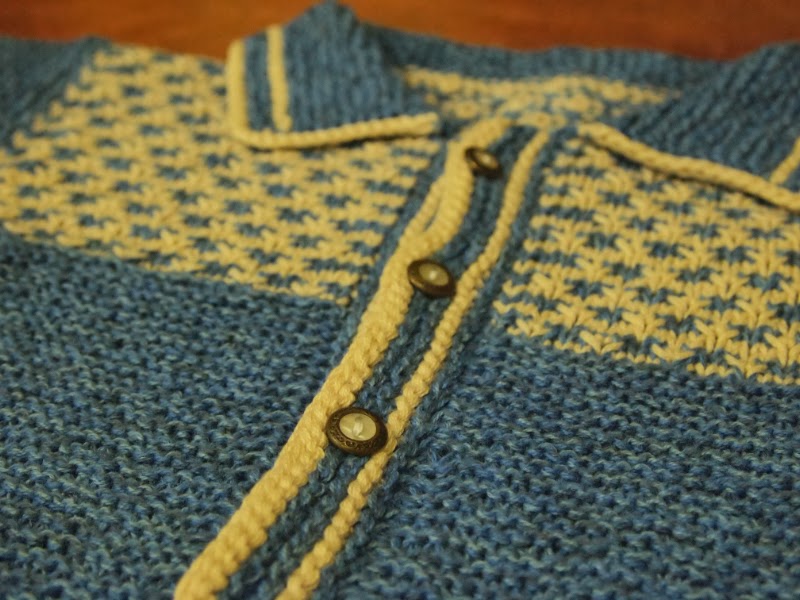
I think I got it figured out! Once I did, it didn't take too long to knit the front and back. After sewing the shoulder seams, I picked up stitches for the sleeves and knit them in the round, matching the stripes to the body of the sweater. Then it was on to the collar with a lovely white bind off as a trim and the button bands up and down the fronts.
Then a blocking:
Then there was nothing to do but add the buttons. I searched through my newly sorted buttons and found some metal and white ones that I thought would do:
Then nothing else to do but do a photoshoot!
And I guess that leaves nothing further to do but wait for the little guy who will wear it and maybe give us an even better photoshoot!

Project Stats
Started
: 11 Jan '14
Finished: 28 Jan '14
Pattern: Baby Cardigan - Stripes and Fleurettes by Zabeth Loisel-Weiner
Materials: 90 g blue cotton and 50 g cream, both from raveled sweaters (about DK weight) (~$3)

Friday, June 12, 2009

Always a Little More

Am I a glutton for punishment or what. After all my recent writing about not liking fiddly time-consuming finishing and embellishments, look what I've been working on:
Why why why do I do this to myself? Well, look at the picture again...at the end, it's all worth it. Look how cute that is!

And what is it? It's the hemline of a little baby cardigan I finished up "just in time" (read, two weeks late) for a friend's new baby girl. It's sized around 9-months, so being two weeks late is fine in my book. (As long as your friends aren't too impatient.) Project Stats
Started: Sum 2007
Finished: 2 Jun 09
Pattern: Baby Jacket by Michele Rose Orne in Vogue Spr/Sum 07 (rav link)
Materials: Red Heart Super Saver; DMC embroidery floss; flower button
And considering how long it took to finish, I'm glad it's even close to the birth!

I knit the sweater up pretty quickly as I recall. That was in the summer of 2007, so forgive me if I don't remember exactly. I did the embroidery on the back and was still rather enjoying myself. To finish the ends, I was trying a modification of the square knot that was supposed to be more secure.

Sometimes it was, and other times it just came undone. I had made the sweater out of acrylic so it would be easy care; having the knots come undone did not fit with my plan! Maybe it was operator error, but that doesn't help me get it retied when I've already cut the ends. Oh, it was demoralizing. So I threw the whole thing into a duffel bag and hid it under a bed somewhere.

The sweater only resurfaced 2 years later when these friends announce that they're having a girl, and the mother (on a separate occasion) happens to mention that she loves handknits on kids. Well, there's nothing like an expressed appreciation for knits to get me motivated!

So I haul the poor neglected sweater out again and ask around for some advice. The most likely suggestion is to glue the knots. Now, normally I am not a glue person.

I eschew glue.

It's all I hear on craft shows, and especially slap and dash Martha Stewart: glue it! glue it! I don't trust the stuff. Normally. But I'm at my wit's end and decide to give it a go.

I used a fabric glue that claimed to remain flexible (so it wouldn't be a hard little uncomfortable knob) and washable (falling into that "easy care" category). I used it very generously on every single knot. When the back looked ok, I proceeded to finish the embroidery on the fronts and sleeves and, again, glued every single knot...a lot.

I had no more problems with knots coming undone.

But then there was the glue. It was mostly flexible, but kind of scratchy. The ladies at Red Purl insisted in their polite way that I had to do something. Will this project never end?

The only thing to do was face the back of the embroidery to cover up the glue, and in the process, neaten up the back of the work. I know it's in the inside, but it never hurts to make the inside pretty too. And it would protect the knots and hopefully keep them from being damaged by wear.

So with all this in mind, I motivated myself for yet another step.

When the embroidery was done, the inside of the back, fronts, and sleeves looked like this:
The knots and messy stuff were exposed.

I started by picking up and purling stitches off of the first rib of knitting below the embroidery:
I then knit just a few rows of stocking stitch. In the pic below, you have the main piece (with the embroidery, and all that glue: just look at it!) and the extra flap I have knit (being held above the main piece):
Now, I've folded the flap down and you can see how it covers the ugly backside:
But it still needs to be fastened down on the free edge. Although I considered a type of 3-needle bind off, that would have been far too bulky and messy. (And ugly. We're working to minimize the ug here.) So that left me with a Kitchener stitch done between the live stitches on the needle and the last row of bumps on the panel I did the embroidery on:
I think that left me with a very neat facing, and no more ugliness. With the added bonus of increased durability.
Voila!
Having finally declared the work finished, I quick as a bunny sewed up the seams before I could change my mind. (Or anyone at Red Purl could have another nose wrinkle at it.) Then knit the collar with one buttonhole and blocked it:
I wasn't sure how blocking was going to work on the acrylic, but it did wonders. The front bands had been curling all over the place (I hate curling) (not the sport) and the blocking took care of that like nobody's business. The facings for the embroidery make the sweater very thick there and it took several days for it to dry completely! The piece should be safe in the dryer, however, so I don't anticipate that being a problem for the new owners.

And now I give you some glamour shots of the [finally] completed baby cardigan:


May it be worn in love and good health.

May I suggest?

I Say! or at least I did once...