Although I didn't make a lot of hand made gifts this year, it's still a time of hustle and bustle and and trying to get things done. I needed to finish some
slipper socks, as I recall. And working on my final (and finally mine!)
Honey Cowl from the Kidazzle. It always seems appropriate to have a little recovery time after Christmas.
I let projects finish up as they do when you work on them and then didn't start any new ones. It provided a restful lull at the end of the year when I was concentrating on getting work done on my new kitchen and making sure not to dive into something too hastily.
But there is a strong pull for new beginnings at the beginning of a new year...
For the trip we took between Christmas and New Years, I did pack along some new yarn and work on a personal design for a cowl. I knit on it infrequently both because I didn't have a lot of knitting time and because I knew it wasn't going to work out. By the time I got home, I was willing to face up to the fact that I had to rip it out and swatch like a big girl.
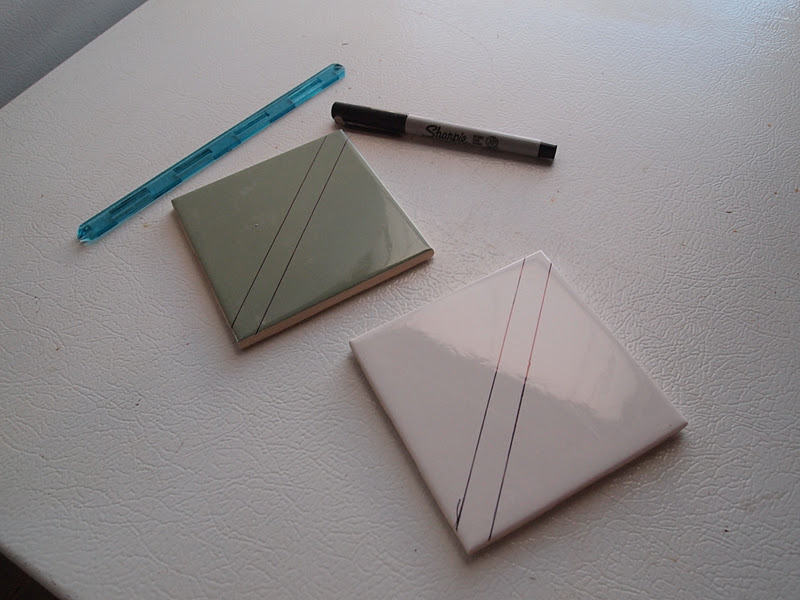
I swatched up a few versions of the stitch I had in mind and there this project has sat for at least a week:
I'm pretty sure I'm going to go with the middle version--the one with the biggest visible holes. Each stripe is a different way to make an eyelet pattern on a background of garter stitch (with one variation with no holes).
I really like the colours in this variegation. It's very berry. Incidentally, this (right) is what it looks like when you have to rip out your knitting when you were working from both ends of the ball and then it sits at the bottom of your knitting bag for over a week while you carry it around everywhere.
It's a bit of a mess, but still recoverable, I believe. When I'm ready, I'll cast on a big loop cowl and see how it turns out on "take 2."
The next item was more of a necessity item. One of those cases where you're inspired to cast on when you or someone around you is cold, even though you may very well no longer be cold by the time it's done.
Troy has lost his big [fake] furry hat from Russia and his head gets cold. He was looking quite jealous of my new and much-loved
subway hat. But he thought his hat would need to have two layers of felted wool, and on and on he went about how he thought it needed to be improved.
I said, "Put on my hat, go blow the snow outside and tell me if you think it needs more."
He did as I said and came in and said, "No this is fine. My head didn't even know it was outside."
"Yes, that is what I thought," I thought.
So I nabbed some black wool/acrylic blend (
I know, I know, but I had it on hand) and started knitting. Start at the top with 10 stitches, increase 10 times around every other row until you have enough stitches. I stopped at 100 and that's about where I am.
 |
A little note in case you are confused--the long bamboo needles
are just being used so Troy could try it on. I'm not actually
knitting the hat with them. |
About 2-3 more inches and then I will have to decide what to do about covering the ears. After that, I will search for a suitably warm, fuzzy, yet manly felted sweater to line it with.
Let me say I hate working with these cheap, too short, metal dpns but I am too cheap to go buy good ones. How bad is that? Just a little bit? Not at all? I don't know. I just thought I'd say it out loud here in case you are working with tools that you hate too. You are not alone.
The most exciting project, by far, that I have going is a skirt from the latest Vogue Knitting. For the last few months I have been irresistibly drawn to knitting a skirt. And just before the VK issue arrived, I had queued a few patterns in Ravelry, one of them almost exactly like the Vogue one. But after some comparisons, the Vogue pattern won out. Not that it was too crucial as it is only a starting point--I am making plenty o' changes.
Let me first show you their picture, completely inspiring:
(I leave it open on my lap while I knit just so I can stare at it.) I do love their colours, but I wanted to use up my grey variegated and other "on hand" yarns. I went through what I had and picked up this assortment
From top left, I have the black wool raveled from a Ralph Lauren sweater (already used in my
Circle Socks); green wool raveled from an American Eagle vest (already used in
these socks), the grey variegated (left over from
this vest), the orange, green and purple variegated from the same company (used in
this vest), and black wool raveled from a ruined Gap sweater from a friend (used in my
Mariah cardi). I'm not sure I'll use the last one. I also have a red American Eagle vest just like the green one that I haven't raveled yet. I think I will for this skirt.
A very different colour pallette, I know. I'm thinking I'll need to pick up a white or light cream for a few shots of brightness.
Here it is so far:
I'm making it at a different gauge than the pattern and have had to adjust the pattern because of it. (
Notes are all on Rav if you're really curious.) And although it may have the least effect on the final product, the biggest modification I am doing is knitting it in the round and from the waist down. Vogue Knitting is completely devoted to bottom up knitting in pieces. They knit this skirt from the hem up and in two identical pieces for front and back which are later seamed together. That is utterly bass-ackwards and I don't know why they keep insisting on this construction.
Obviously this should be knit seamlessly and from the waist down so you can
1. try it on as you go (which I did and it fits around my hips perfectly--hurray hurray!),
2. decide on the length as you're knitting.
Plus it's easier and faster to knit this way (no purling!) and more forgiving if you're running out of yarn (which I don't plan to do, but have a habit of doing so better safe than sorry). I could go on and on but I'll stop there.
Ok, I'll add one more thing. I hate knitting in the round and would love nothing better than to knit this on my favourite bamboo straights, but I'm not because it is unquestionably the wrong way to make this skirt. Ok, now I'm done.
I am prepared for this skirt not to be everything I've ever wanted from a knitted skirt, but I am loving it at the moment.