

The light shades are for some "pick your own parts" kits. These kits, however, were for wired lights and I don't have quite that much ambition. But I have seen light shades converted to nice hanging lamps by what is essentially a bulb at the end of an extension cord.
So I started gathering parts in my cart:
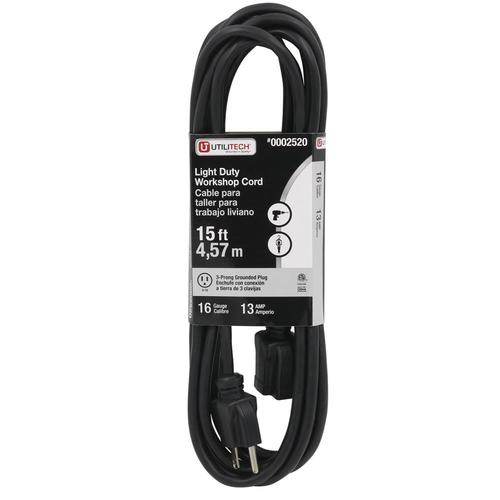
I chose black because the red, yellow and blue options looked a little too "neon bright construction" to me. You may pick what you like.
15 feet was as long as they had in their selection. It's barely enough so definitely don't go shorter.
Also, it has to be one of the cords with a single outlet at the terminus. It can't have three outlets with one on one side and two on the other.
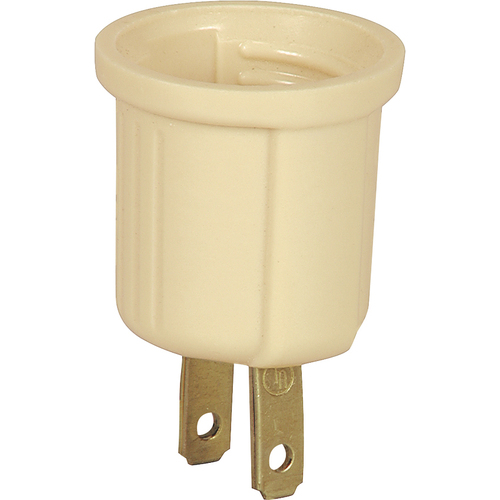
You plug this into the end of your extension cord and suddenly you can screw in a lightbulb. Isn't that crazy convenient?!

Although the lovely red shades were enticing, I liked this neutrally coloured but detailed pattern.
You want to make sure that it's long enough to hide a bulb and the adapter and the end of the extension cord. Unless you like bulbs hanging out the bottom...
This set up will definitely seat the bulb lower than what the shades are designed for so you won't be able to use some of the shorter styles.

Around here nothing but flourescents will do. I made sure to get a bulb that was shorter than most to make sure it fit in the shade.
I tried the 60-watt equivalent first but it was way too bright. The 40 is much better.
I'll also add that the Sylvania's I first bought gave me some trouble. The first one shattered with the first bump and the second one burned out after less than 30 minutes. I took them back and bought an off-brand. It's worked great.
Ok, so I'm sure you can guess how to assemble most of these parts. The only thing that will give you trouble is getting the cord through the hole in the top of the shade. It's too big to fit. I had suspected that would be the case but held onto a hope until I tried it.
Resigning myself to the inevitable, I cut the cord a few inches above where it plugs in and started separating and stripping the three wires inside. Just as I was about to make a "cheater" connection--after threading one end of the cord through the shade--Troy came home and insisted I do it right.
He generously offered to solder two of the wires but only on the condition that I solder the third. I had done soldering when I had my optical training so it's not like I hadn't done it before, but it's still not a task I am very comfortable with. But to have a more elegant join and take advantage of the help he was offering, I did it. (Perfect "action" shot for my knitting blog, but I forgot to take any pictures. Sorry, you will have to to imagine.) We got the join done and taped and it blends in well (and works!).
I got it put together and hung from a hook over one end of the couch. I love it and can't sit there without having it on.


No comments:
Post a Comment
Comments are moderated so you will not see yours post right away. Thank you for leaving a comment; I enjoy reading each one!